Tito
CB Fire Starter
Should paint those lock rings to match the Bronco...looks great!


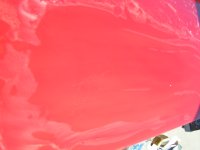
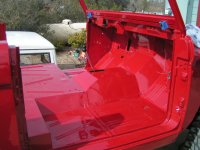
 In this AZ sunlight, you'll be blinding everyone!!! Great job, hope to see it real soon..
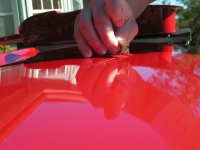
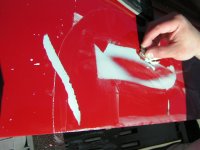
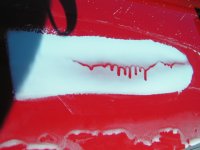
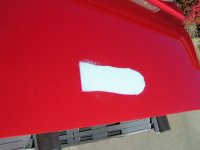
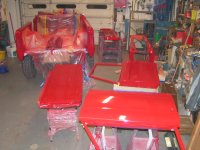
Not much to report, but Reuben my body shop buddy, came over yesterday and showed me how to get rid of runs. The first was the razor blade trick, which worked well and was fast, but the second seemed crazy! If you look at the pictures, that's polly filler applied directly to fresh paint. The theory is that as you sand the filler you knock down the high spots of the run evenly, when you sand through the filler the run is gone, and it's flat. It only took about 2 minutes once the filler set up. I have to say it works awesome. Other than a little pigment staining you can't tell there was ever a run there.
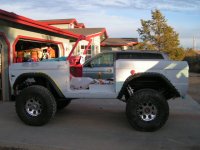
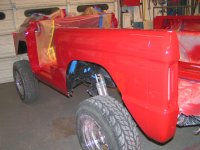
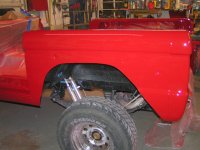
Today I installed the drivers side flares. Only took 6 drill bits to do it, I need to start buying bits in bulk.
Devin, I put 3 medium to heavy coats on everything. The booth is a moderate size and dictated painting thing's in 3 different stages. So I painted the tub first, waited 30 minutes between each coat, then waited about 2 hours for the paint to 'skin' over before we moved it out of the booth. Then we moved everything else in, finished taping everything off, and wiped it all down, then waited 30 minutes between coats, then waited another couple of hours to move that out, then repeated the process on the hood.
In the process we also decided to go ahead and re-shoot the doors instead of touching up a few areas. So we did quite a bit of wet sanding with 1000 grit, and also had to repair a couple of spots on the hood, spot prime, then wait for that to dry, sand, then paint. Because of the rush hood repair, we pretty much figured we would have to re-paint it again. That added a few hours.
When I sprayed the hood I had a very hard time getting the pattern right on the last coat. I played with the adjustments and couldn't get a wet pattern until about the last 4 laps or so. I'm not sure if it was because it was 5:30 in the morning or what but I for some reason just finished it up that way. It has some pretty bad tiger stripes in it. As I was cleaning up my gun there was a stringy clump of paint at the bottom of the cup at the filter, I guess I let paint stay in the gun too long... Since I'm already planning to re-shoot it it's not a biggie, but we'll wet sand with 600-1000 and if the dry spots and the stripes come out, great! But if not we'll re-shoot it when I spray the floor.