Could be, but every time I've taken originals out they've actually popped right out with a hammer. Can't speak for my original '71's though, since back then I thought you had to have a pro do it, so I spent some obscene amount of money to have someone "press" them out, after having to make their own jigs to fit into the press. Whatever. I was pissed, so the next time I had to do a set I took after them with a mini-sledge and never looked back.
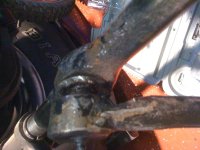
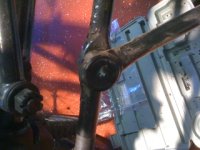
I've heard others say too, that theirs did not have a snap-ring. Every one I've worked on did however, so we should double check something here. You can see the snap-ring groove in both joints, correct? If you can see the groove at least, and there is no ring in it, fine. But if you're not seeing a groove, keep looking. Should only be a ring on one ball-joint per side (lower), though I think both of mine had grooves.
So, in order of appearance:
1. Remove all extra stuff, including the axle shafts.
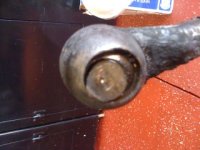
2. Remove upper and lower ball-joint nuts.
3. Remove upper adjusting collar (need a special socket for this)
4. Remove knuckle. Hit DOWNWARD to remove assembly.
5. Remove any snap-rings in the lower joints.
6. Hit joints UPWARD to remove from knuckle casting.
I should have said that step #1 would be to soak everything in a penetrating lubricant. Those tapered studs in their holes can really grip tight. Add a little rust and dried grease. Throw in almost 40 years to turn into one piece, and you get the picture. Just like you were thinking.
Good luck. If anyone else sees something I missed, or that the order is wrong, please chime in!
Hope that helps. Sounds like you're on the right track and it's just not cooperating.
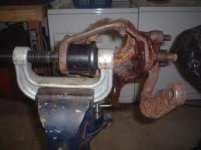
Were you able to get the upper sleeve out? Is that the ball-joint service tool that you were talking about? Or is it one of those C-clamp type removal tools?
Paul