


motoman
Bronco Guru
I wanted to give a shout out and a great big thanks to Steve for his help with the rebuild of my transfer case. I have a 1973 Bronco with a T shift transfer case... or so I thought. Once we open the case up the front output shaft was actually one from a J shift.... bizarre! But the rest of the case was a T shift style. I had ordered a complete rebuild kit from Bronco Graveyard for a T shift and didn't have to use any of the kit because the only bearings I needed was for the J shift.
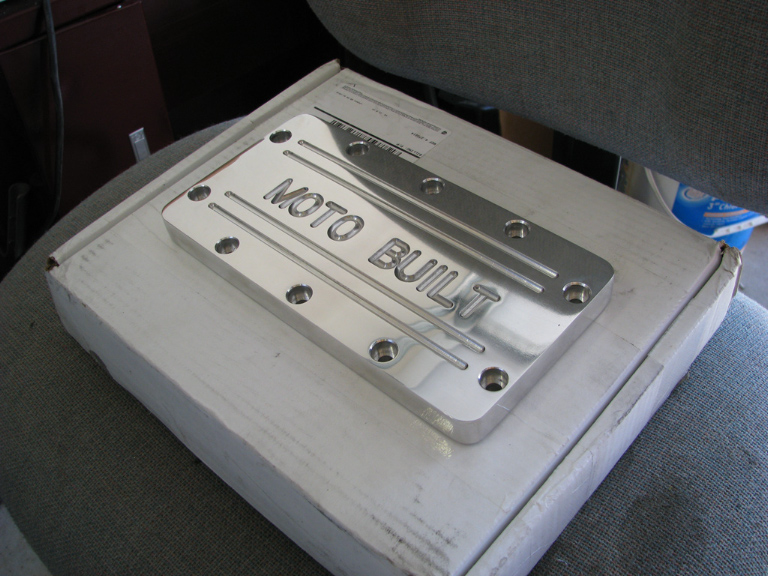
By the time I got to Steve's house he had completely disassembled my transfer case and cleaned everything. In preparation I had taken my inspection cover to a friend and asked if we could so something cool in aluminum. He taught me how to use a mill and this was the result!!!!
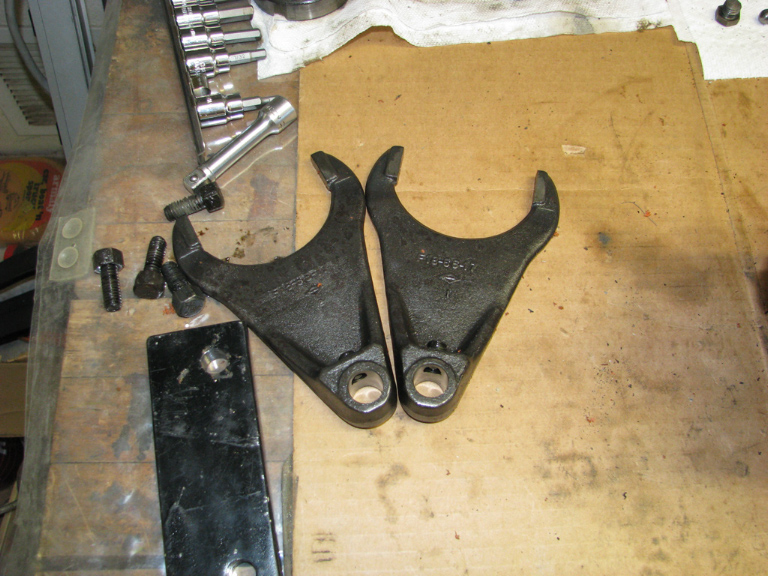
Shelby (son) and I had spent Friday night sanding and polishing the cover. Now at Steve's house we inventoried all the parts. He noted the shift fork was loose we he took them apart. Could be the reason my truck would pop out of hi 2wd.
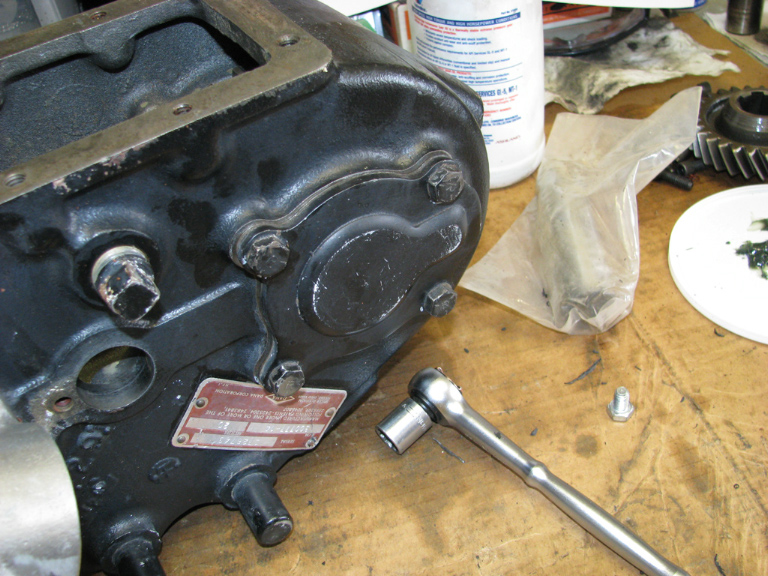
One of the ears was broke on the cover....
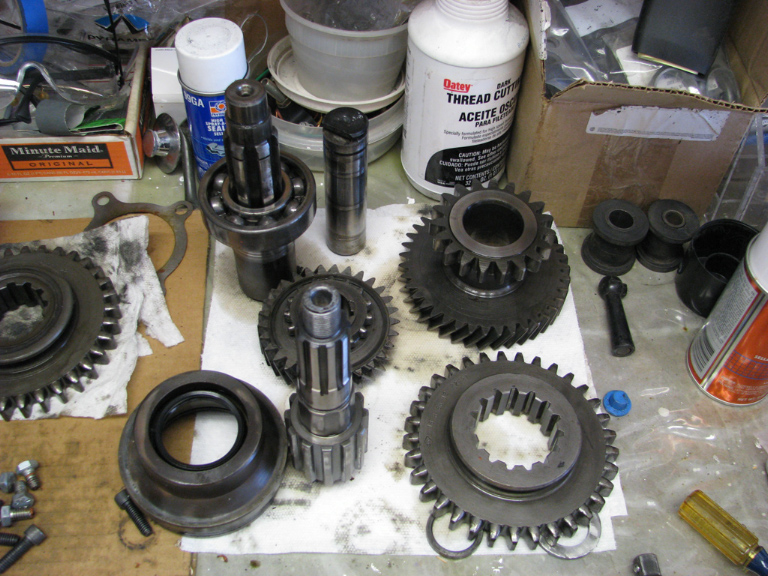
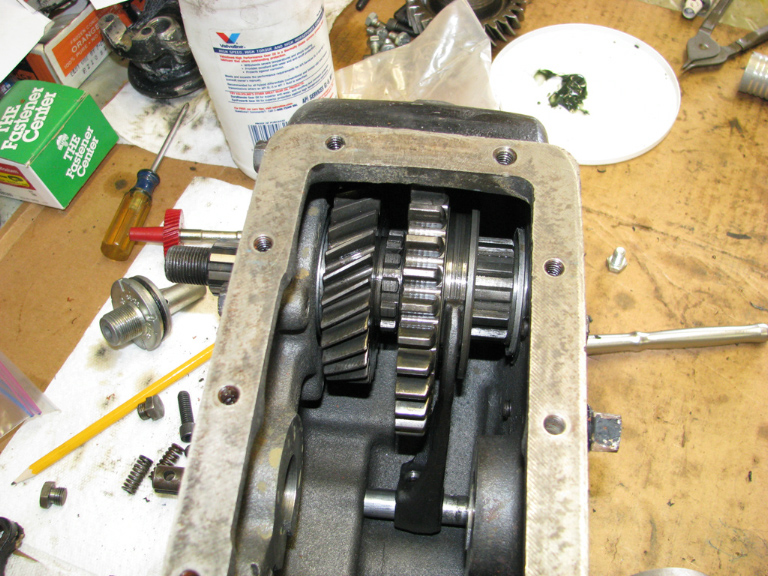
The gears looked pretty good but it was obvious that moisture had gotten into the Tcase at some time. And there was pitting on the gears. We decided to go ahead and keep them for the rebuild.
Steve was just happy to be there!!! ;D
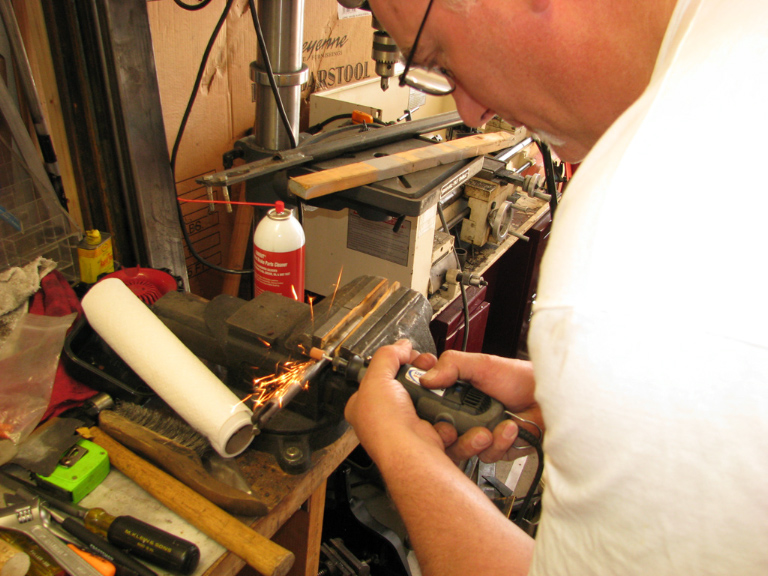
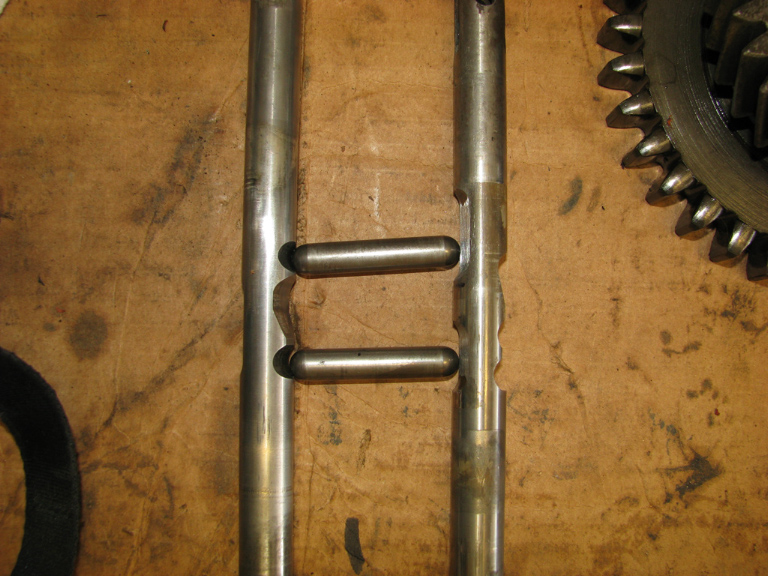
Steve has read where we could modify the shift rails so I could use front wheel drive and rear neutral.... He got busy with the dremel
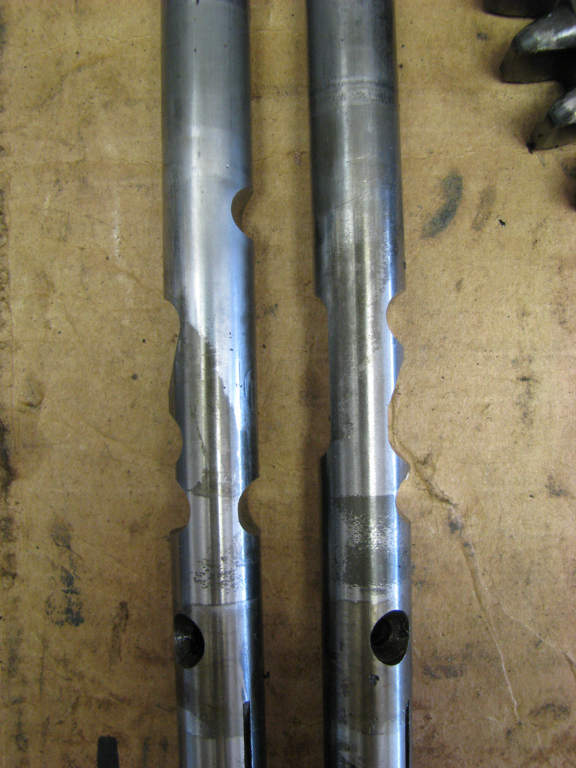
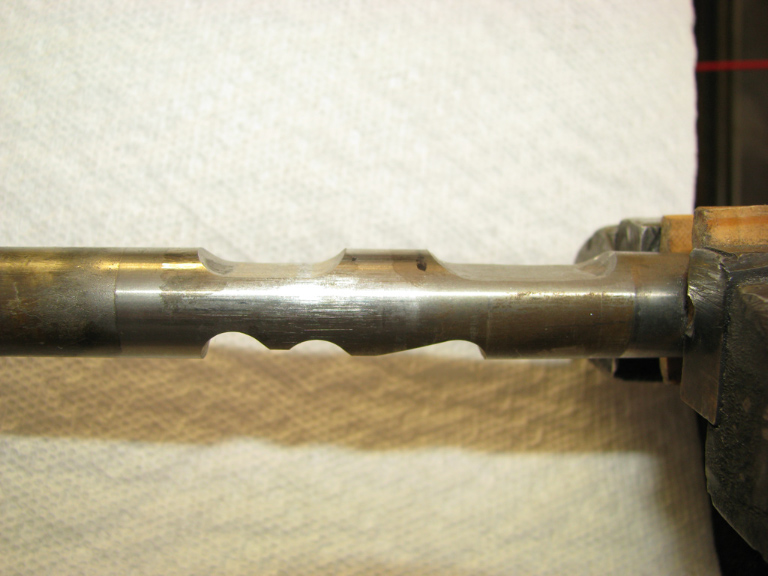
Now the pills will allow FWD only, but not go into L and H at the same time.... we kept that interlock!
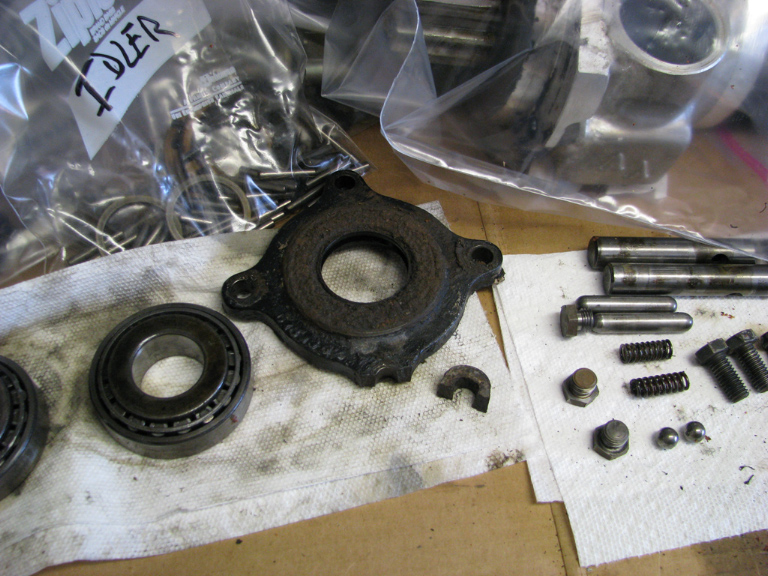
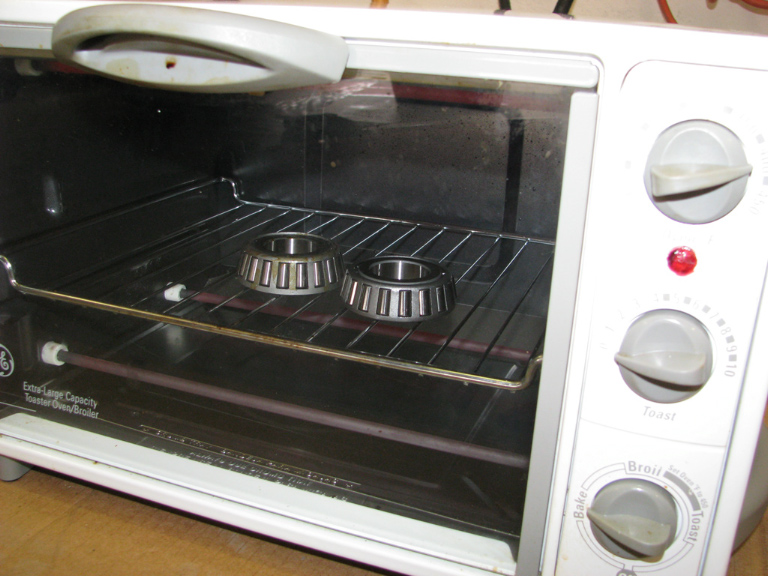
We realized we had the wrong bearings to assemble the front output assy...so we got them at Carquest and NAPA.... here we are heating them up in Steve's new toaster oven... the just slid on the shaft with no problem!!
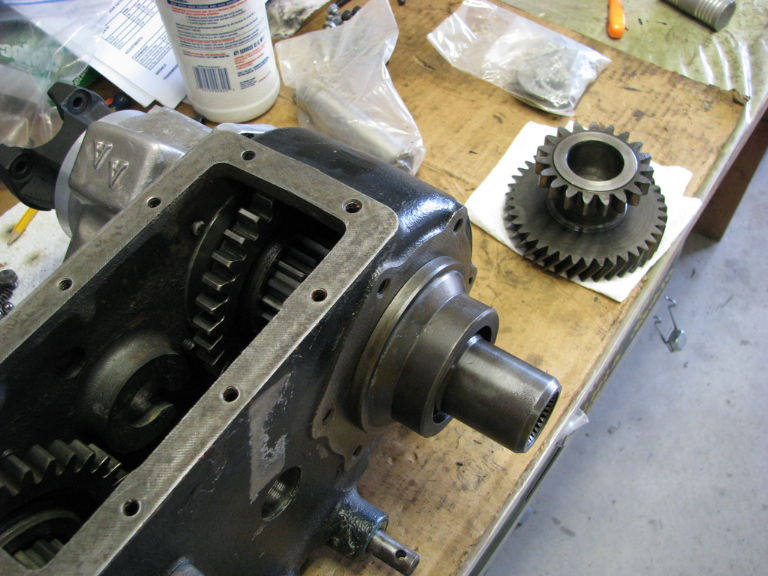
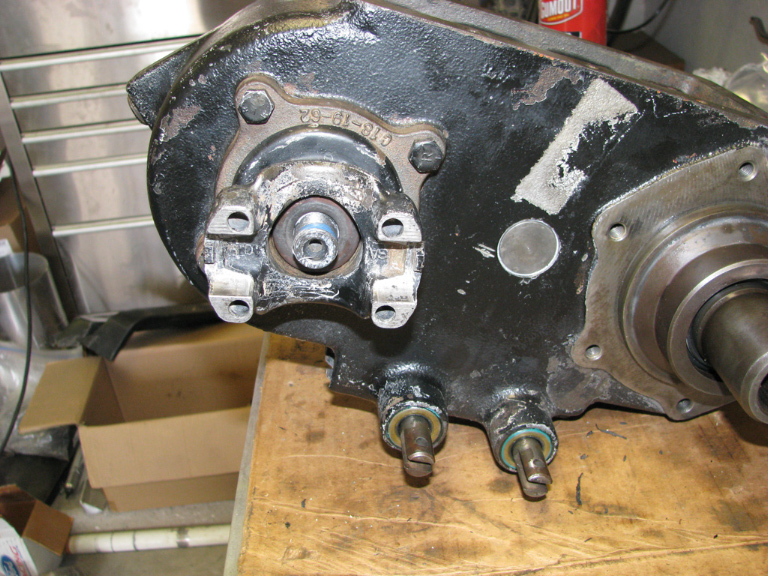
Front output shaft assy installed....
Cover and shims installed
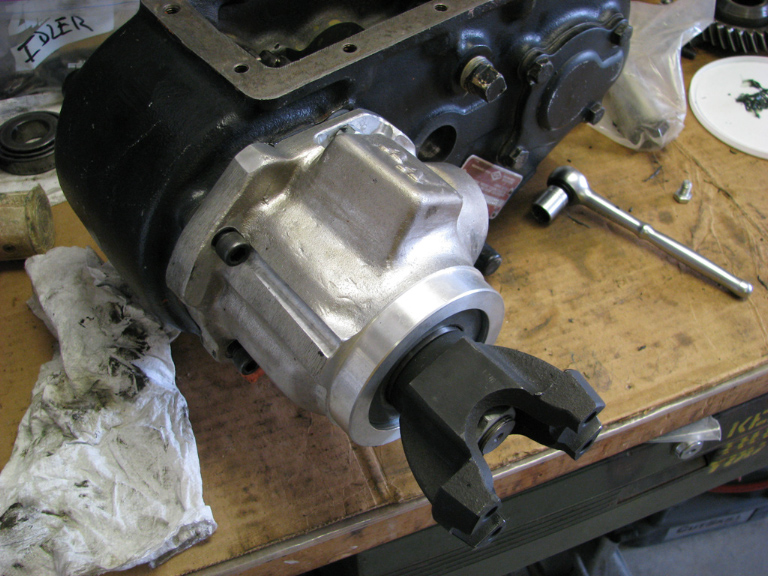
I had recently bought WildHorses Extreme Duty Output Shaft assembly with corrected speedo gear... here it is installed!!
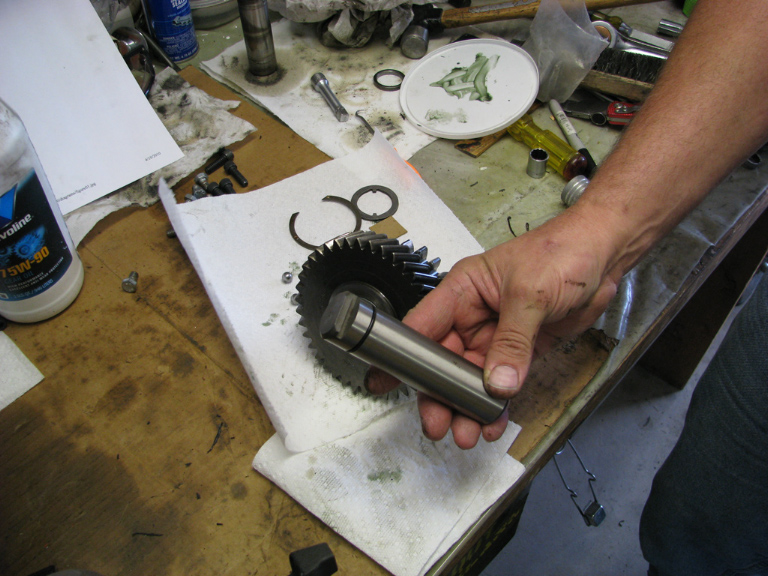
Next was the input shaft for the intermediate housing....
We realized that the kit ordered by Steve and me, neither had the required O-ring for the this shaft... off to Ace Hardware...
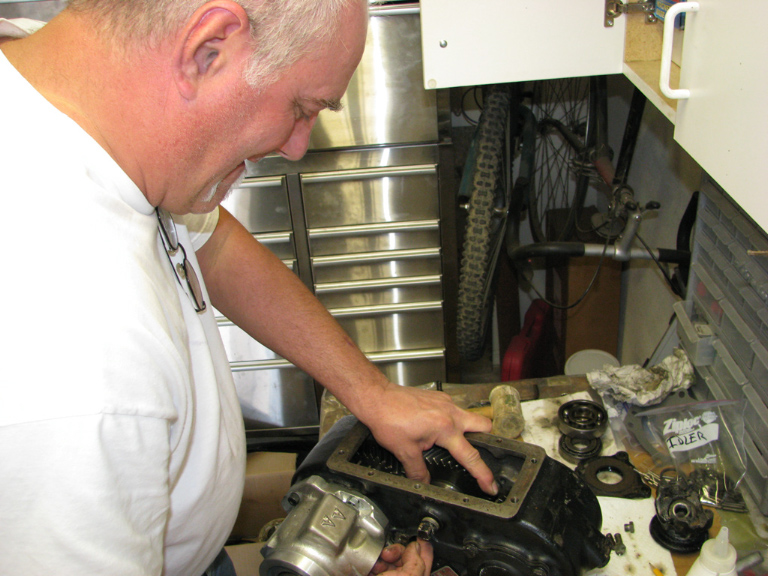
Steve getting it all lined up .....
All assembled except for the inspection cover....
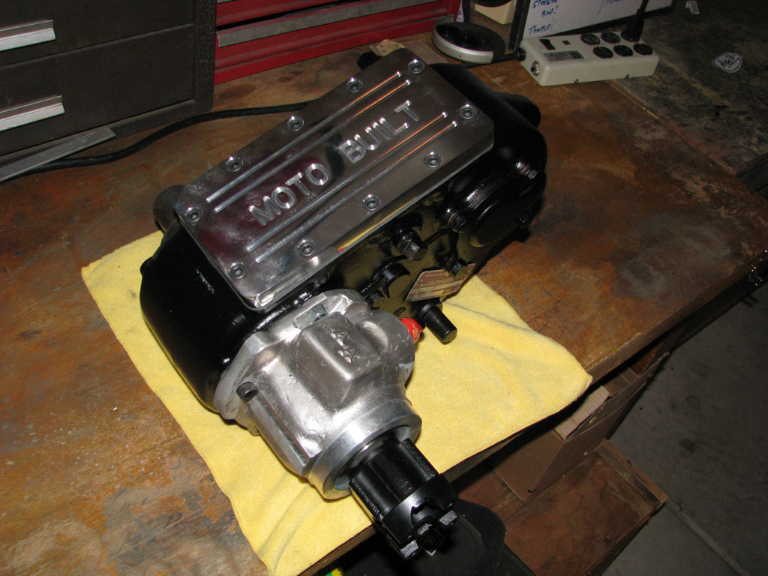
PAINTED and READY TO GO IN THE BRONCO!
Can't wait to get it installed ..... Steve thank you again for your knowledge, skills and patience.......!!!!
By the time I got to Steve's house he had completely disassembled my transfer case and cleaned everything. In preparation I had taken my inspection cover to a friend and asked if we could so something cool in aluminum. He taught me how to use a mill and this was the result!!!!
Shelby (son) and I had spent Friday night sanding and polishing the cover. Now at Steve's house we inventoried all the parts. He noted the shift fork was loose we he took them apart. Could be the reason my truck would pop out of hi 2wd.
One of the ears was broke on the cover....
The gears looked pretty good but it was obvious that moisture had gotten into the Tcase at some time. And there was pitting on the gears. We decided to go ahead and keep them for the rebuild.
Steve was just happy to be there!!! ;D
Steve has read where we could modify the shift rails so I could use front wheel drive and rear neutral.... He got busy with the dremel
Now the pills will allow FWD only, but not go into L and H at the same time.... we kept that interlock!
We realized we had the wrong bearings to assemble the front output assy...so we got them at Carquest and NAPA.... here we are heating them up in Steve's new toaster oven... the just slid on the shaft with no problem!!
Front output shaft assy installed....
Cover and shims installed
I had recently bought WildHorses Extreme Duty Output Shaft assembly with corrected speedo gear... here it is installed!!
Next was the input shaft for the intermediate housing....
We realized that the kit ordered by Steve and me, neither had the required O-ring for the this shaft... off to Ace Hardware...
Steve getting it all lined up .....
All assembled except for the inspection cover....
PAINTED and READY TO GO IN THE BRONCO!
Can't wait to get it installed ..... Steve thank you again for your knowledge, skills and patience.......!!!!