OP
OP
jim3326
Bronco Guru
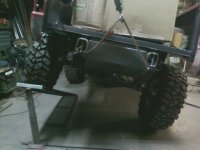
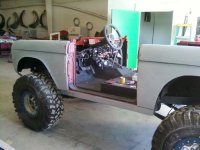
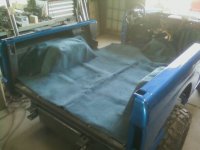
That was one of my concerns also when I did the first body test fit, it was just touching the floor. After I put the body lift WITH the washers on top, there was a 1/4" clearance. I think it shifted to 1 side enough that there is a floor rib right over it to give it a little more room. Lot easier being lucky than good;D
Jim W.
Jim W.
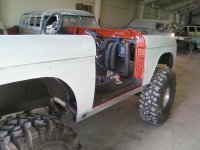
 I have several connections in the racing community around here and used them to build the engine. I tried going the U-Pullit route but didn't have much luck so I just bit the bullet and went the aftermarket route. After that it was easy;D