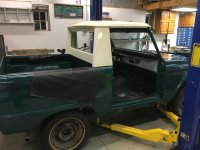
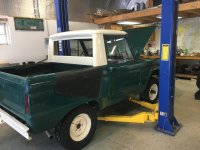
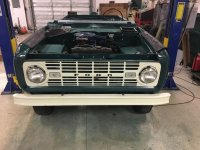
It runs!!!
I’ve been doing some work here and there since the last update.
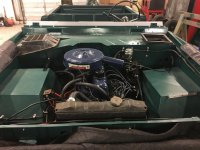
Today I stuck a battery in it, cranked it over without the spark plugs in long enough to get oil pressure. Then I primed the fuel system with an electric pump, and cranked it up.
It fired right up, and ran until the carburetor went dry. The new mechanical fuel pump I put on wasn’t pumping. So I stuck the electric pump back on temporarily, and ran it long enough to warm it up good. It was charging right off the bat, too. While it was warming up, I checked all of the lights, and other electrical stuff. Everything worked as it should except the horn. It was making a weird sound when I hit the button. Then I realized the sound was very similar to the washer pump. So I hit the washer pump button and the horn blew!
Switched the connectors, and then they worked properly. I also ran the transmission through the gears, and it seems to shift ok.
The gas gauge doesn’t work, and I found out the radiator now leaks, but overall a very successful test run. My dad told me the gas gauge had quit working a few years ago. I put a new sending unit in, so I suspect the gauge itself. Need to do some more troubleshooting in it. The radiator is original, and it looked a little suspect when I took it out. Just ordered a new one.
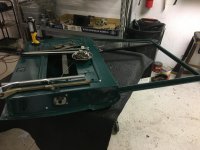
I pulled the fuel pump, took it apart and found the diaphragm wasn’t attached to the arm. Put it together properly, and now it pumps fine.
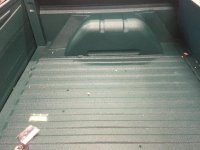
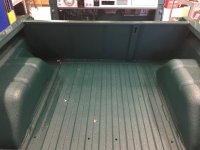
New floormat really ties the room together!


")