• Just a reminder that you won't be able to start new posts or reply to existings posts in the Archive forum.

    This is where all the old posts go so they can still be used for reference and searched.
  • Welcome to ClassicBroncos! - You are currently viewing the forums as a GUEST. To take advantage of all the site features, please take a moment to register. It's fast, simple and absolutely free. So please join our community today!
    If you have problems registering or can't log into your account, please contact Admin.

Hellwig 68 Bronco Project

OP
OP
Bknaus

Bknaus

Jr. Member
Joined
Feb 21, 2012
Messages
131
Loc.
Visalia, CA
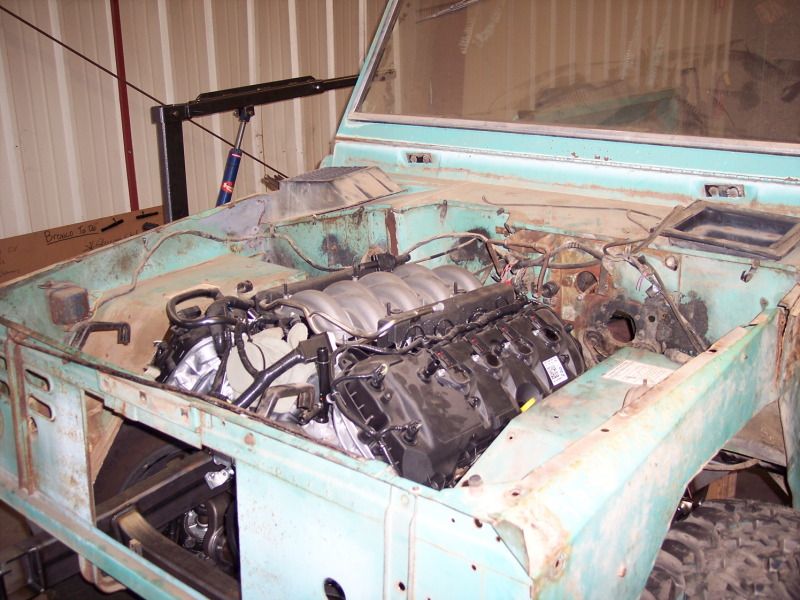
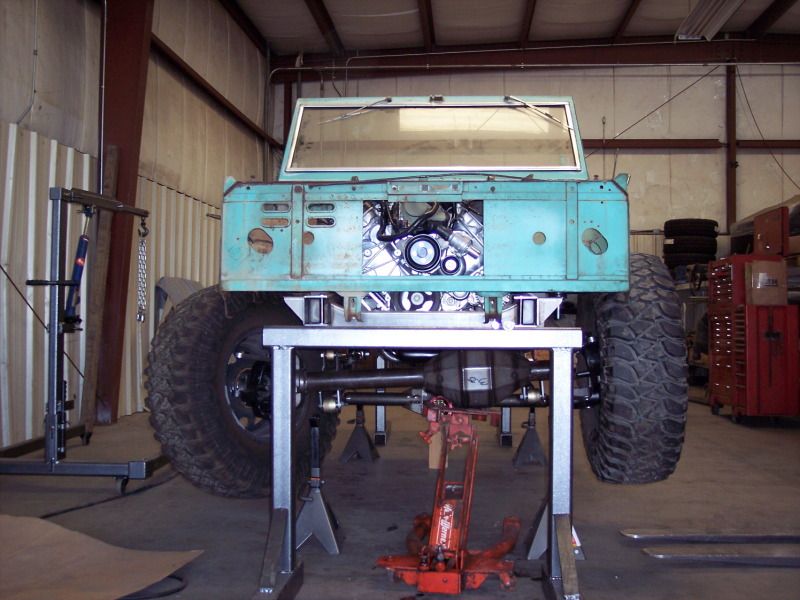
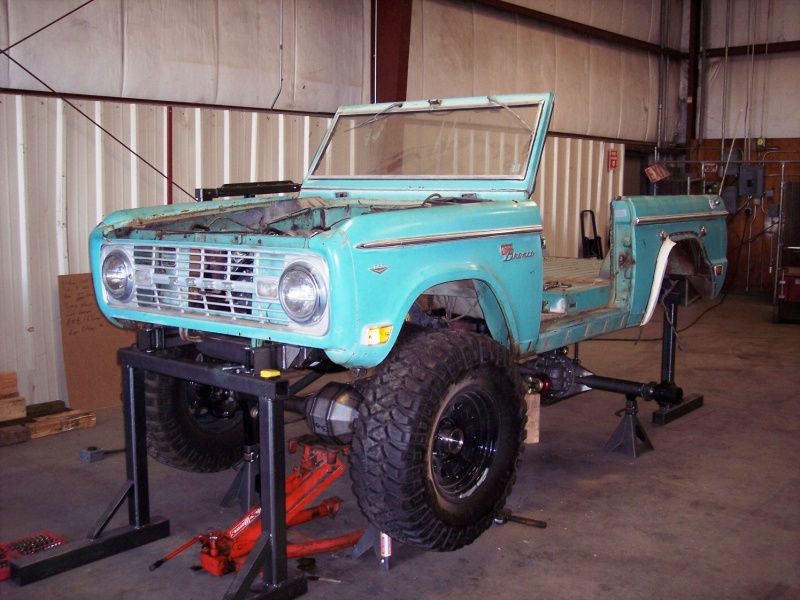
We put the body back on it today to check engine fit, make sure our axles are fairly centered in the wheel wells and make a final decision on tire size.

Getting the body on required trimming the inner fender some, none on the top but some on the edges. Lots of lower, lift, trim, repeat to make sure we don't take more than we need to.
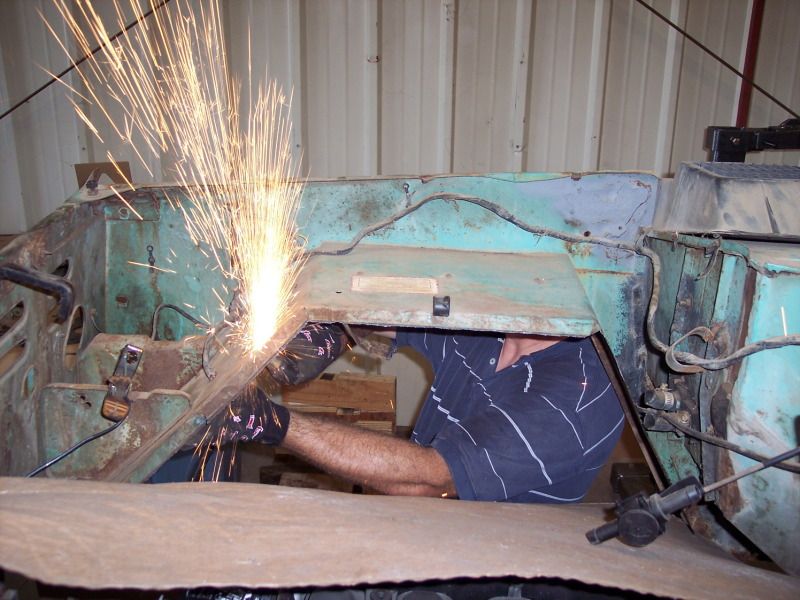
000_7741_zpsf6b75589.jpg


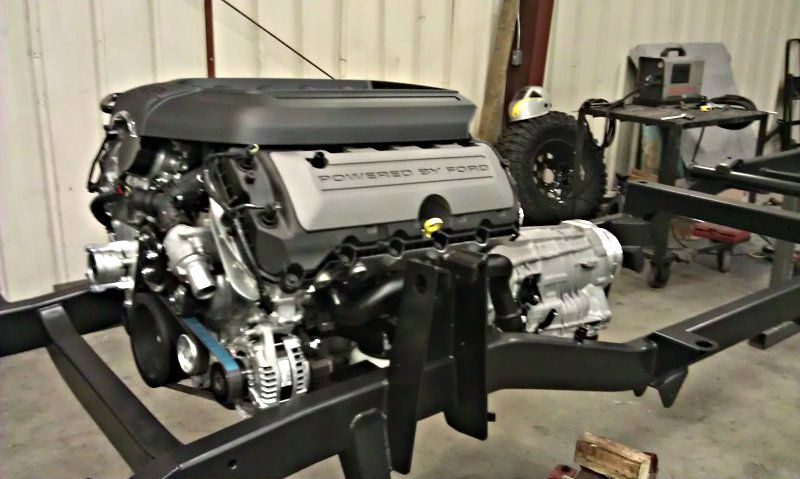
You can see we mostly had to hit the passenger side since the engine is offset that way to allow steering on the driver side. We love the look of the engine in there!
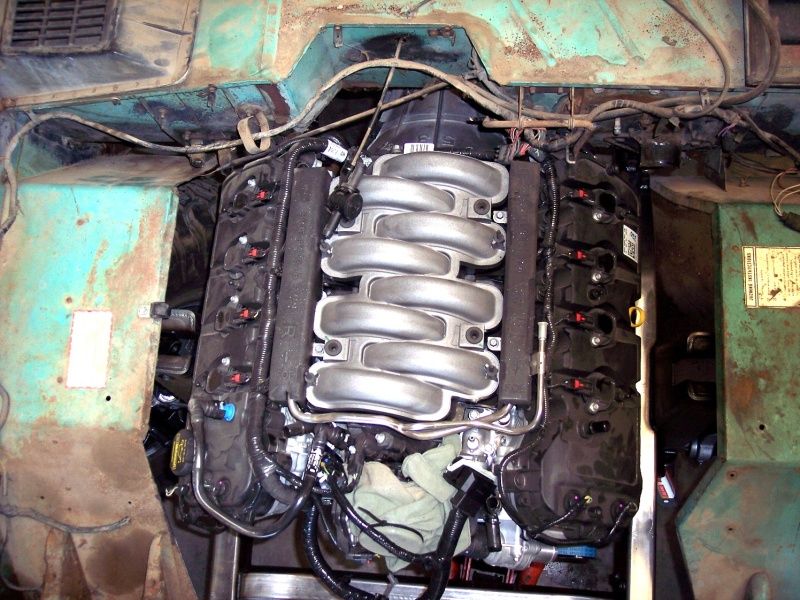
000_7745_zps7b3a64e6.jpg


000_7755_zps36c334d9.jpg


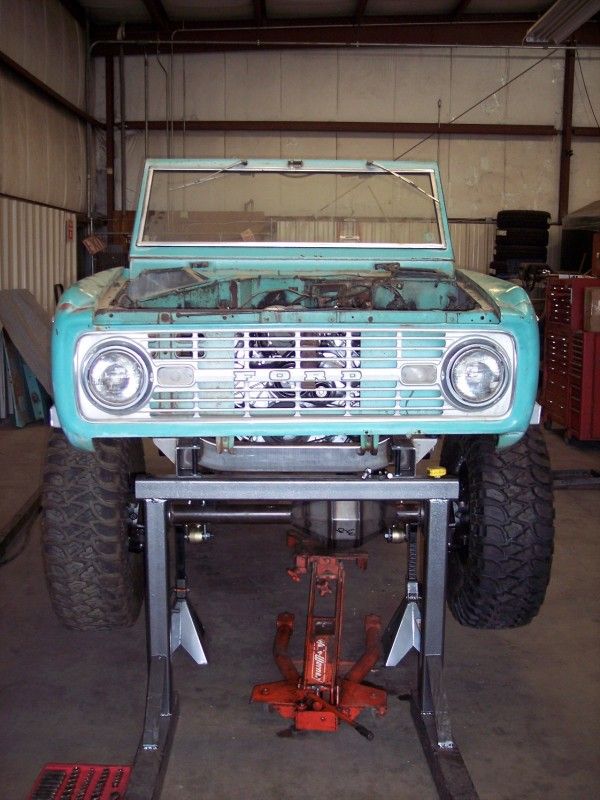
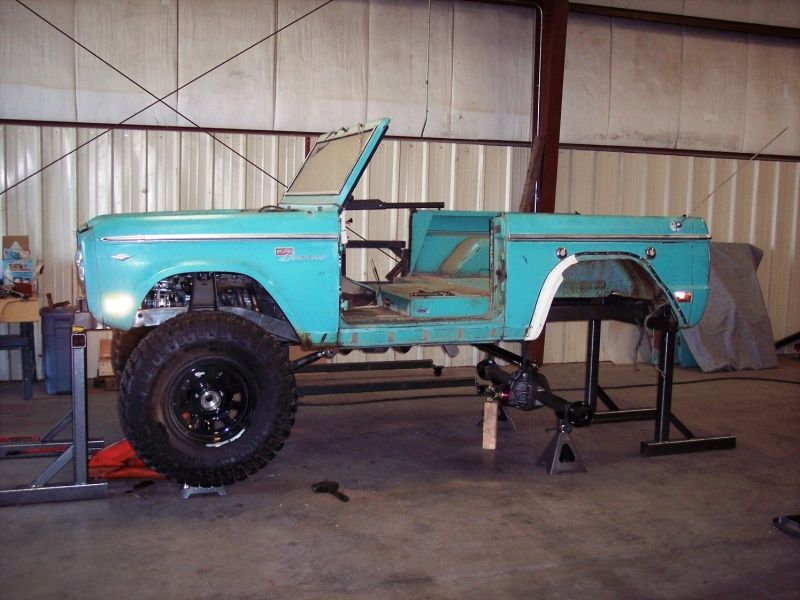
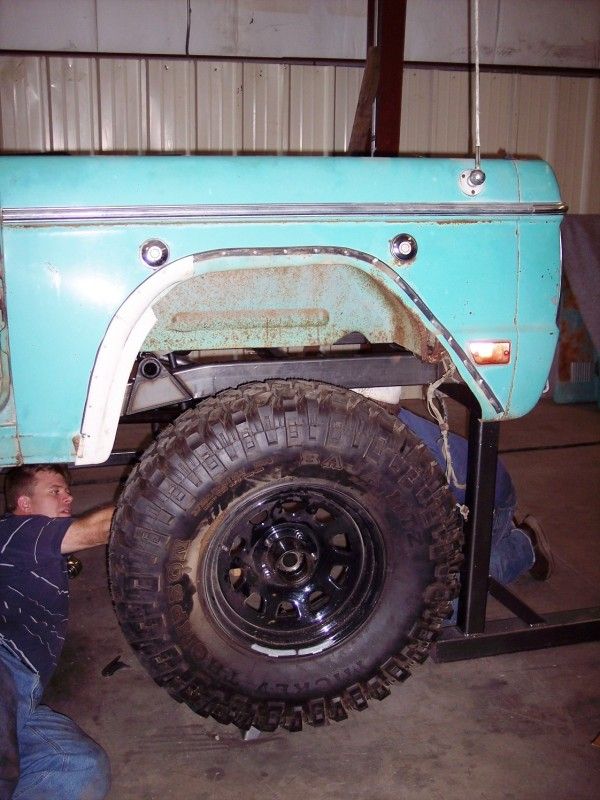
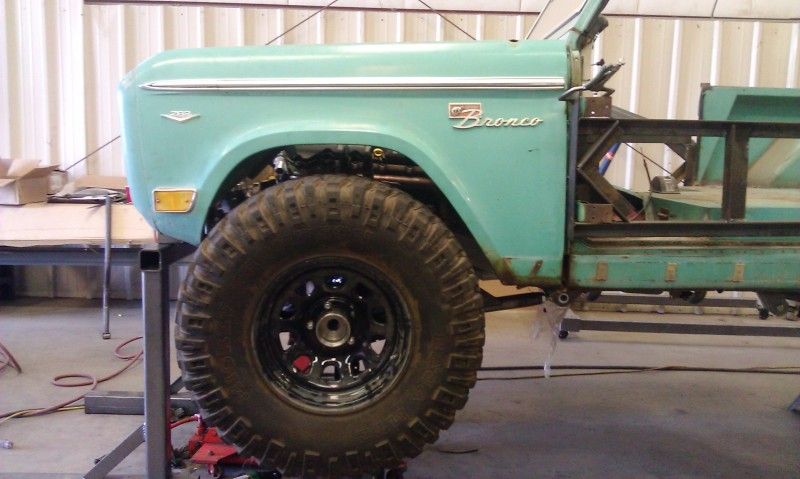
We stole two tires/wheels off our owner's Jeep for test fit purposes and it looks like we're going to add a 1" body lift and run 37s. These pics are with the driver side at full compression.
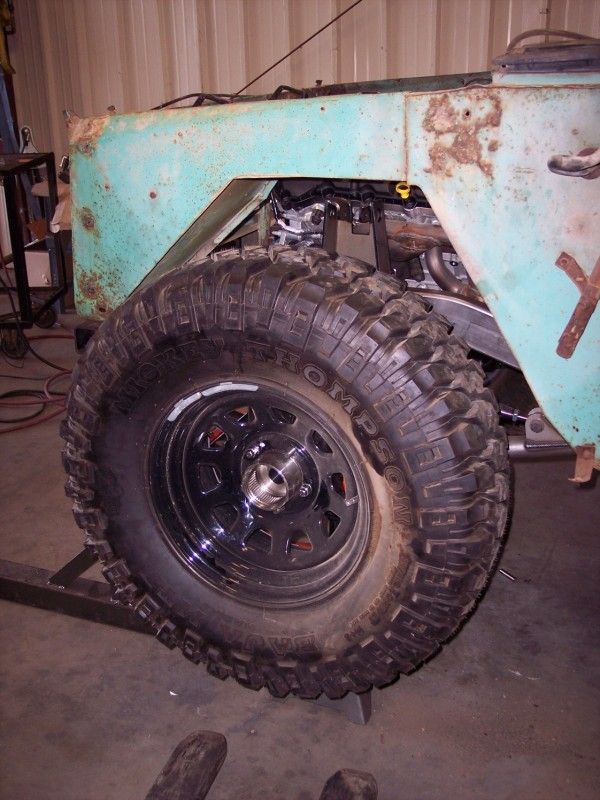
000_7750_zpse387c3a7.jpg


000_7751_zpsde5f07a1.jpg
 
OP
OP
Bknaus

Bknaus

Jr. Member
Joined
Feb 21, 2012
Messages
131
Loc.
Visalia, CA
We made the 1" body lift and also threw the front clip on to check outer fender clearance (and to just check out how she looks ;) ). We will have to do something with the front fenders but we're still talking about different options. This will be about ride height.
000_7770_zps40087dc3.jpg


000_7769_zps6d75f5cb.jpg


000_7768_zps70eaaeb4.jpg


Getting the rear axle centered in the fenders. These were already cut when we bought her so it looks pretty good (other than it looking like the cuts were made with tin snips). Once again, this will be ride height.
000_7773_zpsa6f9d241.jpg


As always, more pictures are in the album HERE
 
OP
OP
Bknaus

Bknaus

Jr. Member
Joined
Feb 21, 2012
Messages
131
Loc.
Visalia, CA
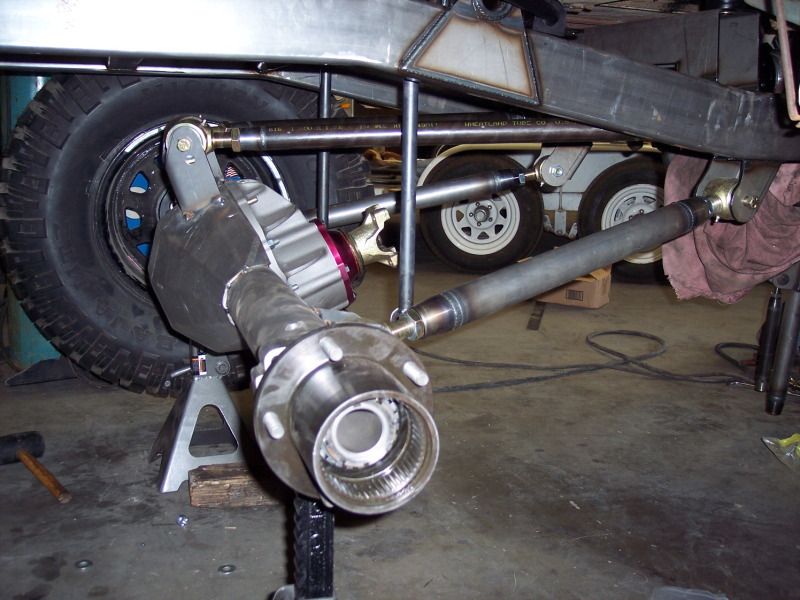
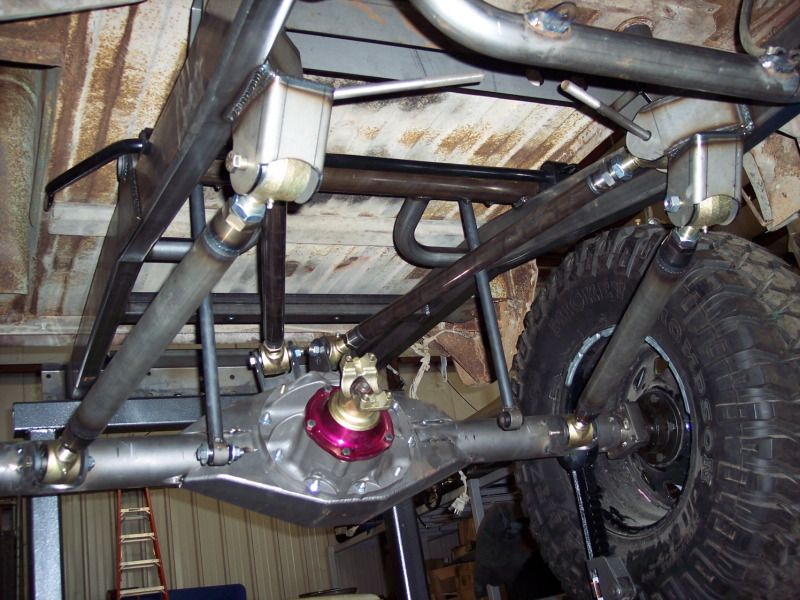
We got the rear 4 link all tacked in place and the pinion angle pretty much set to order our driveshafts.
000_7775_zps85905c0d.jpg


000_7780_zps2883f554.jpg


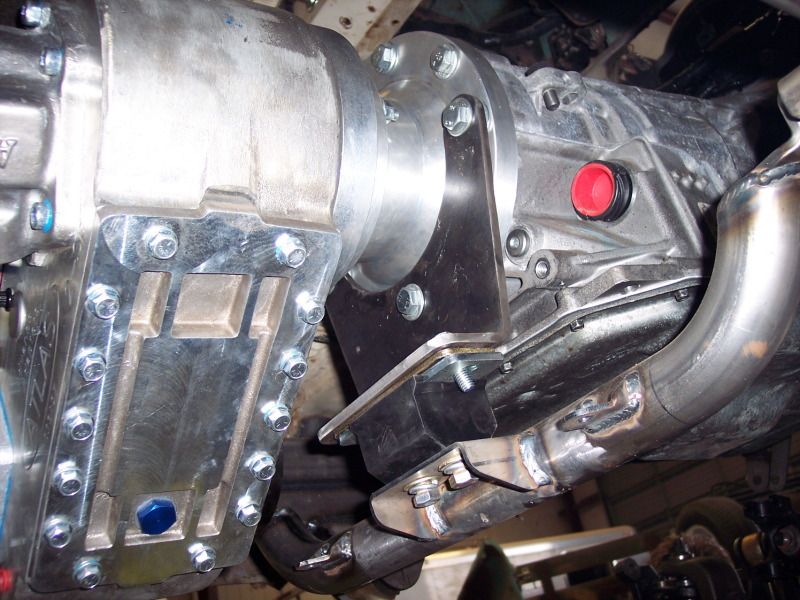
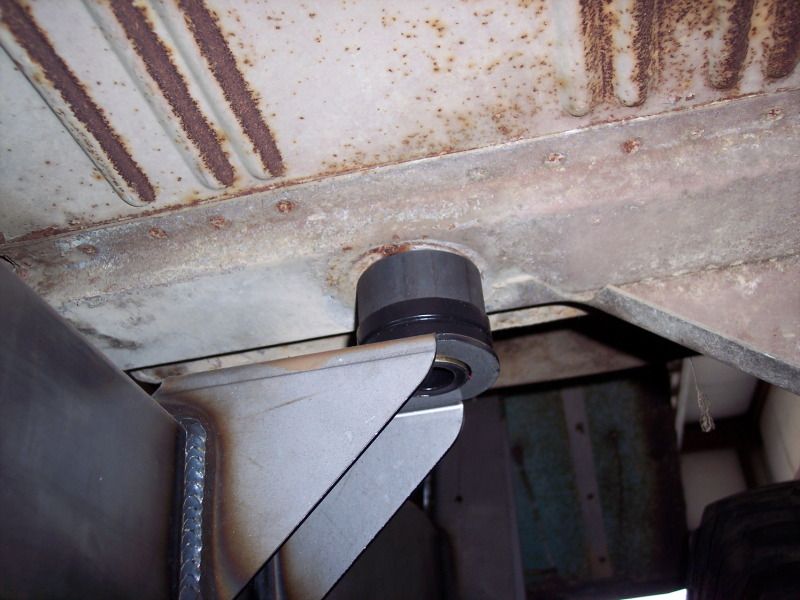
Here's our tranny mount using a Daystar Poly mount and a custom bracket we made to attach to the rear of the Tumblin Automotive adapter. This is welded to the crossmember that the t-case skid plate bolts to.
000_7784_zps143733ff.jpg


Here's a pic of the 1" body lift we made the other day. We made it using scrap sway bar material so it's all 4140, should we heat treat it to just go super overkill?
000_7785_zps99057334.jpg


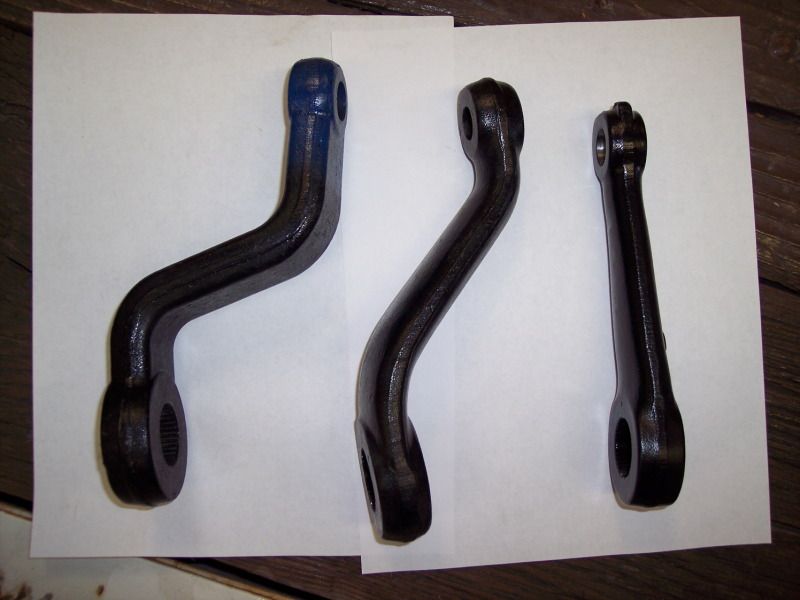
We ordered one pitman arm and then digging through the piles of stuff that was in the back of the Bronco when we bought it we found two more in the original Moog boxes. We'll see which works best.
000_7774_zps0e330715.jpg


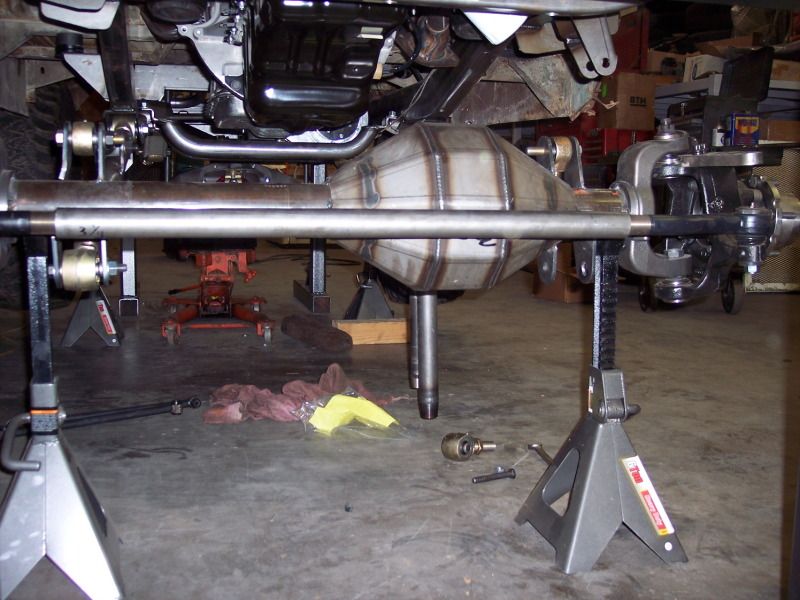
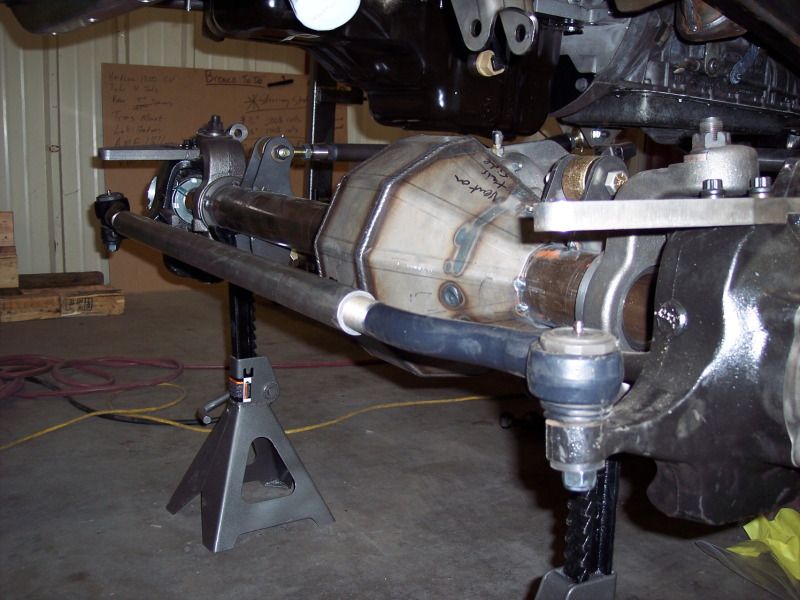
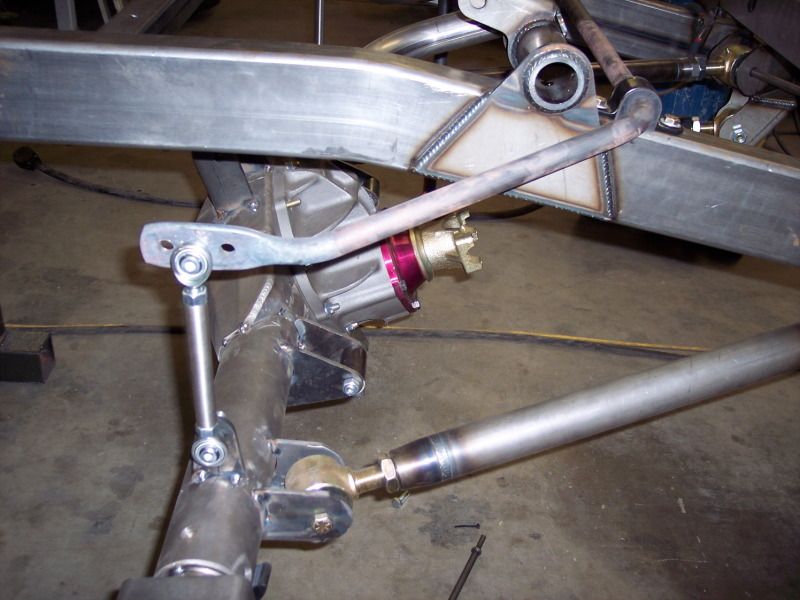
We also got our tie rod on with some HUGE Currie rod ends. The tie rod is 1-5/8x.250w 4130 that we drilled and tapped the ends for the 1-1/4 threaded rods. We'll heat treat it in house once we figure out all our tabs for the hyro assist ram. Can you tell we didn't want to break/bend it?
000_7789_zps58bfcd4e.jpg


Right now we're at negative caster so when we break the tacks and rotate the knuckles back the tie rod will be a lot higher in relation to the axle. We're thnking about leaving it on the lower mounts and not using the higher arms. Thoughts?
000_7788_zpse9299ade.jpg
 
Last edited:

BroncKrawler

Sr. Member
Joined
Dec 3, 2006
Messages
802
Loc.
Harrisburg, Oregon
Found you on Instagram recently, started following this build on there. Was about to comment on one of your photos about joining classicbroncos.com and by luck I found your build on here already! Awesome build! Can't wait to see the final product! Great job so far! ;D
 

DirtDonk

Contributor
Bronco Guru
Joined
Nov 3, 2003
Messages
48,575
Right now we're at negative caster so when we break the tacks and rotate the knuckles back the tie rod will be a lot higher in relation to the axle. We're thnking about leaving it on the lower mounts and not using the higher arms. Thoughts?

Yes. Wait and see.
With the rod up just a bit, it's at a decent height, but looks like it also might be right up there with that bend in the diff housing that sticks out the most. If so, you might find that when you turn the knuckles to the steering lock, the rod might actually contact the housing.
If that's the case, then that alone could make the decision for you.
If it still clears however, it might still be best to hold off on where to mount the tie-rod ends until you've laid out any other components up there that might interfere, or dictate draglink angles.

This is a full 4-link in front, or radius arm with trackbar/panhard bar link? I know you got the radius arms earlier, but not sure what the whole layout plan is. If a trackbar, where will it's mounts be?
If without a trackbar, that at least leaves your choice of tie-rod heights wide open.
If with trackbar, waiting until it's mounted and trying which of your pitman arms you'll ultimately go with will give you your best indicator of which steering arm location to use.

Hydro steer? Or steering box on the frame?
Something else that will play into your design.

Can't wait to see it working though. Either way.

Paul
 
OP
OP
Bknaus

Bknaus

Jr. Member
Joined
Feb 21, 2012
Messages
131
Loc.
Visalia, CA
All good advice and questions DirtDonk. We adjusted the caster at the end of Friday and the tie rod clears the diff mounted on either arms at full lock and looks even better higher up on the axle (away from future rocks).

This is radius arms and we will be running a panhard. We already have the frame mount for the panhard so pretty much we're just picking the pitman arm that brings it to about the same height as the panhard mount. We still have to fab the lower panhard axle mount but basically want everything else on there so we can work around it and get the panhard at a good angle.

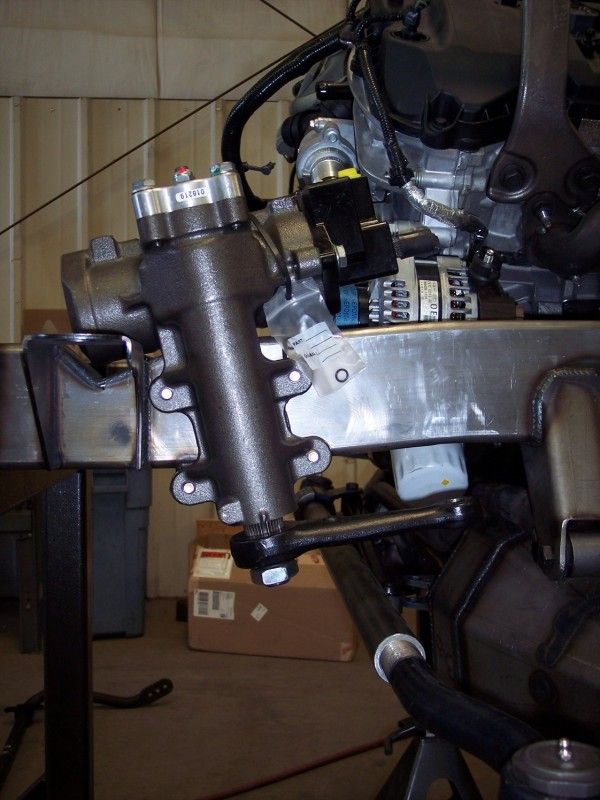
It has a PSC steering box with hydro assist (there's a pic of the box mounted on the previous page). The main reason we want to use the lower tie rod mounts is like you said, between the panhard, drag link, hydro assist ram, oil pan, etc it's really tight up higher to fit a tie rod too.

Found you on Instagram recently, started following this build on there. Was about to comment on one of your photos about joining classicbroncos.com and by luck I found your build on here already! Awesome build! Can't wait to see the final product! Great job so far! ;D

Glad you found it!
 
OP
OP
Bknaus

Bknaus

Jr. Member
Joined
Feb 21, 2012
Messages
131
Loc.
Visalia, CA
We finished all our steering/suspension on Saturday and I drove our axles down to Currie Enterprises in Corona yesterday to get fully welded and set up. They have an impressive set up down there! I have some halfway pictures but forgot to take pictures of everything fully bolted up before we tore it apart again for paint and weld.

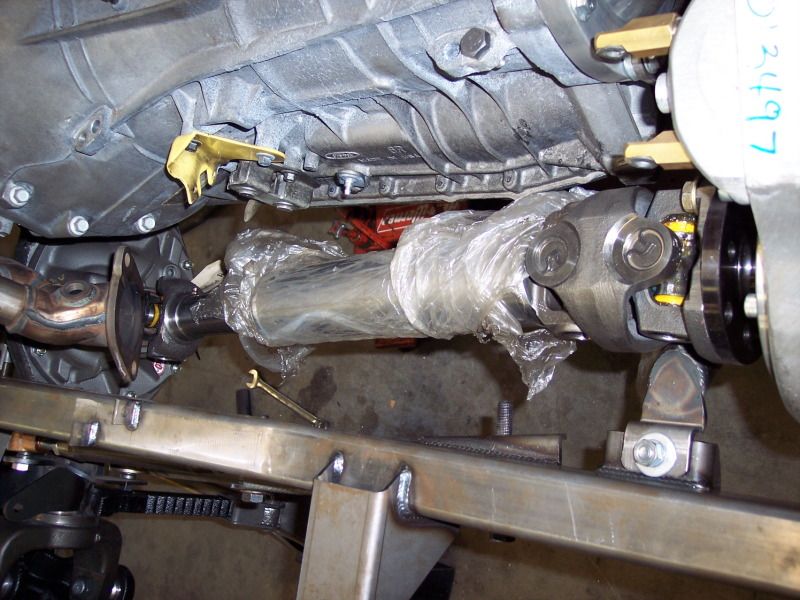
Here's our Tom Woods Driveshaft. They do some beautiful work with an amazing turn around time (that we loved with SEMA coming up). We're running 1350 joints and our front and rear driveshafts are within 1.5" of each other so we should be able to use one spare for both. You can see our driver side header dumps right into the shaft so we're thinking we're going to use these cast manifolds from Ford Racing to dump a lot higher and actually run the exhaust outside the frame where there's tons of room.
000_7800.jpg


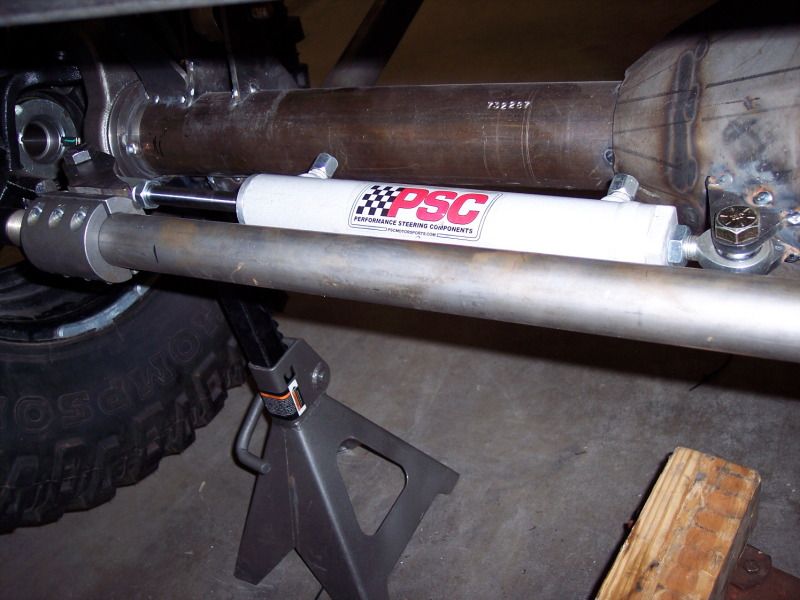
Here's our final location of our PSC hydro assist ram.
000_7793.jpg


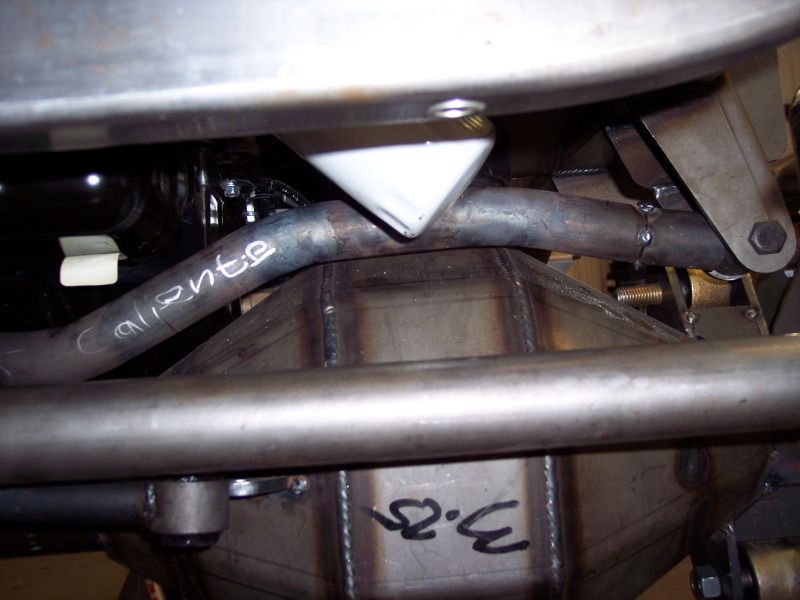
Here's the beginnings of our front panhard with the frame mount. This is full bump plus 1" for safety and you can see the top of our diff is actually a hair higher than the bottom of our oil pan, just offset enough for it to work. This made the panhard a little tricky but we bent one up on our CNC tube bender out of some scrap solid, then tweaked it with a torch and cutting out little sections to get it perfect. That's what this pic is of, but we then measured it with our CMM and bent a perfect one out of 1.375x250w DOM (no pic of that).
000_7803.jpg


The flat arm worked the best for us, here's the box and pitman arm. We have the drag link using the same 1.625x250w material as the tie rod and the same CurrectLync ends. No pics of that either, oops
000_7809.jpg


Here's our rear axle with all the link tabs, shock tabs, sway bar tabs and our 7/8" rear sway bar.
000_7797.jpg
 

xcntrk

Bronco Guru
Joined
Jan 12, 2012
Messages
2,473
Loc.
NOVA
I was thinking about doing the same thing with that rear swaybar!! Taking one of your front EB swaybar kits, flip it over and mount it in the same location as you have (above the rails), and fabricating some end-links and axle mounting tabs. Obviously your version is much better as it uses an appropriately sized bar instead of the massive (1.125") front bar in your existing kit.

Can your average consumer buy that 7/8" bar, D-bushings, and mounting cups al-a-cart? Is that something you can work with?
 
Last edited:

Dusty

Bronco Guru
Joined
Jun 28, 2001
Messages
2,965
Incredible build. I'd seen a couple of your pics on Instagram but hadn't looked in this thread until now. For most of us who have to work on old rusty frames, your project looks like a dream come true!

Are you going to use a remote oil filter? That thing sure looks like it hangs down there in the danger zone.
 
OP
OP
Bknaus

Bknaus

Jr. Member
Joined
Feb 21, 2012
Messages
131
Loc.
Visalia, CA
I was thinking about doing the same thing with that rear swaybar!! Taking one of your front EB swaybar kits, flip it over and mount it in the same location as you have (above the rails), and fabricating some end-links and axle mounting tabs. Obviously your version is much better as it uses an appropriately sized bar instead of the massive (1.125") front bar in your existing kit.

Can your average consumer buy that 7/8" bar, D-bushings, and mounting cups al-a-cart? Is that something you can work with?

Right now we do not have a frame mount rear sway bar for the Early Broncos. We do have a 3/4" axle mount rear sway bar (you can see pictures of it in this thread). Our first iterations were all frame mount to increase ground clearance but unless you take the body off the bronco it is almost impossible to get the holes in the top of the frame to mount the sway bar to and it makes any mounting difficult. In the end, for it to fit most Broncos without major modifications axle mount was our best option.

Also, the rule of thumb is to always have the front stiffer or you'll want to swap ends in the corners so I definitely would not run a 1-1/8" bar in the rear. We have a 7/8" diameter rear bar on our project Bronco but liked the 3/4" bar on the rear of a leaf sprung rig since the leaf springs add some sway control and 7/8" felt a little stiff to us with leaves.

Incredible build. I'd seen a couple of your pics on Instagram but hadn't looked in this thread until now. For most of us who have to work on old rusty frames, your project looks like a dream come true!

Are you going to use a remote oil filter? That thing sure looks like it hangs down there in the danger zone.

I'm glad you approve! It is a dream build for us too, everything's a million times nicer than my personal rig (85 Toyota Pickup). We've looked at the remote filter and right now it clears everything just fine where it is (although it does hang down a fair amount). They also have some wider, shorter filters we may use in the same spot.
 
OP
OP
Bknaus

Bknaus

Jr. Member
Joined
Feb 21, 2012
Messages
131
Loc.
Visalia, CA
Here's how she looked before I took the axles down to Currie on Monday. This is full bump +1". The rear clears but the front edge doesn't (unless we always only drive in a perfectly straight line). This is the third time with the body on and off and we have it down to a 15 minute science now.
IMAG0554.jpg


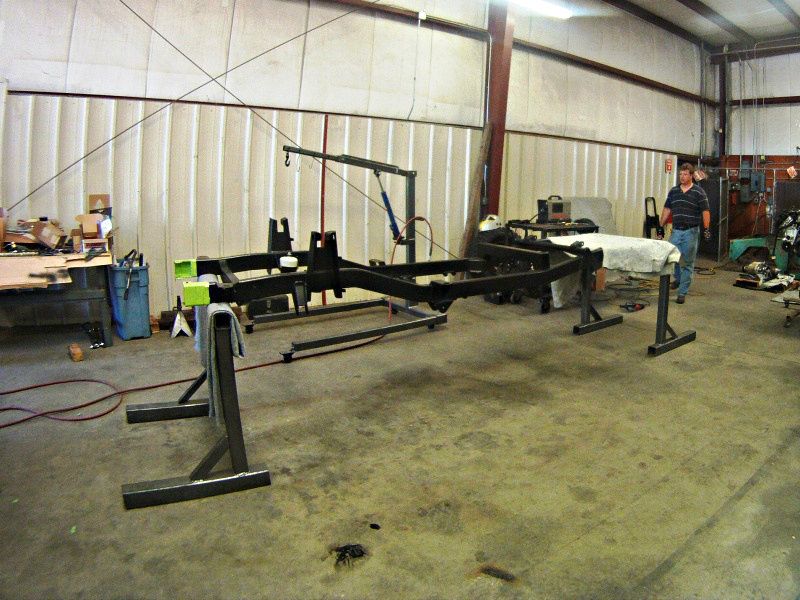
Here's how it looks now, pretty much the same as before we started except for a few extra tabs. A little depressing to tear it all apart but that means we're on the final stretch to SEMA! We took the frame over to Visalia Powdercoat to get sandblasted and powdercoated today. We're going to sandblast and powdercoat the rest of the suspension in house, we just don't have a big enough sandblaster to do a whole frame. And yes, it is upside down.
IMAG0600.jpg


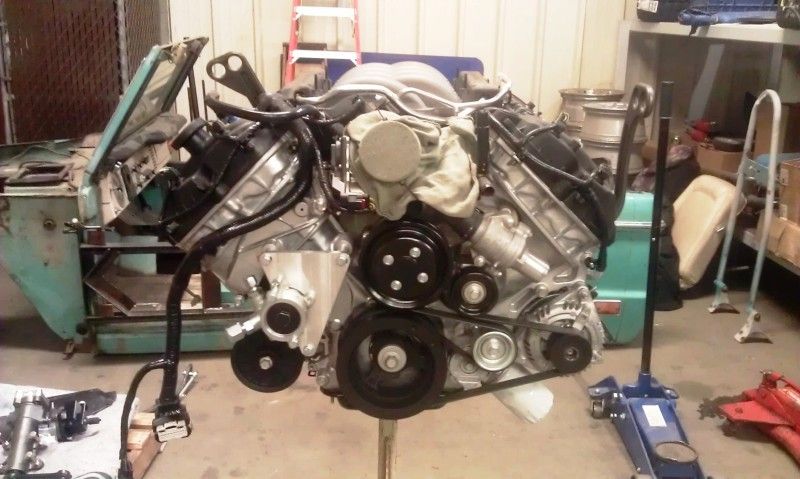
The only other slightly exciting thing besides a lot of paint prep and million little fine details is we got our power steering pump figured out on the engine after trying a couple different options.
IMAG0599.jpg
 
OP
OP
Bknaus

Bknaus

Jr. Member
Joined
Feb 21, 2012
Messages
131
Loc.
Visalia, CA
I guess I have been slacking on updates, we've progressed. Everything is all powdercoated and back. We went through a couple different colors and ended on a basic chassis black for the frame and suspension. We are getting the axles back tomorrow and then the real final assembly push begins (in a week I will be on the road to Vegas/SEMA). Otherwise, we've just been trying to catch up on some new sway bars and leaf springs and get the rest of the booth together while stuff has been at paint.
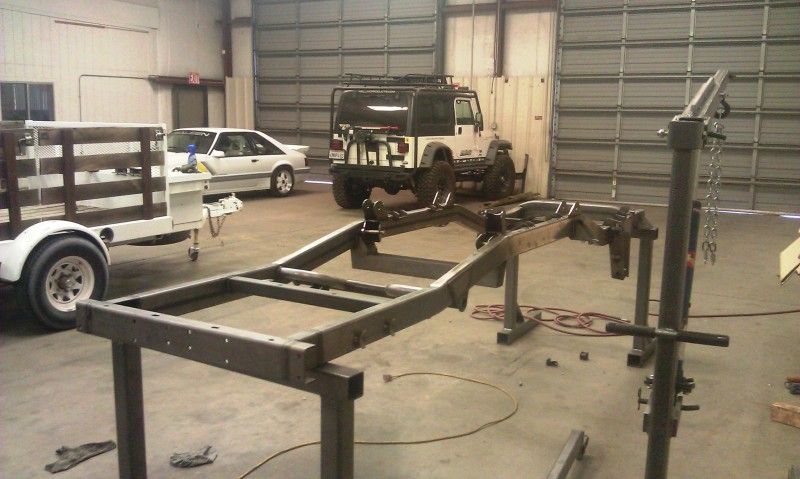
Here's the frame back from PC, we have some tape on the front because we were test fitting a bumper from Wild Horses that'll be on it for the show
GOPR1809.jpg


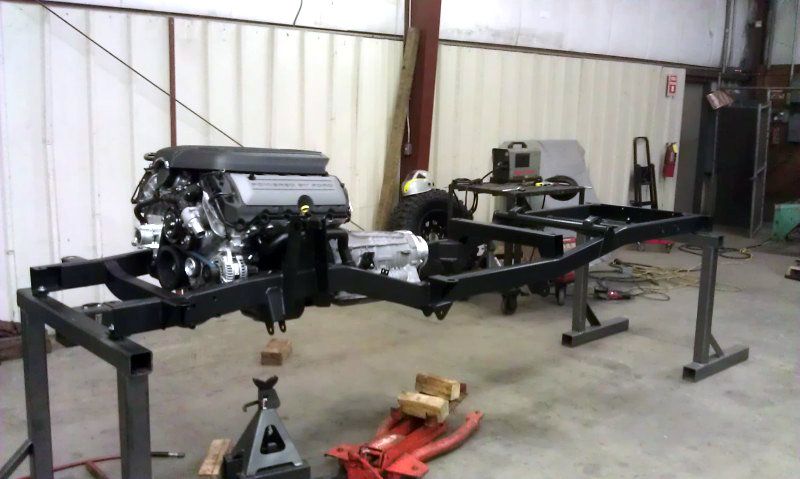
The engine and tranny are back in.
IMAG0625.jpg


IMAG0624.jpg


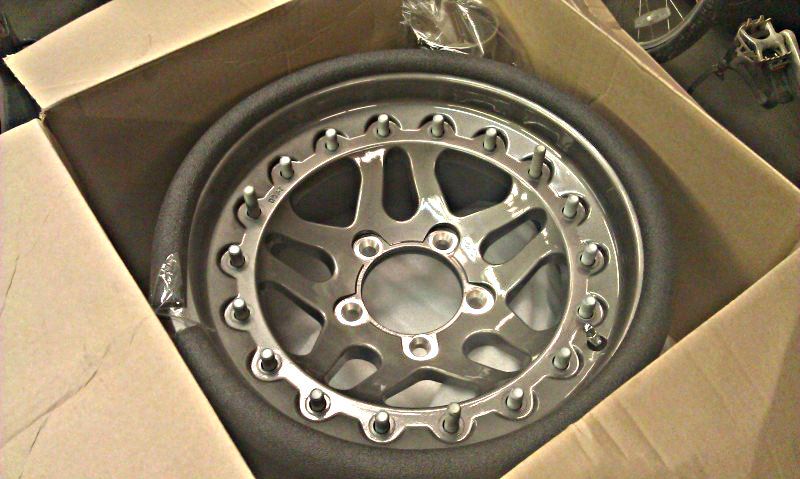
We also got the wheels in, we went with the Hutchinson beadlocks and as soon as the tires come in we can put them all together! Just from checking them out they look like awesome construction and since Hutchinson makes wheels for the military that stand up to IEDs, they should be strong. They're also DOT approved which is rare for a beadlock.
IMAG0602.jpg
 

DirtDonk

Contributor
Bronco Guru
Joined
Nov 3, 2003
Messages
48,575
Love the look of those Hutchinson's.
Always thought they'd look great on a Bronco.

Thanks for the update.
SEMA's looming...!!!

Paul
 
OP
OP
Bknaus

Bknaus

Jr. Member
Joined
Feb 21, 2012
Messages
131
Loc.
Visalia, CA
Umm...its next week! ;D

Shhhh, I don't want to think about it! We'll make it, but not with a lot of free time, haha. Every company I talk to agrees that it isn't a SEMA show if the paint's dry when you roll it in...
 
Top