• Welcome to ClassicBroncos! - You are currently viewing the forums as a GUEST. To take advantage of all the site features, please take a moment to register. It's fast, simple and absolutely free. So please join our community today!
    If you have problems registering or can't log into your account, please contact Admin.

Money Pit - Phase III

OP
OP
KyleQ

KyleQ

Bronco Guru
Joined
Apr 24, 2008
Messages
5,480
This weekend was successful on getting some work done, but I think I've found more work to do in the process.

We started off today by cutting a 78' F150 apart and yanking the drive line out if it - pretty easy once you cut the fenders and front of the frame off.


From there I cleaned up my NP435 and got it on the bench, ready for assembly. I bolted up the NP435 to Dana 20 adapter after a quick read of the instructions.


I noticed something when I was inside the transmission - I think it's between 3rd and 4th, do I need to worry about this? I really don't plan on using 4th that much. This is on the transfer case side -


For kicks and giggles I threw a lil D20 on the end as it's the same pattern as my Atlas - essentially a complete mock up :)


Fun fact for the day - this setup is with 1" of a C-6/NP 205 (we measured as both happened to be sitting next to each-other...
 
OP
OP
KyleQ

KyleQ

Bronco Guru
Joined
Apr 24, 2008
Messages
5,480
I've decided I'm going to try and tackle the rebuilding of the NP435 - I'm building a brand new motor and I've got a 1 year old Atlas2, no point in putting something sloppy between the two.

I'll take detailed pictures of everything and try to make notes as I go - I've got some rebuild information from Steve83's Supermotors page and I think I'll be calling up Novak and getting their rebuild kit, as it's the most complete out there.
 
OP
OP
KyleQ

KyleQ

Bronco Guru
Joined
Apr 24, 2008
Messages
5,480
Well, with time and money in short supply the transmission is going in and I'll think about rebuilding it after I use it. I really don't plan on using 4th that much and if it grinds, well, it will grind.

I've got everything gutted from under the Bronco as of now - drive shafts out, skid plate out, transfer case out, transmission out. It went very smoothly, even pulled the transmission lines without any problems.


I'm fairly certain that I've got everything I need, but I'm wondering about the pedals.


Do I have to pull my pedal box or can I just install the clutch pedal into mine? I thought they were all the same - so it wouldn't make sense to pull it when I could pound the pin over (drivers side) and slide the clutch pedal in and pound the pin back over.. Correct?

I have never a manual transmission with manual linkage, so this is a little foreign to me. In the diagram below I've labeled two parts and circled another. I'm guessing part B bolts to the top of the frame rail and part A pivots to where the arrow is pointed on part B correct? I know the circled part actually manipulates the clutch as it has the adjustable pointed end, but what does that mount to?


Click to enlarge-
 
OP
OP
KyleQ

KyleQ

Bronco Guru
Joined
Apr 24, 2008
Messages
5,480
Ahh - I think I answered my own question, those parts don't go together as I suspected, one mounts to the frame and the other to the motor and that bracket goes inbetween.

attachment.php
 
OP
OP
KyleQ

KyleQ

Bronco Guru
Joined
Apr 24, 2008
Messages
5,480
Well Wild Horses shipped me a happy box from Advance Adapters today and inside was my NP435 to D20 adapter, ohh the shineyness.
]

I hacked off the threads on my NP435, took a couple of minutes of careful cutting with the die grinder, my favorite tool.


Then I went to install it on the NP435 and I ran into my first problem of the night...


There was no way that bolt was going to fit. I didn't get any studs with the kit and I didn't have anything on hand, so to keep things simple if I ever needed to perform a trail repair I did some drilling and some grinding to get to this:


The fun didn't stop there, oh no. I was a little excited now and got the adapter bolted to the transmission and it was time to spline up the Atlas. The linkage hit where the cross member mounts, so out came the die grinder again. I took a bit of material off and in the end I ran out of time, there is still more to grind down.


It does fit together though - ;D
 

El Jefe

Bronco Guru
Joined
Oct 20, 2002
Messages
1,166
i hope you didnt attach the adapter to the trans using thoe allen bolts shown in the adapter pics, that is not nearly enough thread engagement into the transmission, and it can loosen easily over time (yes, even if you use loctite....)
 
OP
OP
KyleQ

KyleQ

Bronco Guru
Joined
Apr 24, 2008
Messages
5,480
i hope you didnt attach the adapter to the trans using thoe allen bolts shown in the adapter pics, that is not nearly enough thread engagement into the transmission, and it can loosen easily over time (yes, even if you use loctite....)

I did as they were provided, what should I used instead? (great, more work, that one bolt I had to modify the adapter for went in hard)
 

El Jefe

Bronco Guru
Joined
Oct 20, 2002
Messages
1,166
as long as you have 1.5x to 2x the nominal WIDTH of the bolt as thread engagement you should be ok. for example, a 1/2" bolt (the threaded portion, not the head size) should have at least 1" of thread engagement. in metric, a 10mm bolt should have 20mm thread engagement etc etc. if the female (nut) threaded component is Aluminum, the rule of thumb changes to 2-1/2x the nominal diameter....hope this helps...
 

Kurt

Full Member
Joined
Nov 10, 2001
Messages
555
Loc.
Badger State
Kyle, El Jefe is right about the bolt length. You can easily measure the case thickness, and go with bolts that go slightly further in than the threads. Do not go any further in the left lower bolt looking at the back of the NP435, or the bolt will interfere with the gear.

If you take the bolts I supplied with the NP435 adaptor plate and measure the threads sticking out of it, you can easily measure the desired thread length that you need to stick out of the AA adaptor.

On another note, I find it unacceptable that an adaptor that has been out on the market for quite a while needs modifying, and does not have the appropriate mounting bolts or installation instructions. This mainly falls on Advanced Adaptors to straighten out, as well as ALL the Early Bronco vendors that sell them.

Rant off........%)
 
OP
OP
KyleQ

KyleQ

Bronco Guru
Joined
Apr 24, 2008
Messages
5,480
Thanks for the heads up guys - looks like it coming apart again. This thing has an especially tight fit, if I don't hold it just right and tighten fasteners down it won't sit flush.

I'll pickup some grade 8 hardware and locktite tomorrow morning - I've got to start working on getting my clutch pedal installed and the linkage hooked up. I want to go 4 wheeling this weekend, lol. Currently the truck only has a motor in it..
 
OP
OP
KyleQ

KyleQ

Bronco Guru
Joined
Apr 24, 2008
Messages
5,480
The bolts I bought were too long, oh well. It looks like I'm going to have to grind even more out of the adapter to get the longer bolt to clear - I'm only going to put 3 longer bolts in as I can only find 2" in the size and type I want, so it will have to do. I'll periodically check on the bolts, but the way I torque stuff down I'm not worrying about it. It looks like the bolts that hold the engine side of the bracket at 1/2-16, not sure if the frame stuff is 5/16, 3/8 or 1/2 - can't get a good look at it.

I drained the D70, a bit of water came out and then some gear oil, oh well - I'll be going to a 14B soon enough. A little water won't kill an axle - at least the fluid was clean.

Popped off the flywheel to see a weeping rear main, it's been repaired before - not going to even think about it with a new motor being built, I leak enough oil out of the partially stripped oil pan plug and out the exhaust to worry about it.

I thought I would get the NP435 together - I've yet to have the cover on and the shifter in. I never really looked at it before, lol, I've got a wet noodle shifter.


The throw seems closer then what I expected - it looks like I'll only have to do some minor tweaking to get it to clear the dash. I'm starting to get excited -

I picked up some 5/16 3/4" grade 8 bolts for my pressure plate - I'll put some red locktite on them and torque them in, I don't see grade 8 bolts with washers being an issue.
 
OP
OP
KyleQ

KyleQ

Bronco Guru
Joined
Apr 24, 2008
Messages
5,480
Well last night ended in failure - we quickly found out that you can't use flexplate bolts with a flywheel. That was fun - we got all the clutch parts together and ended up using a cherry picker to get the transmission in, it was much easier that way.

First cut is the hardest

Then second is easier when the first isn't big enough :p


We got the shifter installed, hooked up the clutch linkage and everything seems to work fine. We CAN NOT get my transfer case to even line up close with this setup. For some reason everything is pushing hard to the driver's side, we have lots of room up top on the pass side and see no reason why it's moving over.

The AA adapter, that I've had to grind the hell out of to get it even to fit, has a different mounting width then the stock adapter housing, it's an inch narrower... :mad: We have had it bolted to the cross member, but it's way to far to the left. I'm going to cut another chunk out of my floor to try and get the Atlas to fit - and them I'll try and bolt the rest of the crap back together. Not at all happy with this AA adapter, I'm going to give these guys a call- I didn't pay over $300 for a direct fit adapter only to have even more problems...
 
OP
OP
KyleQ

KyleQ

Bronco Guru
Joined
Apr 24, 2008
Messages
5,480
Well I was able to get that Atlas bolted up by myself tonight, what an ordeal. I couldn't get the engine to tilt back enough so I had to unbolt the chain off the front of my motor. Afer I got the engine to tilt further I chalked up the Atlas on a scissor cart and lifted it up until I got it ti spline in. After that I used a ratchet strap from the NP435 shifter to the rear yolk to hold it together while I got it to line up. It was crude - but it worked.


After I got a few of the nuts started on the studs I took everything apart and smeared RTV best I could in the gap with a long screw driver - hopefully it doesn't leak. This is how much floor I had to cut to fit a NP435/Atlas 2 without ANY body lift. Most of the floor will weld right back on without an issue as I only needed the clearance for install, the NP435 will require some other custom sheet metal.


Here is the business side of things -
 
Last edited:
OP
OP
KyleQ

KyleQ

Bronco Guru
Joined
Apr 24, 2008
Messages
5,480
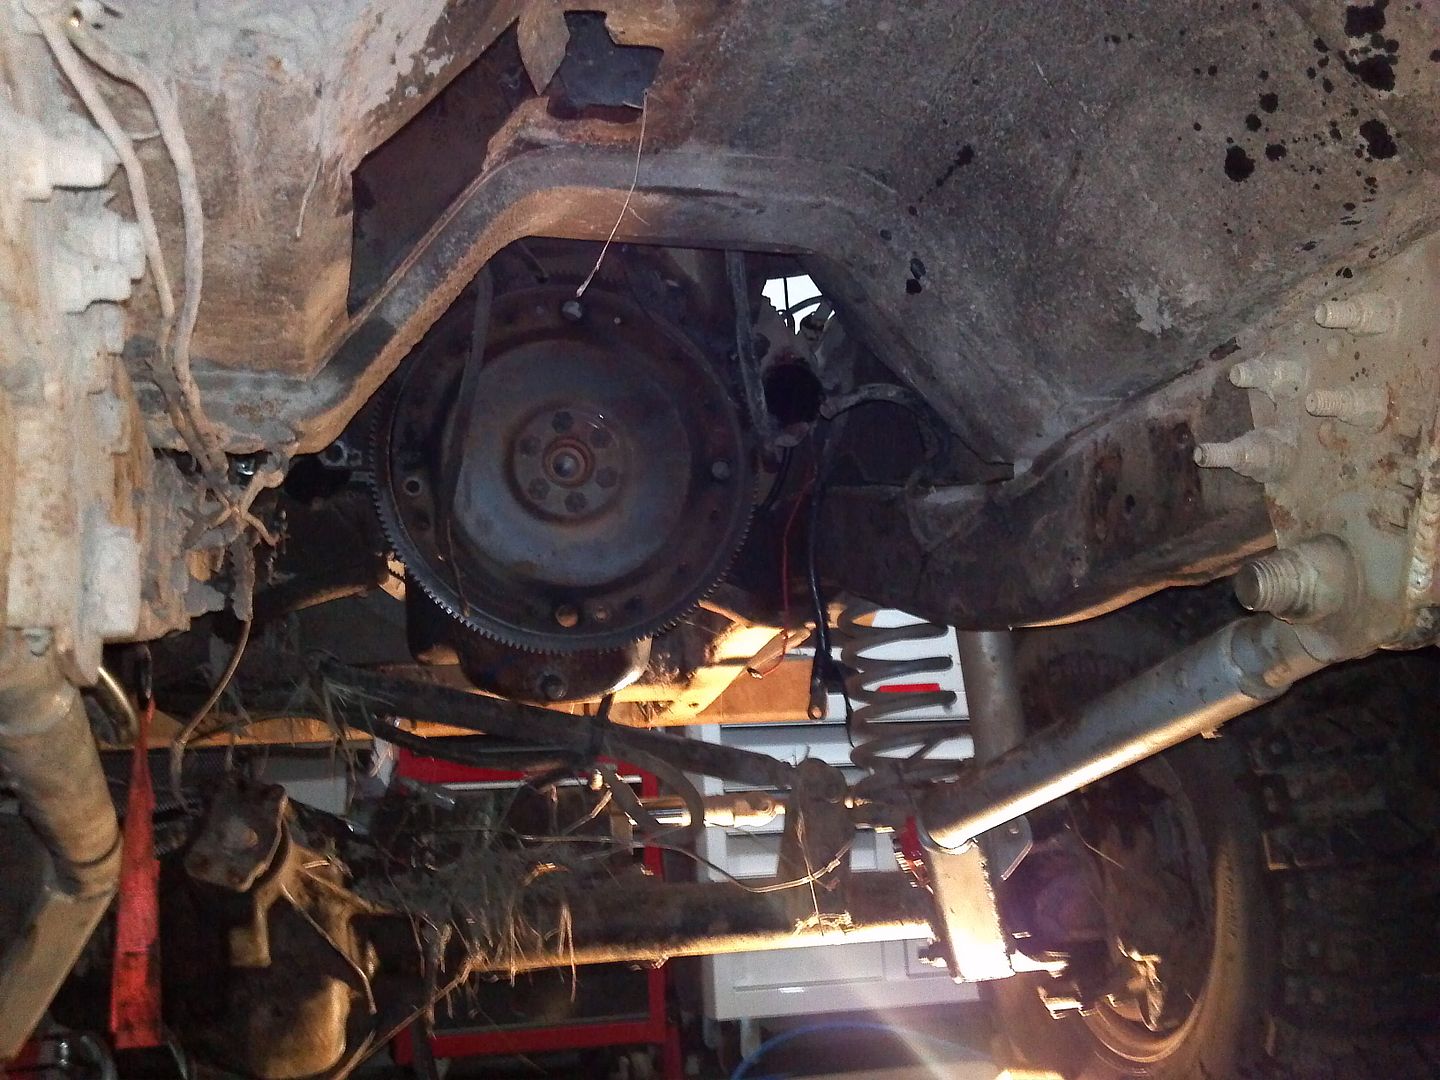
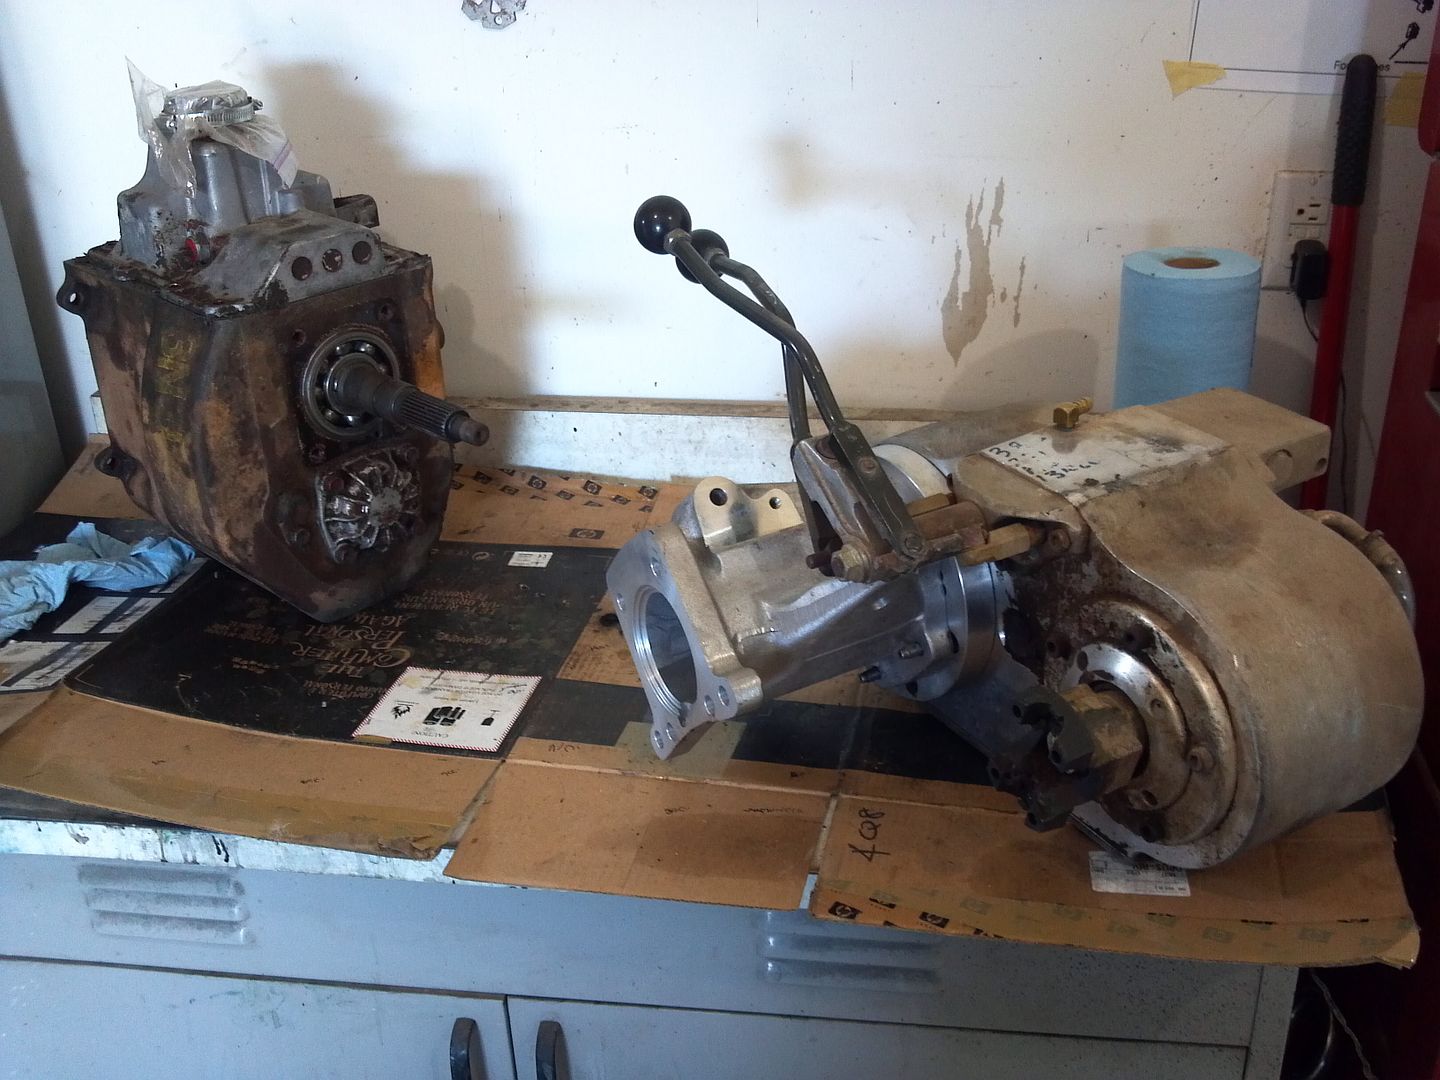
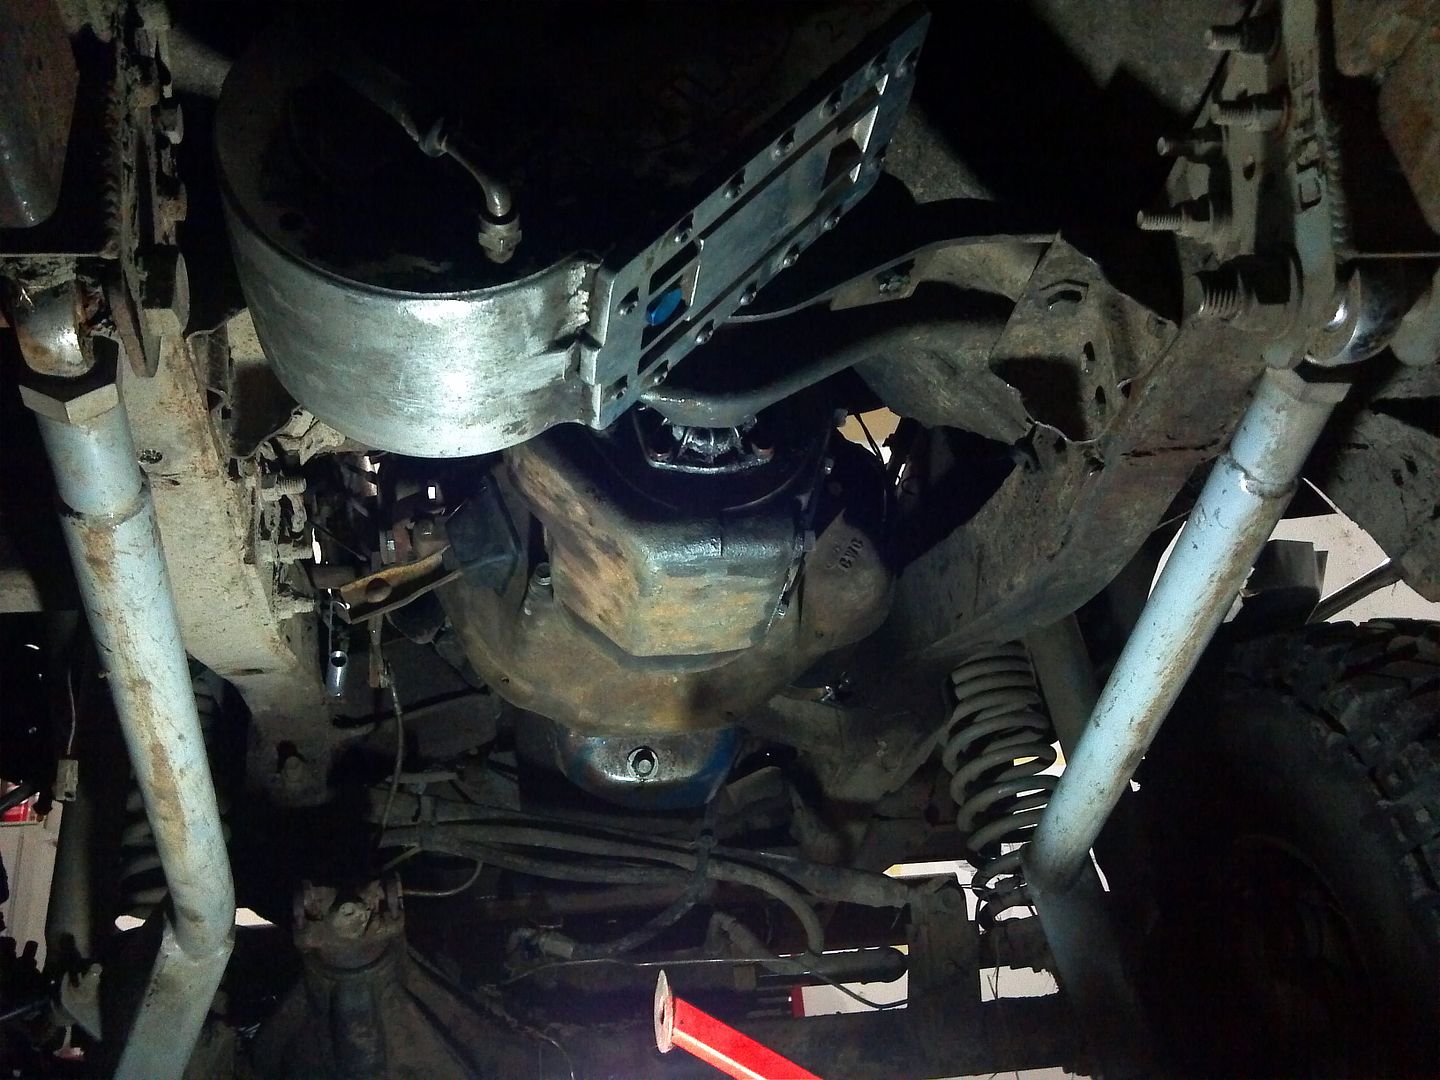
Well I got the Bronco out and did some playing in the back yard - I'm having problems with my alt not charging and I've clearly got a bad vibration. I noticed it immediatly after the swap - either something is wrong or out of balance as I'm not comfortable with the vibration. I'm wondering if the harmonic balancer is shot or the flywheel is on wrong or what... odd.

Well after killing the battery and getting stuck I had to park it where it sat over night -


I came back with another battery and got it running and gave it hell, I was having fun digging holes and getting used to the clutch. Then I got stuck...


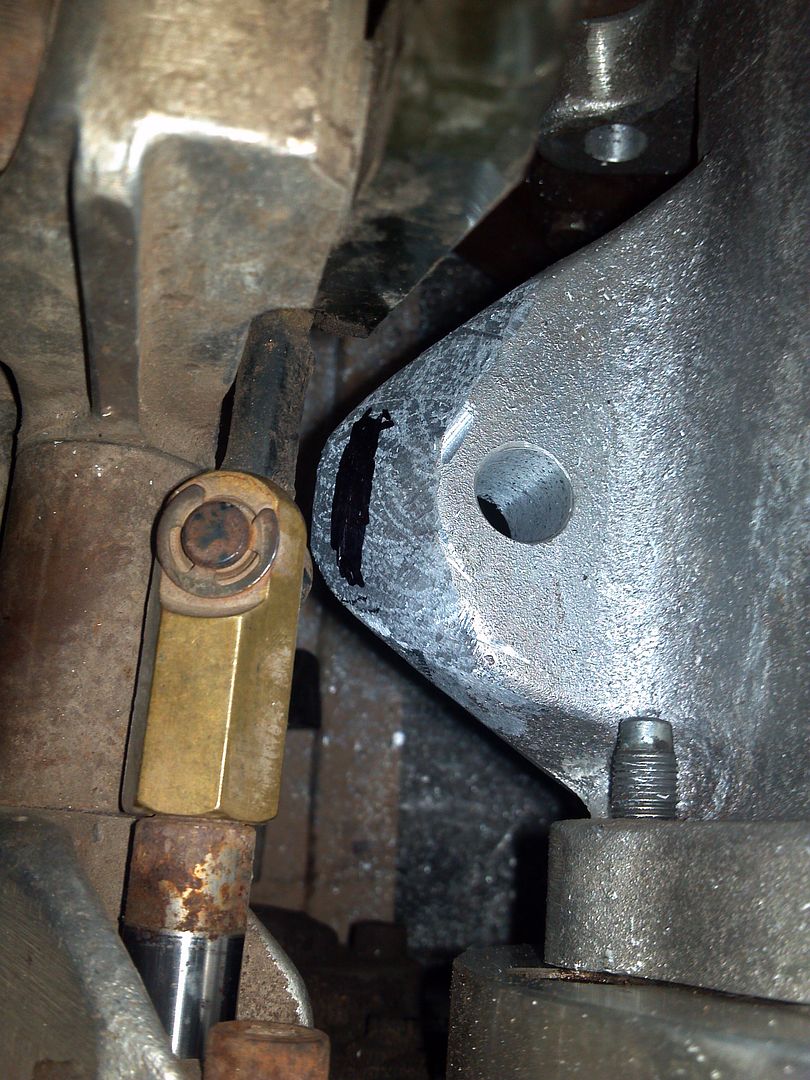
I was getting on it pretty good when I heard a snap - I knew it wasn't good. I shut everything down and took a peek at the driver's side, where I could clearly tell the noise came from. I looked at the joints and everything was in tact, so I figured it was a lockout by the little noise it made. I tried spinning the lockout but it didn't want to turn, and then it broke and just started spinning, I didn't think of it as the hub was probably fried in the process anyway. I got my 1 ton, that is FULLY loaded with steel, and got my strap - I needed to get the truck on flat ground to work on.

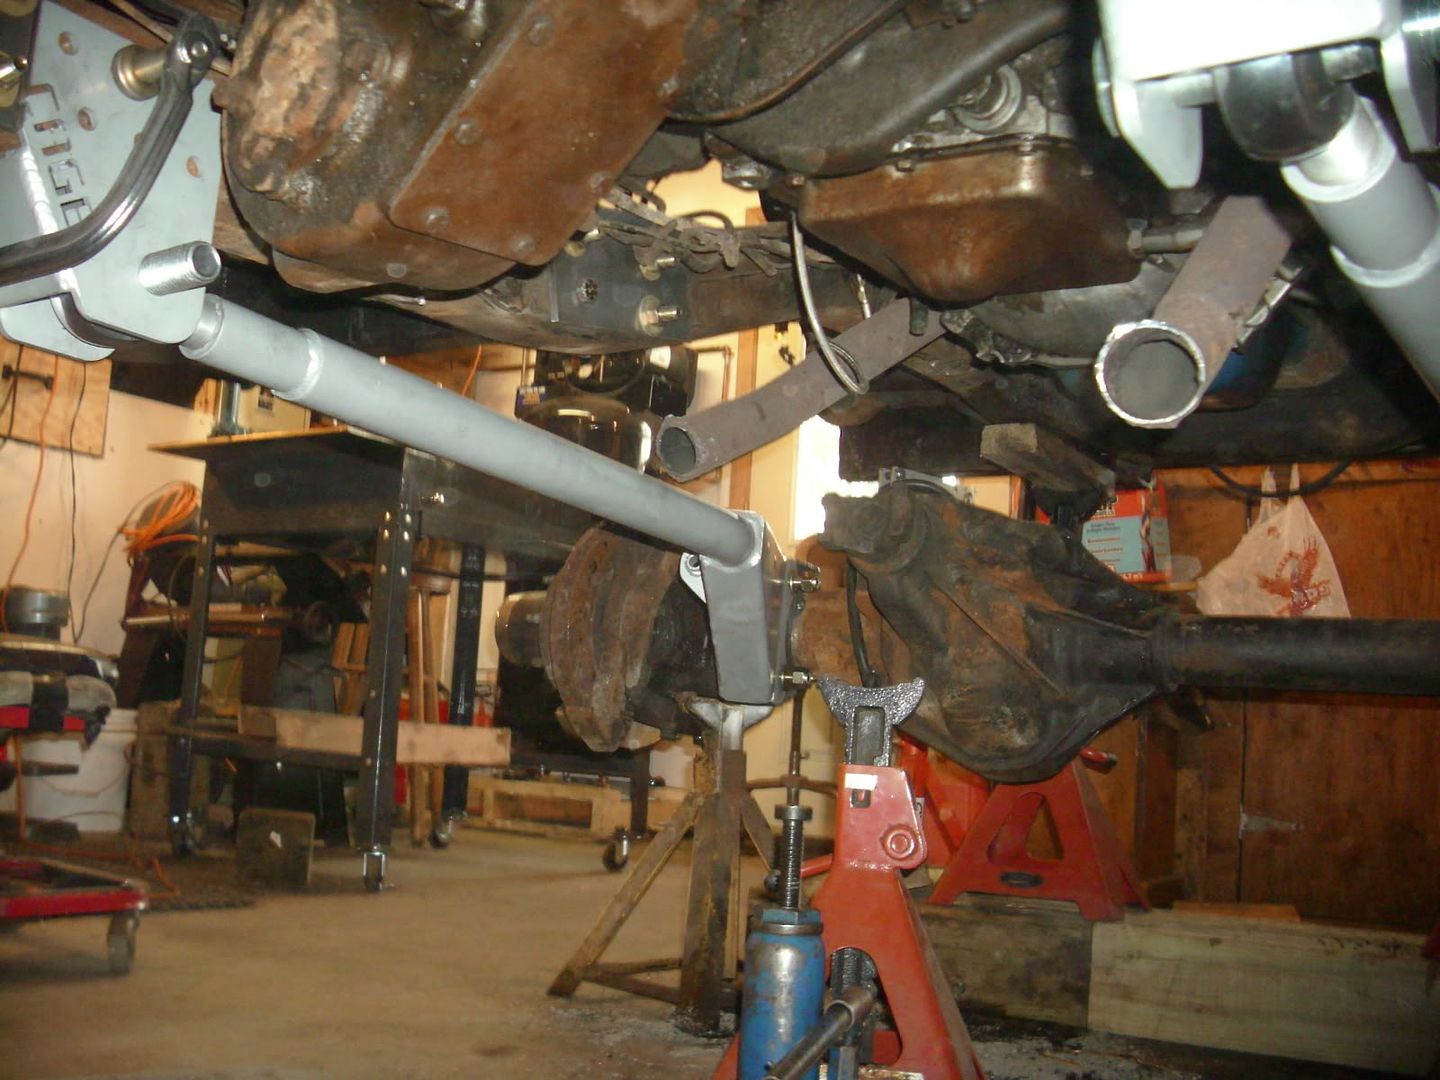
I got the Bronco out of it's spot (diff, radius arms, rocker panels, leaf springs and rear drive shaft all firmly planed on the ground) and noticed immediately that the tire was locking up... I popped off the hub, removed the snap rings and pulled out the hub, well, more then the hub came with it...


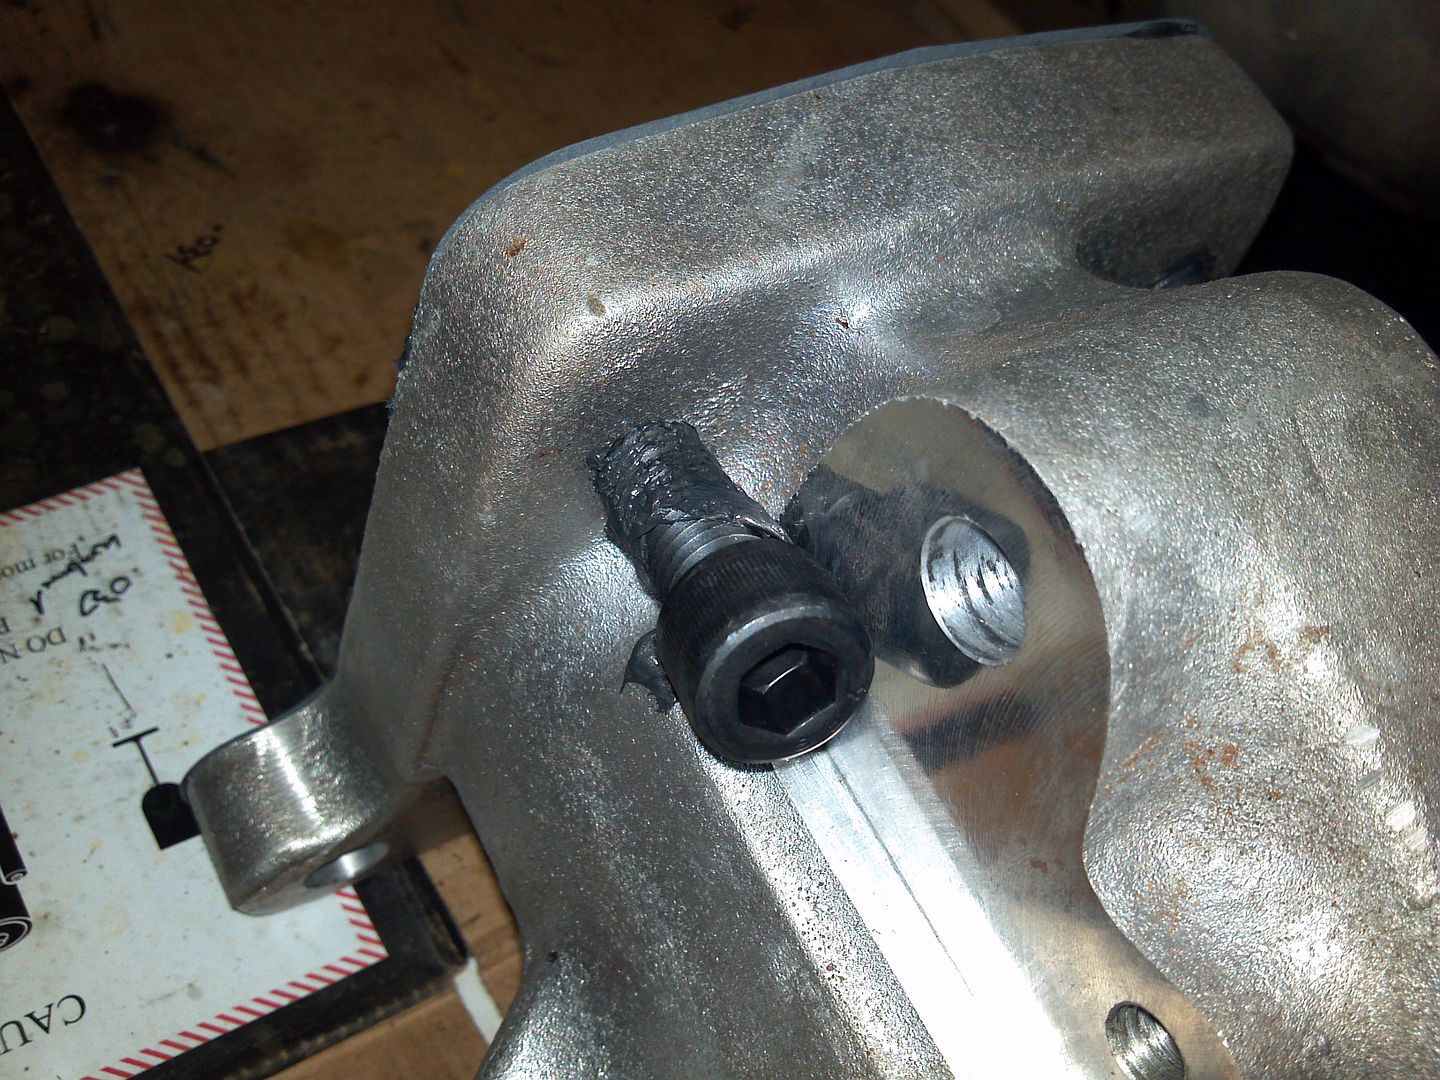
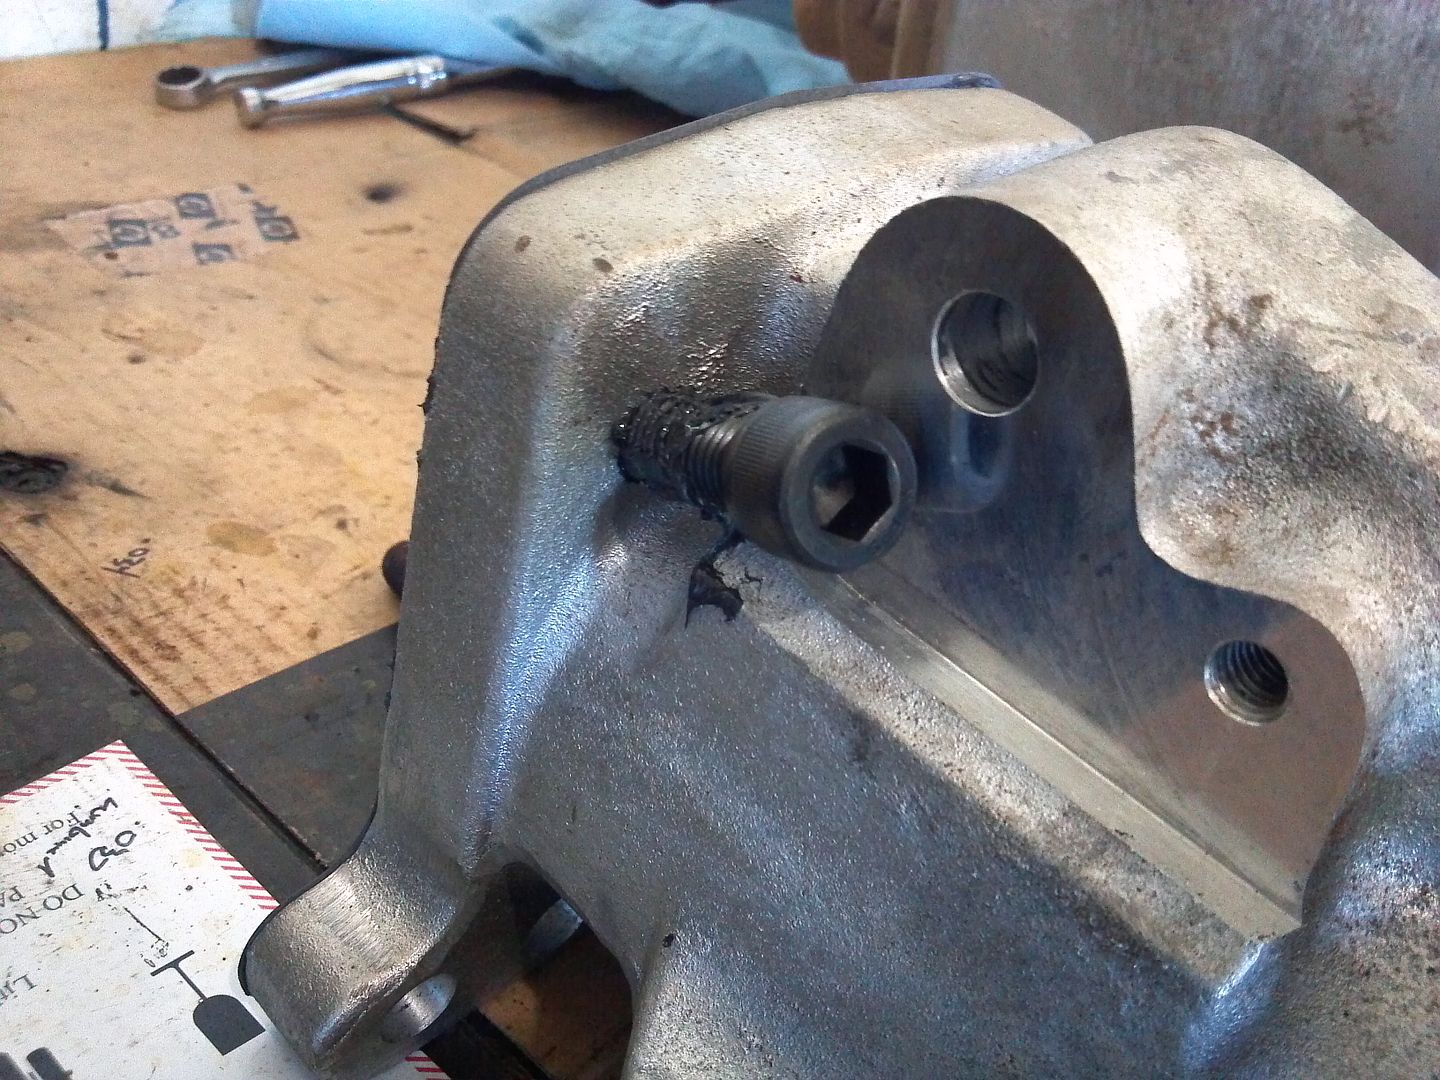
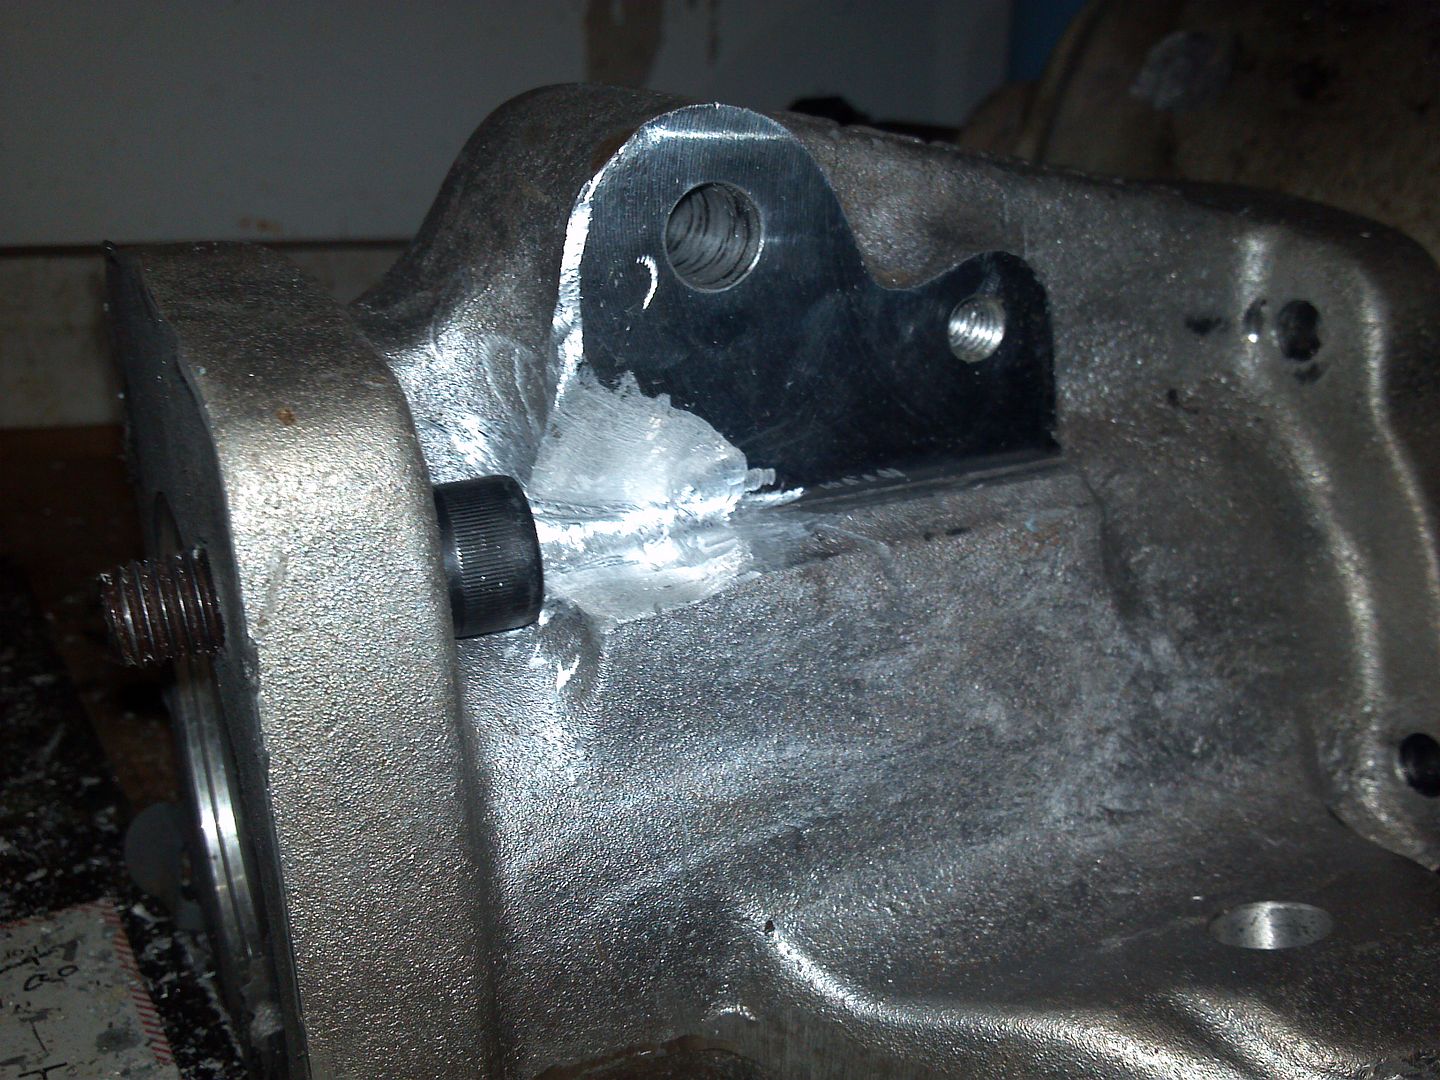
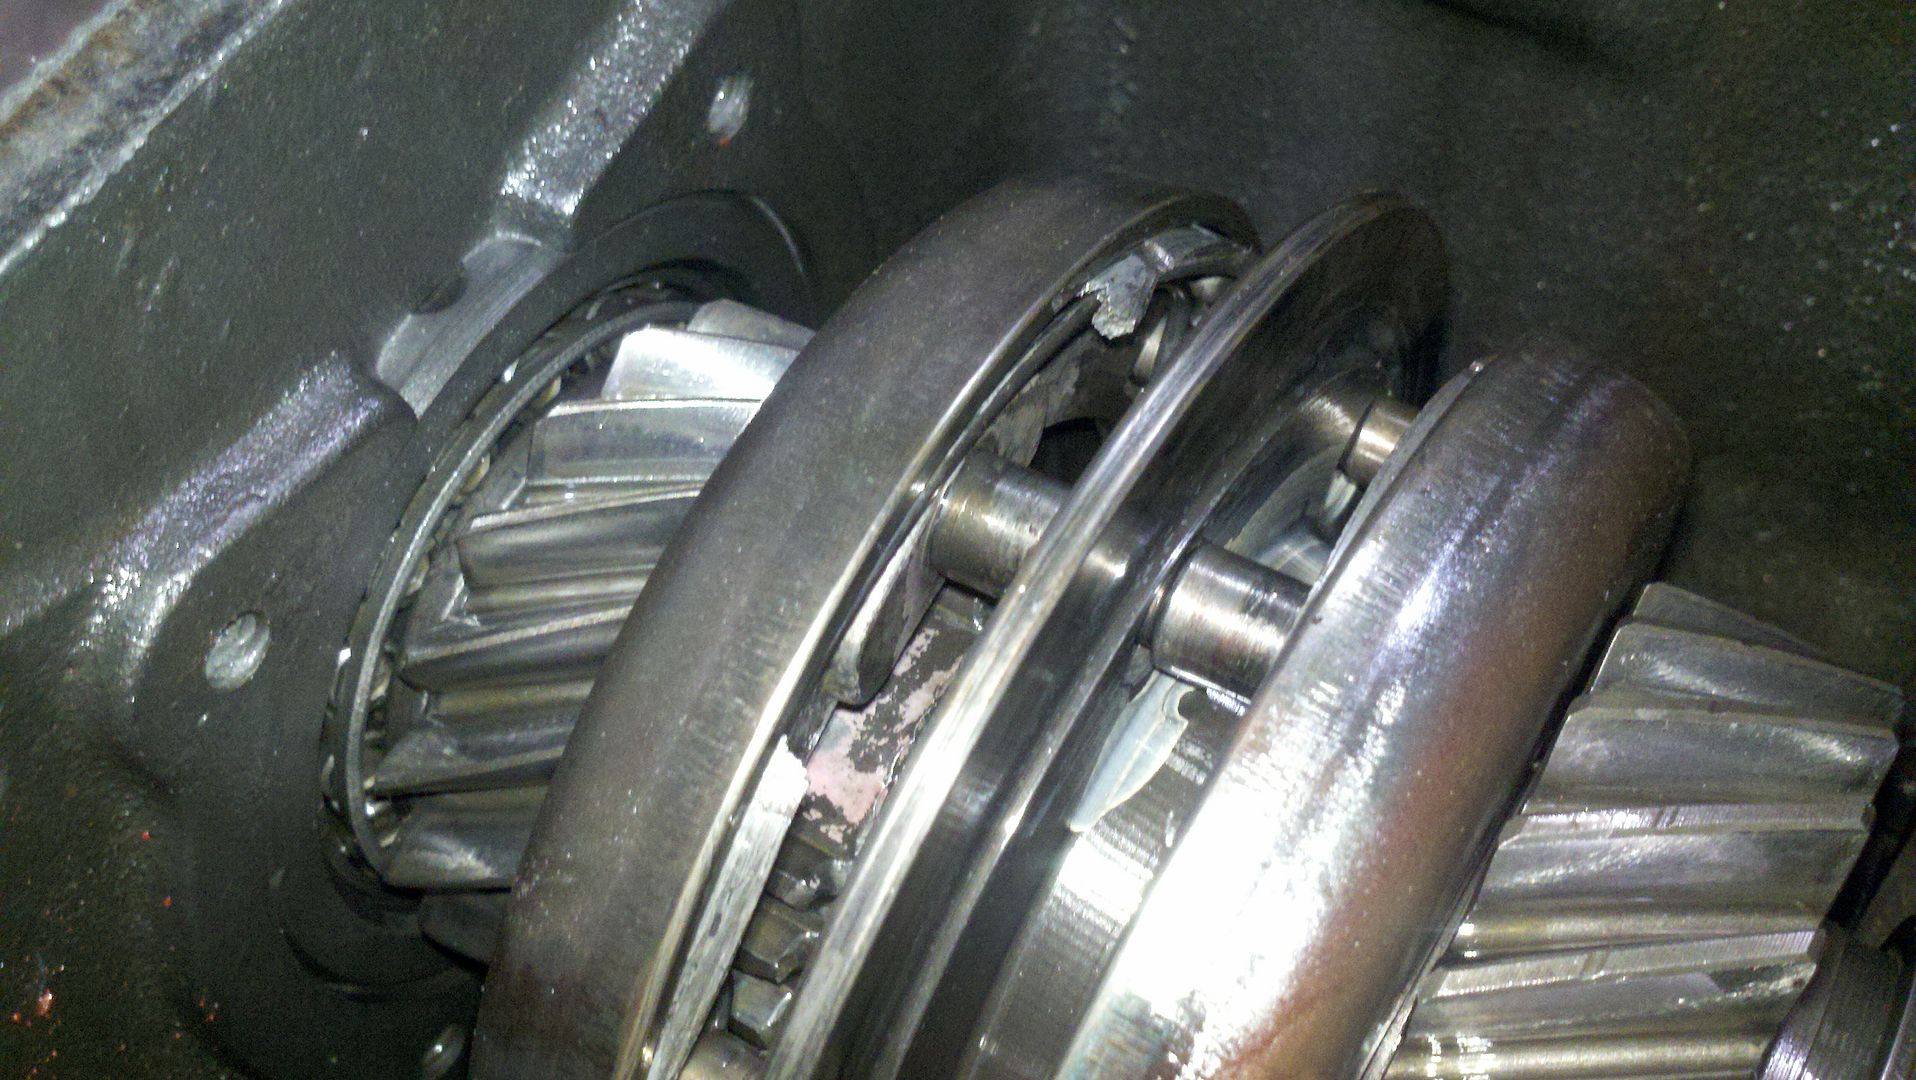
The shaft was toast - I got a few pieces out of it and tried moving the truck, it spun freely and I limed it up to the garage. I whipped everything apart and the lockout nuts didn't seem to come off as easily as I would have liked, and the hub needed some prying to get off. There was some nasty rust in there, but I fear the worst, I think the spindle took some damage. After I clean everything up I'll take some measurements, but I'm not confident so far...


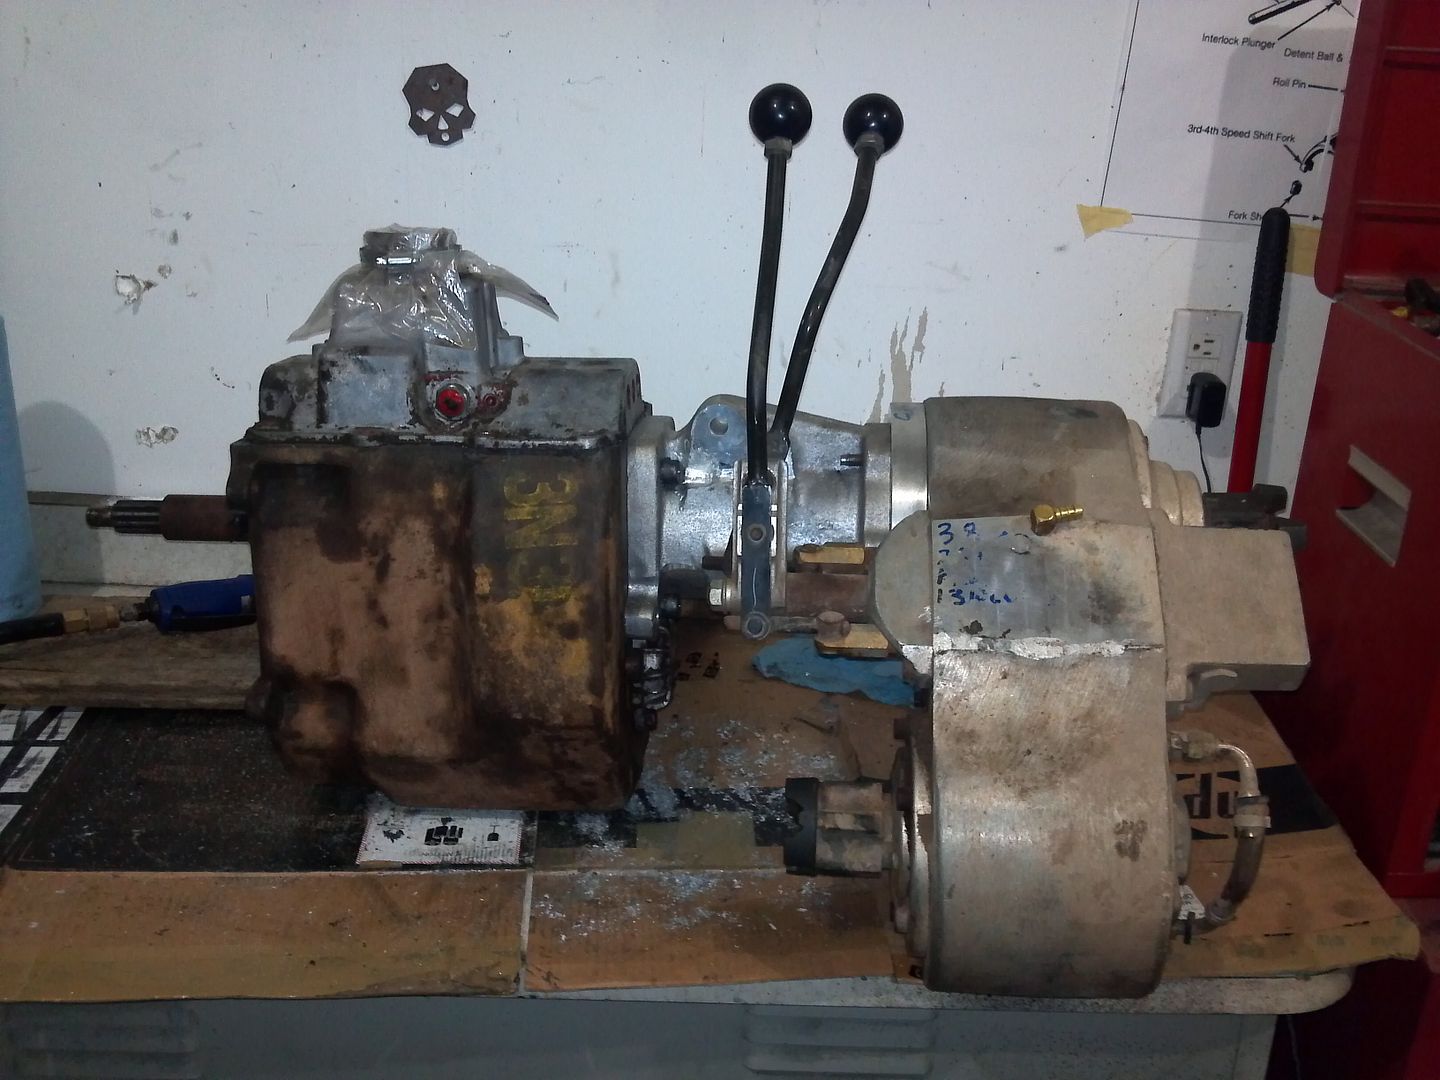
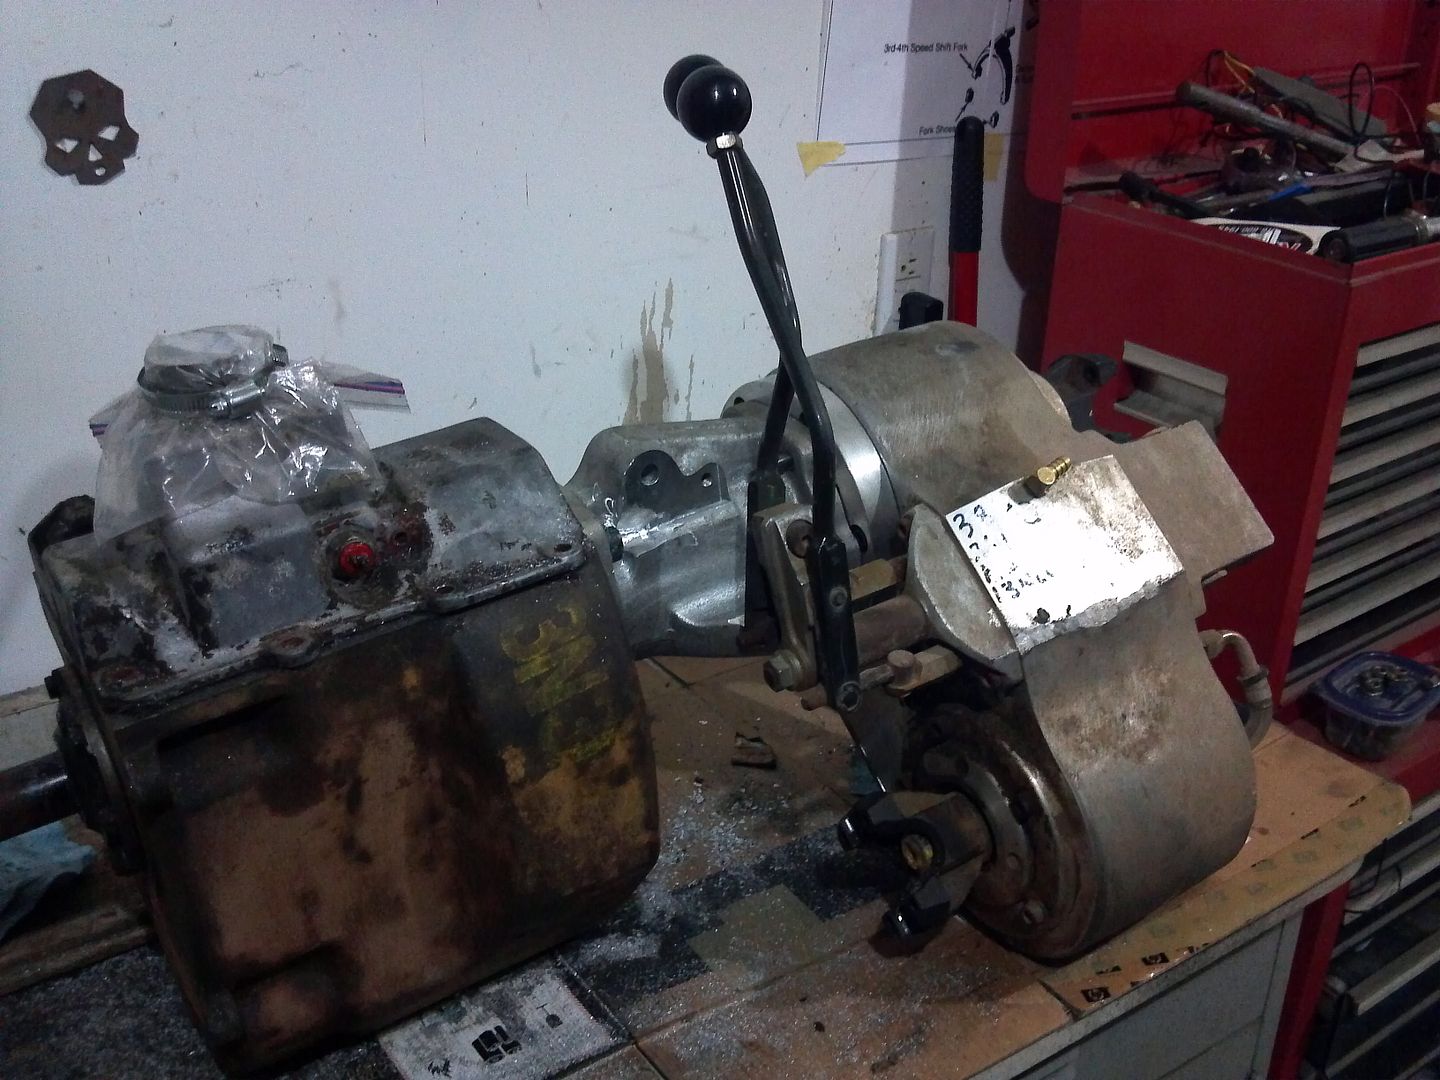
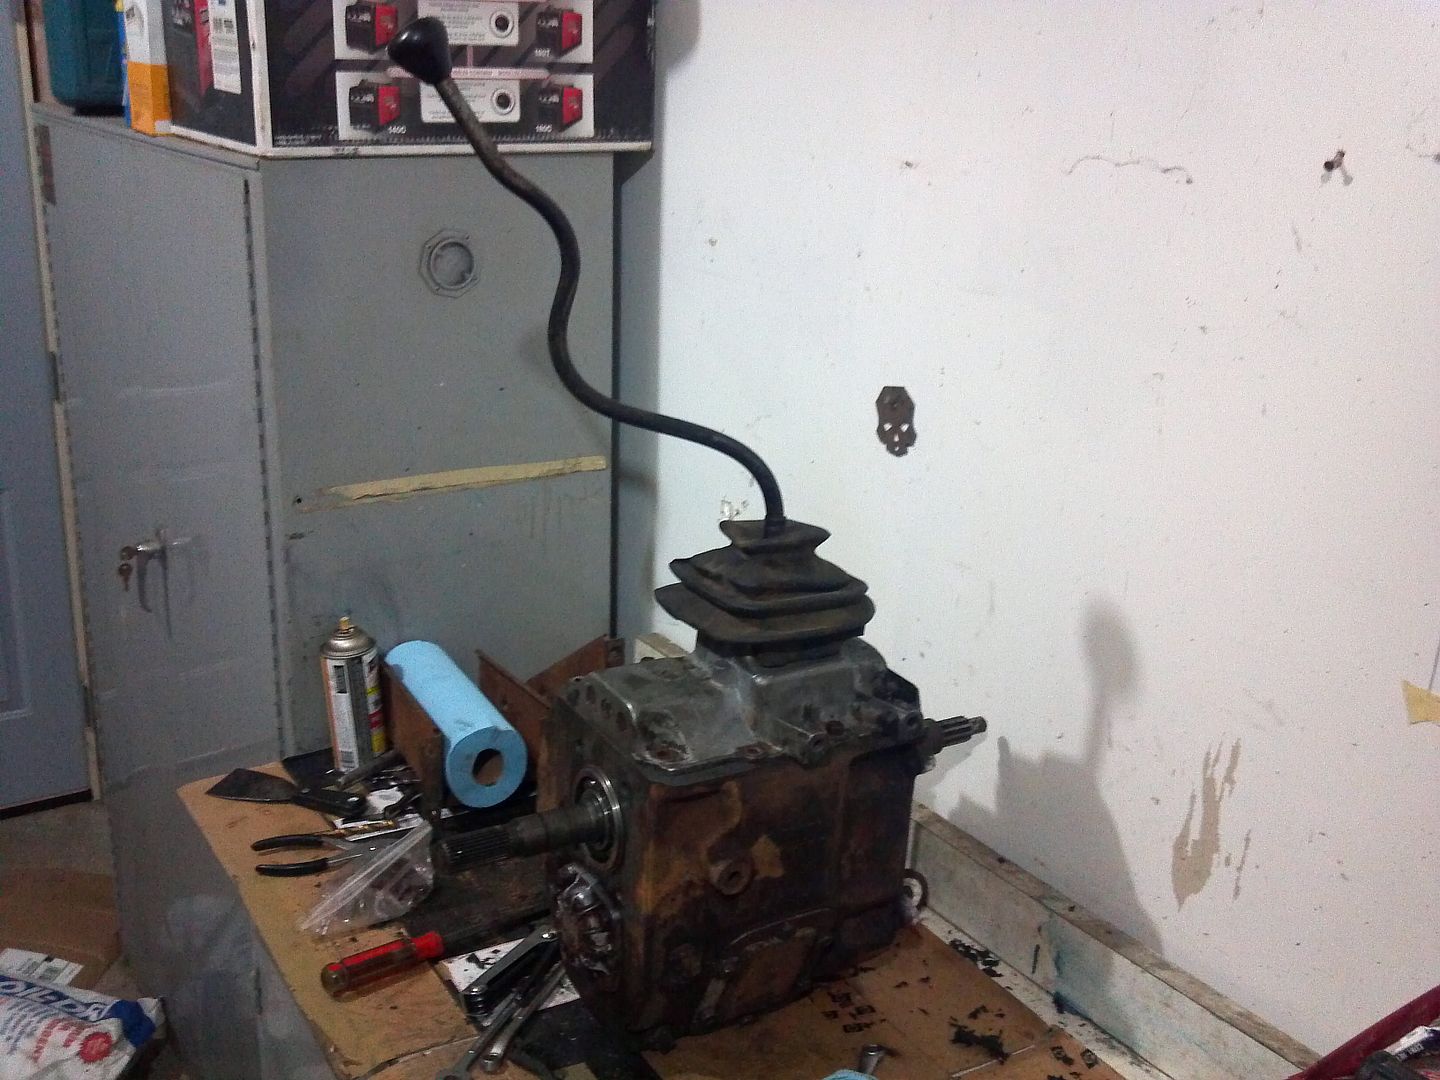
The spindle bearings are trashed, my wheel bearings are pitted beyond what I would like to run and I should really by upgrading to 35 spine outers at this point... My motor is ready though - so that gets the cash first... which will undoubtedly lead to more broken parts.
 
OP
OP
KyleQ

KyleQ

Bronco Guru
Joined
Apr 24, 2008
Messages
5,480
Well on dissasembly I found that my brakes are trashed on all 4 corners, at some point the wheel bearings got out of spec on the driver's front and took out the pads and damn near all of the outside of the rotor too... %)


I took this opportunity to completely tear down the front hubs, I even pounded out the races as well. I wanted everything clean to start with - too bad I didn't have the budget to replaced my thrashed, dented, pitted and rusty wheel bearings. Next time - this is just a trail rig... I pulled the bearings, seals and races out of the hubs and let them soak in my parts washer @ 140* for a few days. After I brushed and power cleaned the bearings the spindles went in too. After two days everything was brushed and assembled with Bobby Long's UHMV spindle bushings. I got to ditch my rear wheel seals, thrush washers and spindle bearings with these - I'm excited to see how well they keep the mud out of the wheel bearings.

(I hate pounding out those goddamn spindle bearings :mad:)

My rear calipers both froze up on my and the driver's side practically started on fire after my first test drive with the NP435, the pass side was grinding off the rivets as well.. I had to open the bleeders and use a c-clamp to put pressure on the piston while I hammered on the clamp to get the piston to compress, shooting brake fluid everywhere in the process. After I got the pistons fully seated I worked them out with the pedal and they easily pressed back in. I got 3 years on those pads, and I spent a whopping 16 bucks total on the pads, so I feel I got my value out of them...

I surprisingly still had time left to work so I got the water pump on the motor and the radiator washed out. That had so much mud stuck in it that I could not see I'm looking forward to a MUCH cooler running Bronco.

In those pictures you can see my engine cross member that I added after I cut out the factory cross member. It basically sits under the radiator and keeps everything perfectly square - when I swap in an Exploder radiator I'll see if I can't mount it off of that as it's very sturdy.

Any significance to the 7 blade flex fan? I'm a little surprised with the flex fan, never noticed it before...


Interesting food for though - I'm running a 3G alt and a PSC p-pump and a mechanical fan on my original single pulley v-belts and I've never had a squeaky belt, not even wet. I wonder why some people have nothing but troubles with just a 3G...
 
OP
OP
KyleQ

KyleQ

Bronco Guru
Joined
Apr 24, 2008
Messages
5,480
Well now I've got belt noise now- go figure... %)

I've been out pounding on the Bronco to ensure it's ready for this weekend's event and ran into a problem. The last event I was at I killed my rear drive shaft and drove home in the wee early hours of the morning and threw together another shaft so I could wheel the next day - well it was way too short and during a brake check today the rear suspension unloaded and the shaft came apart.. That's no good-

The drive shaft I canabalized was long for my application and I happened to have the piece I chopped out, so my work was cut out for me. I also have some 2" ERW tube that I found to be the same diameter and thickness, so I had a backup plan.

The chunk was too small to chuck up, so I used the tube I had to assist in keeping it square-


Next I beveled the edges on a combo belt sander1 to prep them for better welding. I clamp everything in two pieces of angle iron to ensure everything stays true and square - this is very important.


I always check that all 4 sides are touching - sometimes welding splatter or balancing tabs will get in the way and will make things out of square. The more adjacent you can get the angle iron the better - tack weld between the angle iron; you get two tacks per clamp (one on each side)


Repeat the process on the other chunk-


Perfectly square - I took a trip to the bent sander between welds to make clamping easier.


I do another pass over my welds to get even temperature across the welding surfaces - no other reason really, I've done it on every shaft I've made and not a single weld has broken to date.

Don't forget to paint your shaft :D
 
Joined
Oct 17, 2011
Messages
6
Dana 60 question

Hello. Just wanted to say I luv this build up. I am putting a D60 in the front of my 70 half cab and have looked all over for some help. Amazing that you had time to put all this up while doing the build. My question is, did you have a problem with the width of the front D60? The guys @ Currie tell me that because of the small distance between the diff and the knuckle on the drivers side, the other side (long side) will stick out too far and will have to be shortened. Did you come across this problem. Also, the brackets from Cage Off Road don't seem to be available any where, and I don't really want to put the wedges on because of the tight area on the passenger side of the diff/knuckle. Any tips you could give me would be greatly appreciated. Thanks. John
 
OP
OP
KyleQ

KyleQ

Bronco Guru
Joined
Apr 24, 2008
Messages
5,480
I didn't have any problems with the width - what I did was use a big square and got the axle perfectly where I wanted it, centered under the truck. From there I placed the arms on the axle to see where they would be mounting off the frame and tacked them on when I was happy with where they were sitting.


I then realized that the springs were going to mount wider then the frame - I didn't want my springs to bow at all, so I knew I had to space them off the frame. I built boxes to mount the coil buckets on and I made them adjustable by drilling multiple sets of mounting holes in it so I could raise or lower the truck by 1/2" increments. (adding a winch or a big motor would cause the front to droop, so I figured I could level it out by just moving the buckets down on the frame).

Note: I screwed up and made them perfectly parallel and now the springs rub on the bucket a little bit and they make some noise - I am going to space out my coils on the arms to fix this.


Do yourself a favor and weld some angle iron on your Cage arms - it gives you much more flexibly on mounting the coil cups (how do you get a wrench inside the weld on bracket anyway?)


I built my own shock towers as well -


I had Tom Woods make my front shaft - I had it clearance'd for my angle as with the D60 there is some offset.


Now - where can you still get Cage Arms from? I got my original set from Jim himself, but a lot has changed. After he split from Cage and started his own place I was still able to get another complete set of arms for my father's truck. I got them from Eric @ http://www.knowwhere2jeep.com/ - I would give him a call and see if he can still as I see they are no longer listed on his site. When I was working with him he had Jim's number and could easily get ahold of him.

Good luck - feel free to ask me any questions.
 
Joined
Oct 17, 2011
Messages
6
Thanks

Thanks for the info. Do you find your drive shaft goes off to the drivers side direction, or is this just how it looks in the photo? I was thinking that if I take a little off the long side (passenger side) of the axle, I may be able to move everything over to the passenger side a touch, and straightening out the drive shaft. But maybe your drive shaft is straight? Your larger tires do stick out pretty far but your smaller ones aren't so wide. Must be the wheel off set. Would you change anything with the front if you did it all over again? Thanks. J
 
Top