br0nc0xrapt0r
Loves pickles
- Joined
- Sep 28, 2007
- Messages
- 5,437
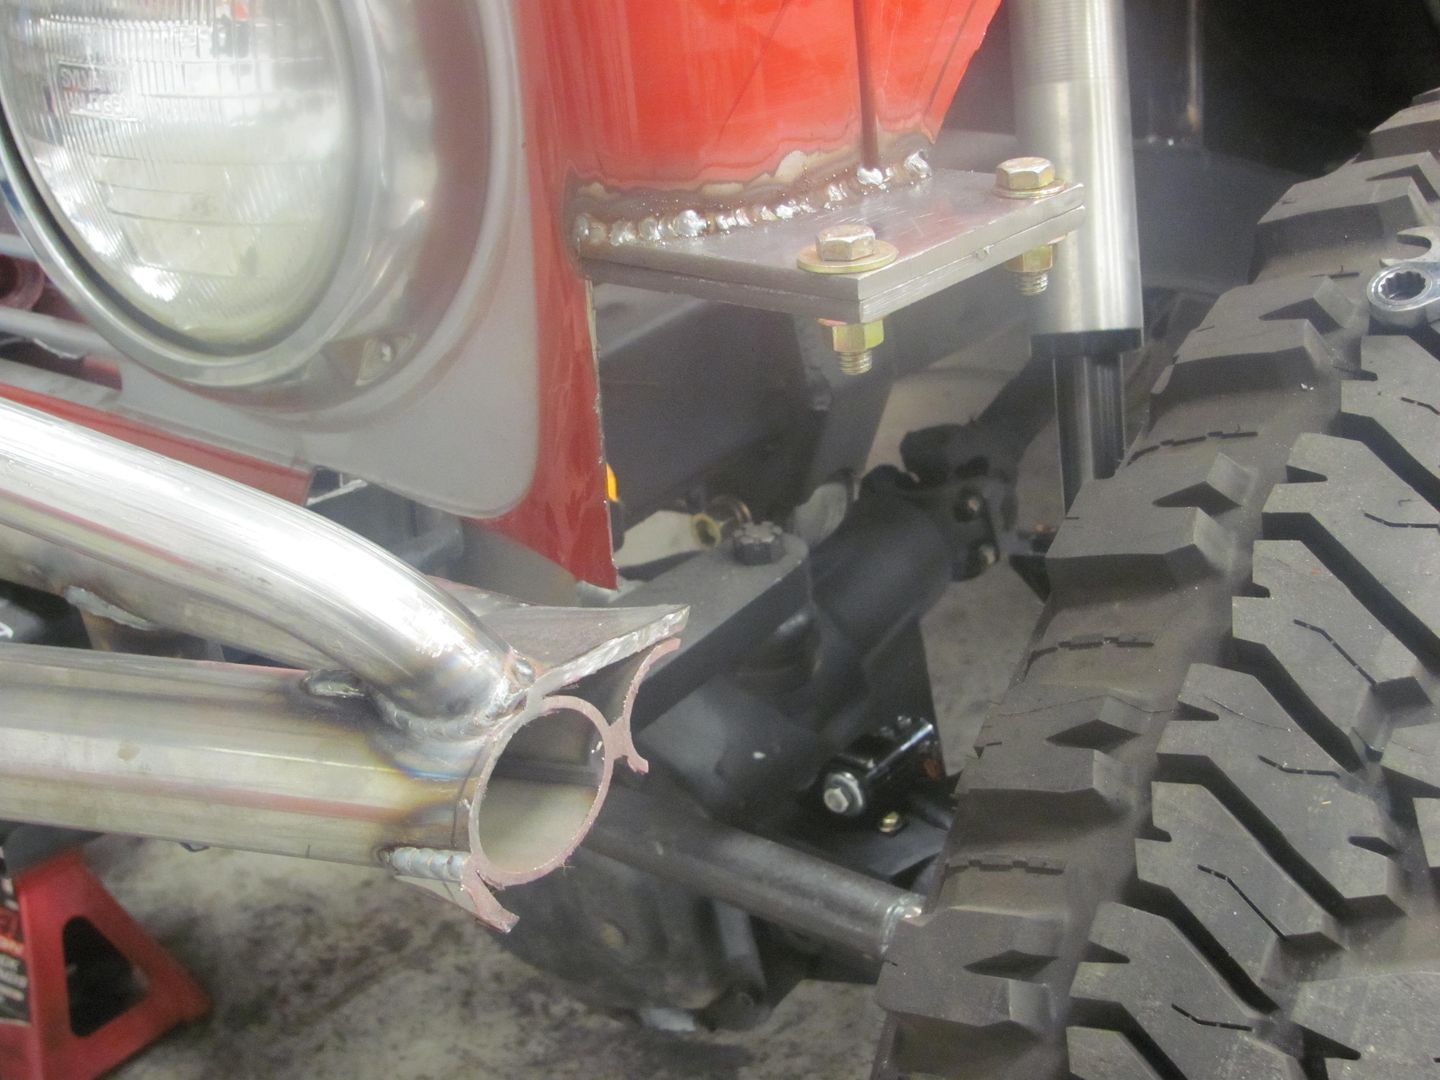
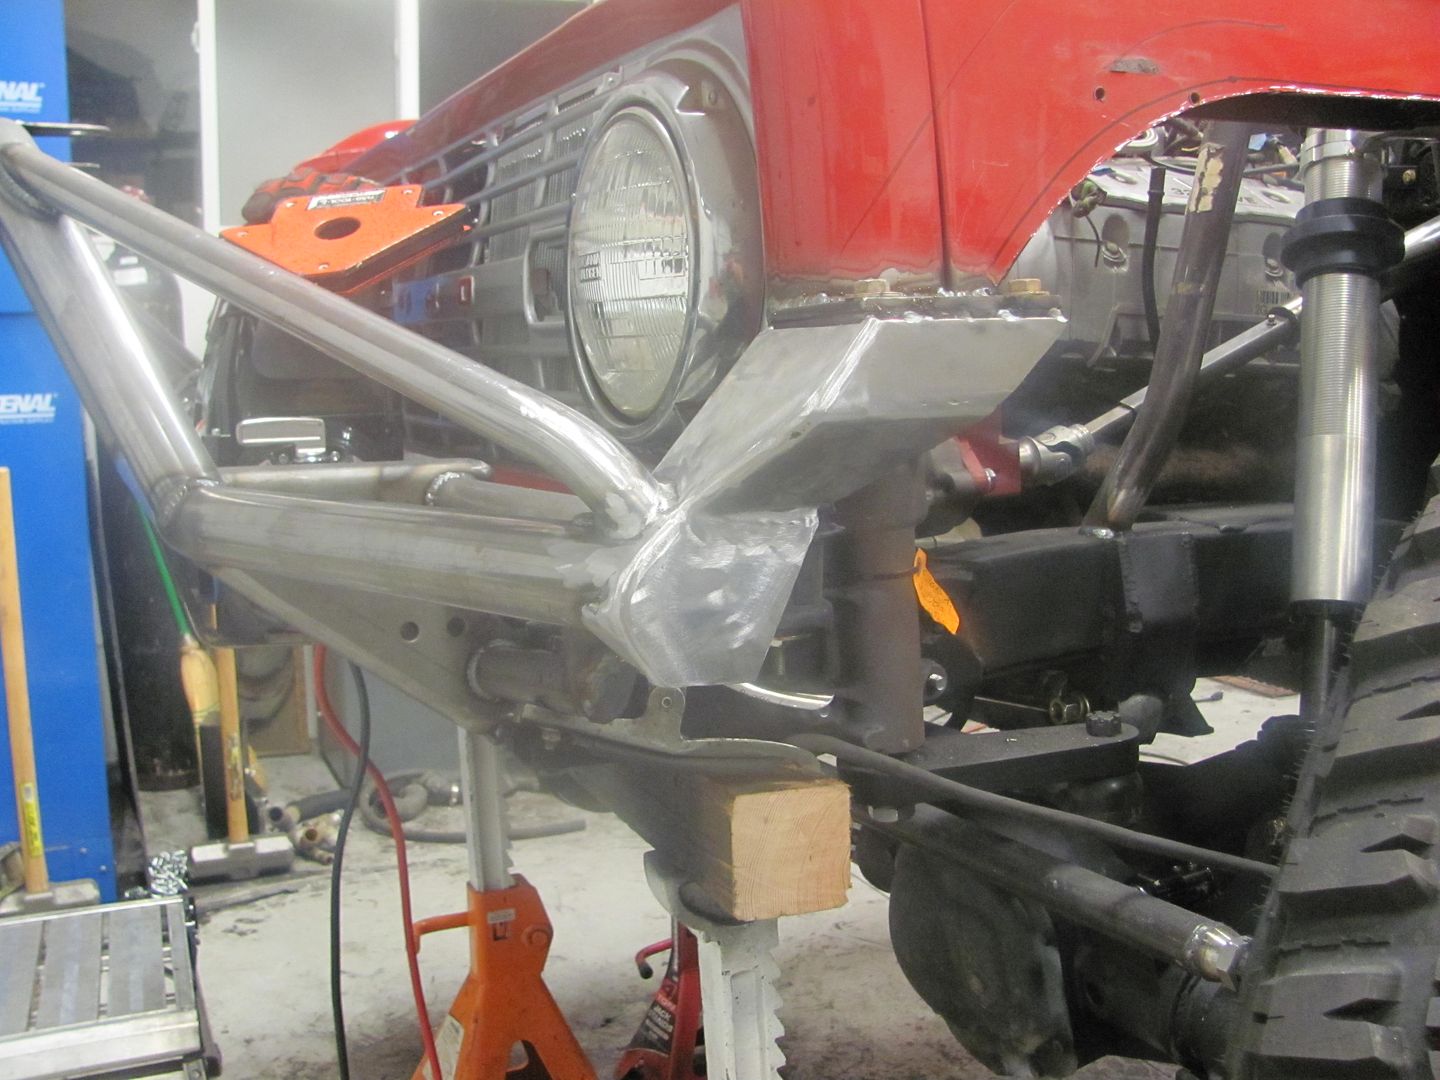
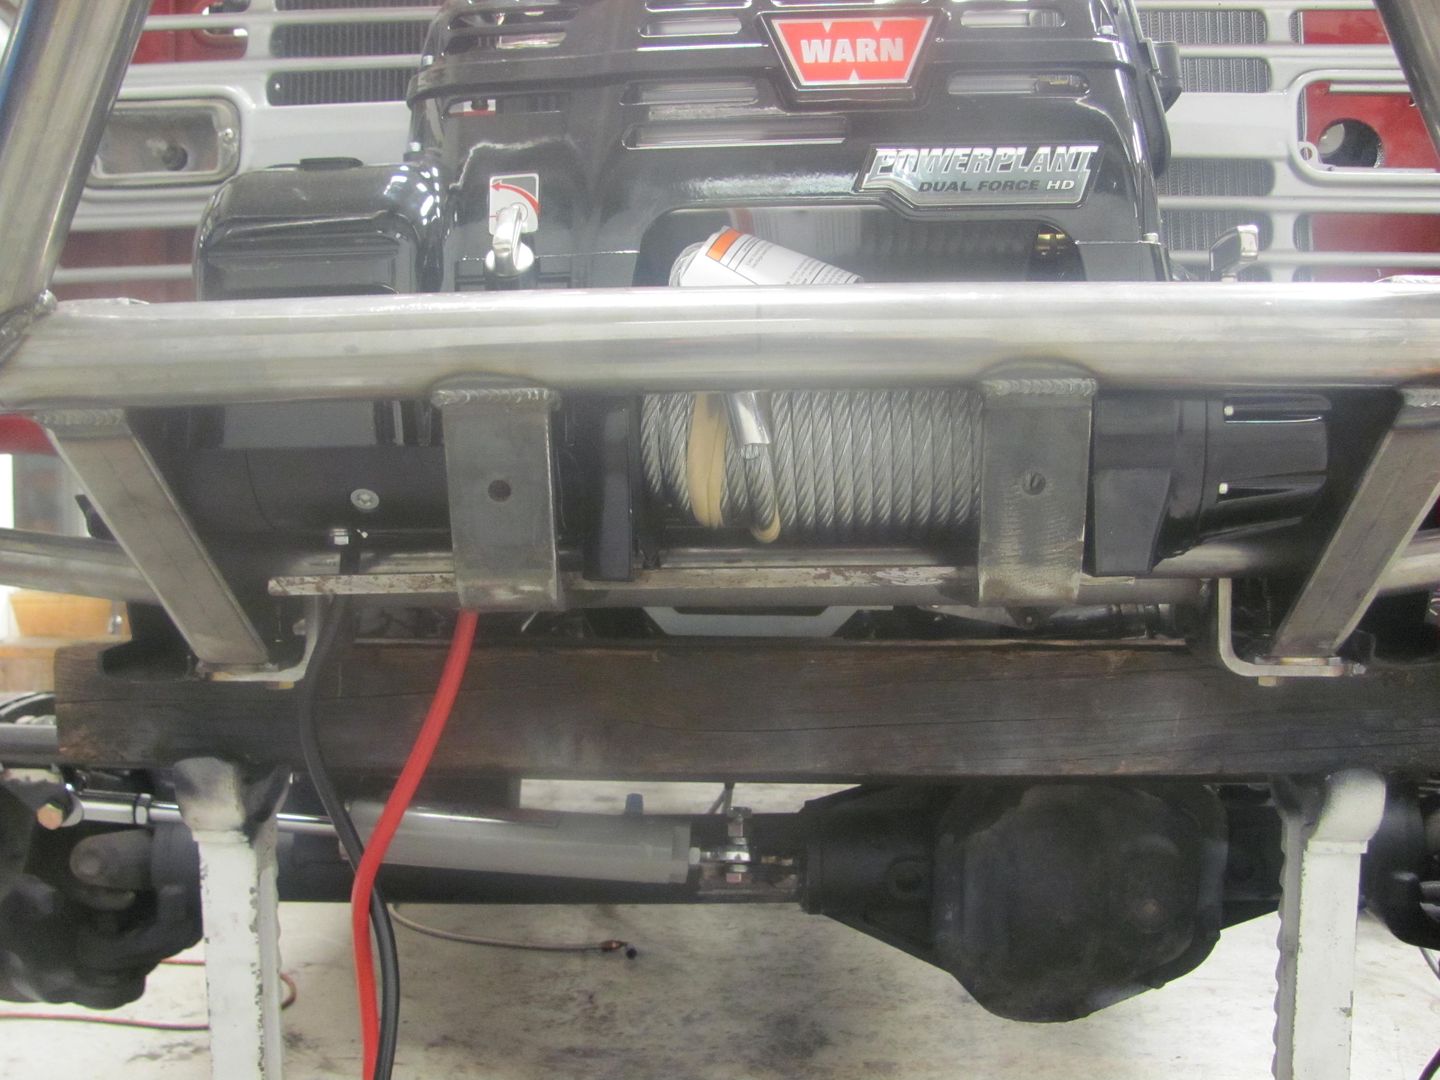
Any reason why you did not extend the Frame mounts to go farther in the frame with square tube? this was something I was thinking of to help distribute lateral force when winching from an angle.