marty
Sr. Member
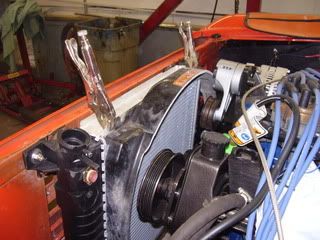
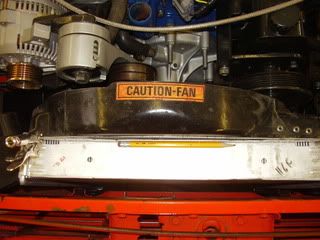
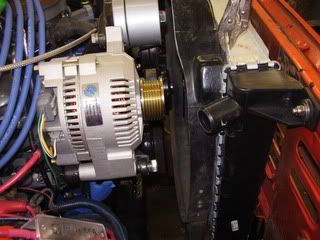
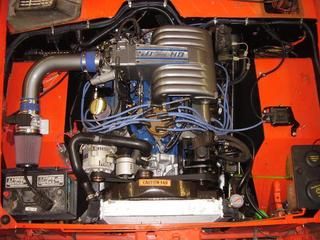
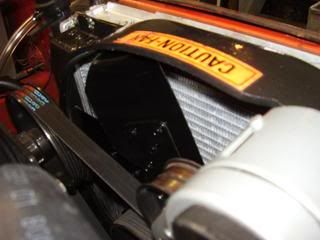
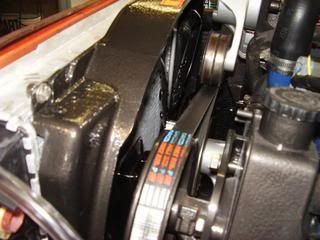
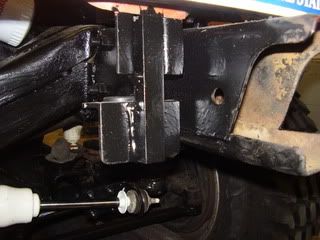
now all of the pictures are back. who the hell knows whats going on. but anyway i worked on installing the 4.0 explorer radiator. no need to cut the radiator support like others have. i have plenty of clearence between the fan being i am not running a electric fan setup. i am using the derale fan that bc broncos sells with a 1/2" spacer behind it. i could probably even go with a
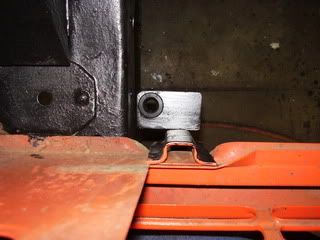
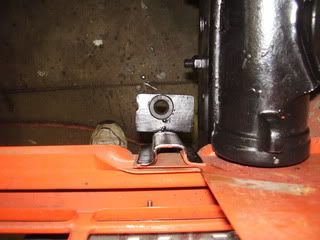
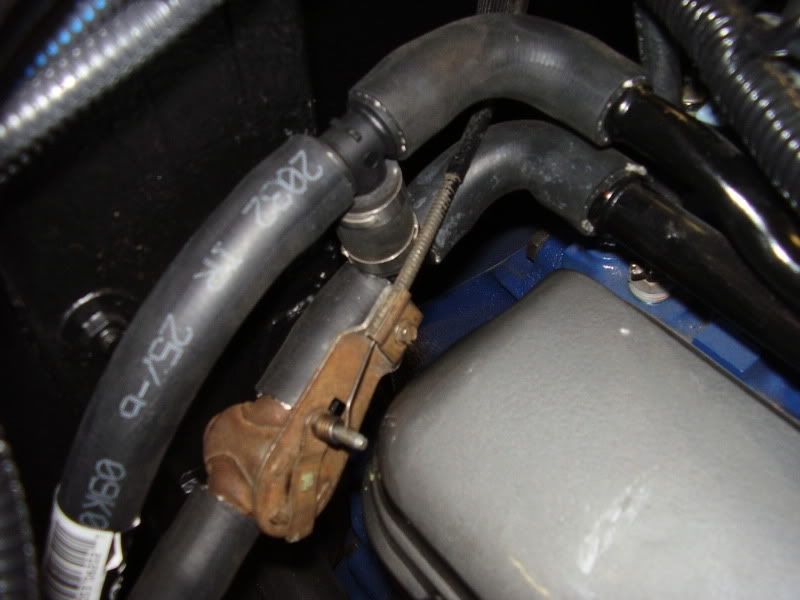
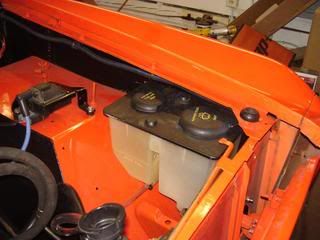
3/4" spacer but i already bought the 1/2" one. the factory shroud even comes close to fitting pretty good. i have made some cuts and ground down a good amount of areas but it looks factory. i just need to fiberglass one small edge where it was broken for years. i just might buy a new one from JBG and just use the original as a template. i fabricated brackets for the lower part of the radiator using angle iron and some box tubing. i just cut off the lower curved part of the original radiator brackets. for the grommets i used valve cover pcv grommets 5/8" hole size. and the top i cut off the original tabs and used the mounting points on the new radiator. here are some pics.
3/4" spacer but i already bought the 1/2" one. the factory shroud even comes close to fitting pretty good. i have made some cuts and ground down a good amount of areas but it looks factory. i just need to fiberglass one small edge where it was broken for years. i just might buy a new one from JBG and just use the original as a template. i fabricated brackets for the lower part of the radiator using angle iron and some box tubing. i just cut off the lower curved part of the original radiator brackets. for the grommets i used valve cover pcv grommets 5/8" hole size. and the top i cut off the original tabs and used the mounting points on the new radiator. here are some pics.