WyleCoyote
Bronco Guru
- Joined
- May 2, 2002
- Messages
- 1,739
Who's lift did you go with?
I bet thats somewhere in this thread, right?
I bet thats somewhere in this thread, right?


")


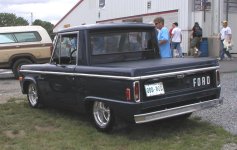
JJ has made noises that he gets the Bronco when he's old enough to drive. I figure in couple years I'll pick up another EB and build that one for him. Right now he's torn between Broncos and Mustangs... his personality hasn't revealed whether or not he's a "Go Fast" or a "Climb over" type yet... we shall see.
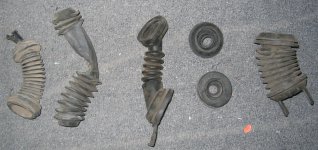
nice collection of rubbers~