OP
OP
2badrotties
Just a Bronco guy !
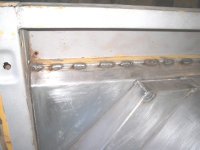
behemoth said:It is a tight fit, the nut goes on the inside and I use the "open" end of an open end wrench to hold it while i tighten it. It is so tight that when I first used the box end I could not get it out when the bolt was tight. Yes I did have a good laugh on that one.
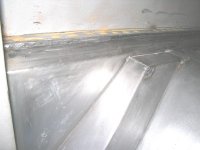
I have a 72 with a 1" body lift and I had to dimple the inner fender for the power brake booster. I would think that with the 3" body lift it would not be as much of an issue.
Thanks behemoth ! I'm glad you understood what I was saying. I'll get to it this week and post a picture of it done. Tomorrow I'll be shoveling