Community
Buy / Sell


Bronco Tech
3 Arm Wiper Setup
Fix Motor Mount
Roll Cage Braces
Throttle Body 65mm
Wheel Alignment
Heat Riser Replacement
Vent Window Repair
Center Console Mount
Straighten Bumper
Ford 6R80 6 spd
More Tech...
Fix Motor Mount
Roll Cage Braces
Throttle Body 65mm
Wheel Alignment
Heat Riser Replacement
Vent Window Repair
Center Console Mount
Straighten Bumper
Ford 6R80 6 spd
More Tech...

-
Welcome to ClassicBroncos! - You are currently viewing the forums as a GUEST. To take advantage of all the site features, please take a moment to register. It's fast, simple and absolutely free. So please join our community today!If you have problems registering or can't log into your account, please contact Admin.
You are using an out of date browser. It may not display this or other websites correctly.
You should upgrade or use an alternative browser.
You should upgrade or use an alternative browser.
Checklist for initial start of a rebuilt engine
- Thread starter admin
- Start date
I assume you cannot bypass the PS pump (which I assume would also bypass waterpump).
But on my dad's LTD (fox body with 331 stroker), which was SEFI and roller cam, we still forgot to bleed
the PS fast enough, worried about all kinds of crap on engine, and ended up smoking pump.
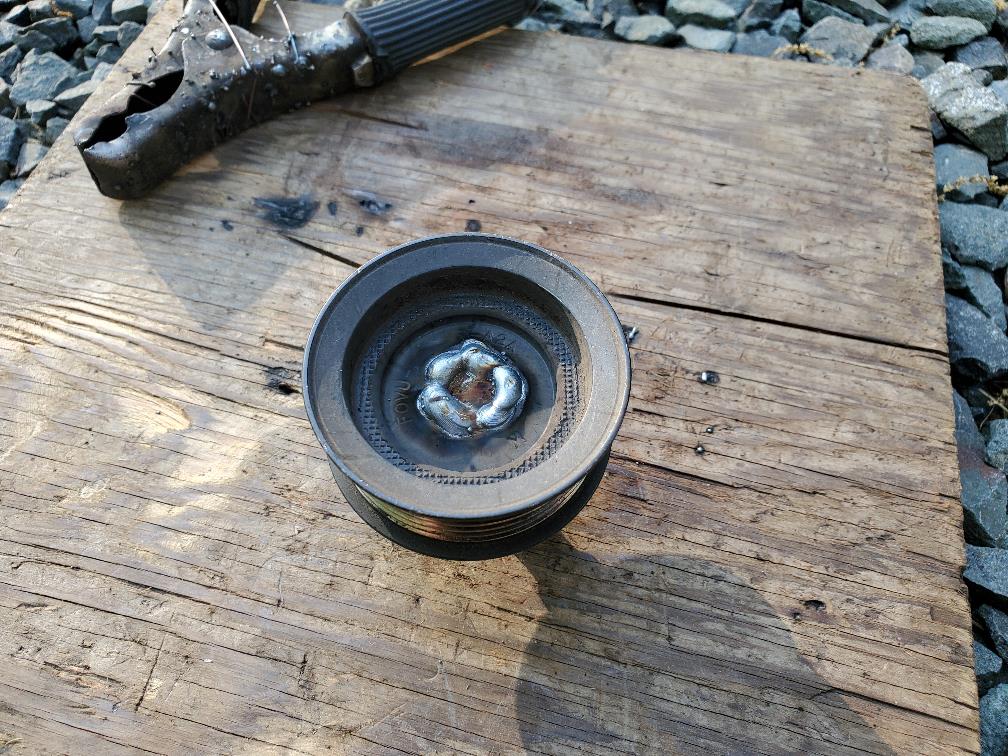
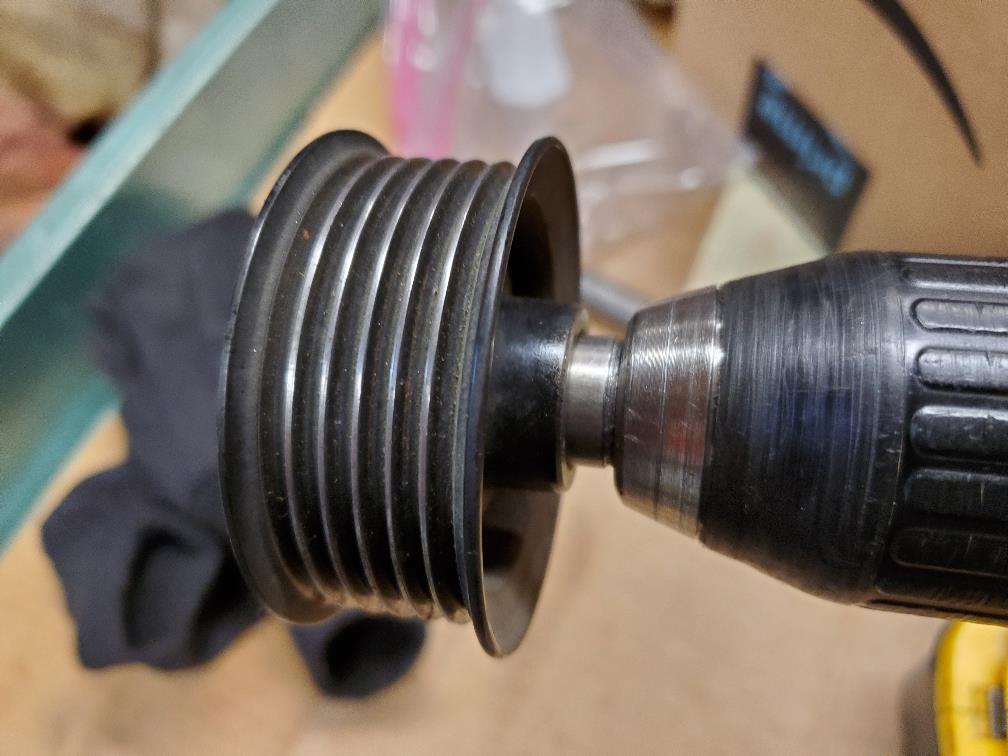
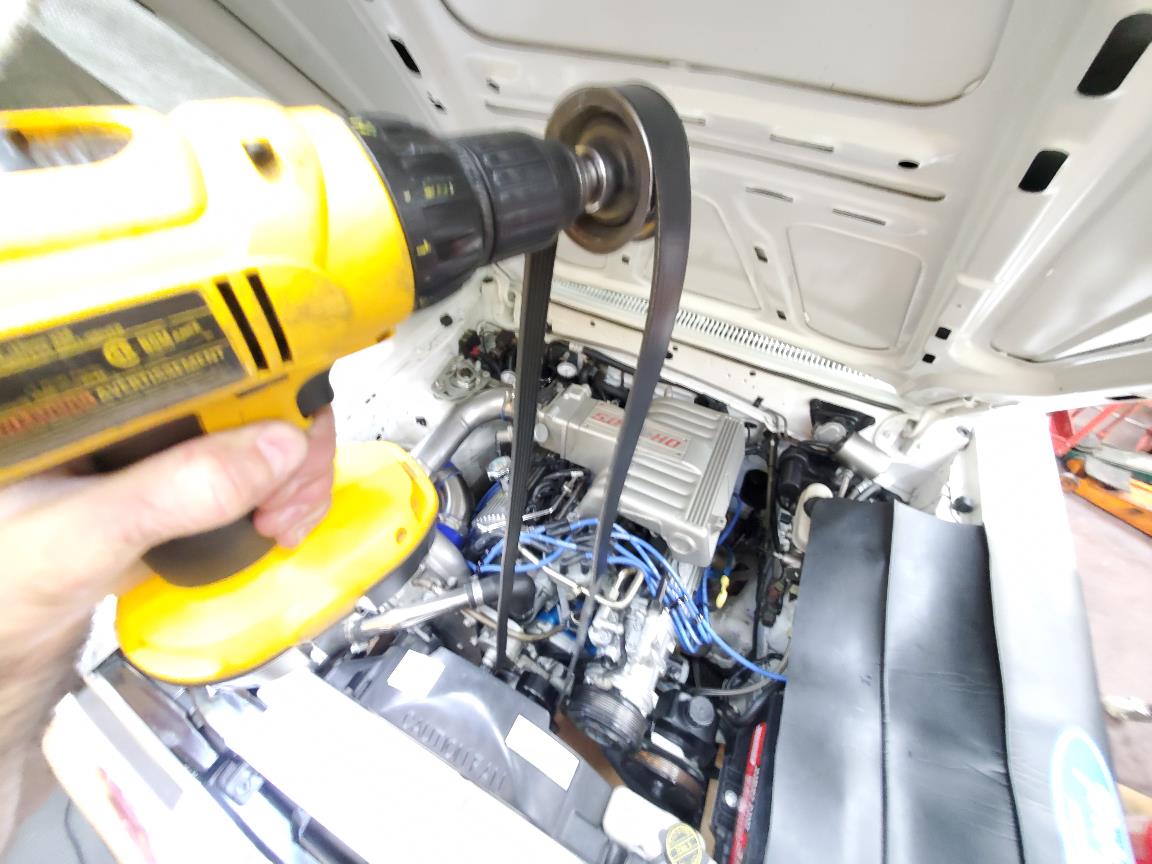
I made up this thing for diagnosing single serp items that don't seem to make themselves obvious while engine is running.
Could probably make up something (even if V-belt still) to run PS pump ahead of time, get system bled. One less
thing to worry about during engine break-in.


Thanks. That's a good trick. But in my case the PS pump is a totally separate V-belt, so I'm not even installing PS for engine break-in. Makes things simpler.
Admin, doesn’t apply to you in your situation, hopefully this will help someone following. for power steering have a helper at the ready with power steering fluid. Fill until the fluid is visible upon start up checking as it runs, add as needed. Once the engine is running and being monitored cycle the steering and top off the fluid, after a 30 minute break in it should be bleed and happy. If it’s not you’ll know on shut down it will puke out the filler.
Broncobowsher
Total hack
- Joined
- Jun 4, 2002
- Messages
- 35,695
It's the weekend now. Hope it stated well enough.
What I was trying to point out, and didn't do a good job of it, is mistakes can be made. People will forget that they turned the engine over one turn to tighten all the torque convertor bolts. The engine was dropped into the car at TDC compression. Now at TDC exhaust. Drop in the distributor that was left out so it isn't damaged during the install. Next thing you know you are absolutely sure the engine is at TDC compression because you checked it 20 times during the build. But it won't start. Being human, people are stuborn and won't check what they know is right even if it is wrong. Unless the distributor was installed one step after setting TDC compression, without any chance of the engine ever being turned, I always suspect it got 180 out. Been 180 out too many times in my life to ever assume that I got it right no matter how much I checked that I got it right.
What I was trying to point out, and didn't do a good job of it, is mistakes can be made. People will forget that they turned the engine over one turn to tighten all the torque convertor bolts. The engine was dropped into the car at TDC compression. Now at TDC exhaust. Drop in the distributor that was left out so it isn't damaged during the install. Next thing you know you are absolutely sure the engine is at TDC compression because you checked it 20 times during the build. But it won't start. Being human, people are stuborn and won't check what they know is right even if it is wrong. Unless the distributor was installed one step after setting TDC compression, without any chance of the engine ever being turned, I always suspect it got 180 out. Been 180 out too many times in my life to ever assume that I got it right no matter how much I checked that I got it right.
Gotcha Tim. Totally makes sense now. I did my TDC confirmation after the engine and transmission were installed (yesterday). After that there was no chance of it being wrong since I didn't turn the crank again.
But I get your point. If I was relying on it being correct because that's how I installed it back when I was reassembling the engine out of the car, then yes, that would be a false sense of security.
Unfortunately we didn't get to start it today. We had everything all set; oil pump primed, electrical all connected, radiator topped of with distilled water, and fire extinguisher at the ready. But on our very last step, filling the carb bowl with fuel, we found a serious leak from the front of the carb. The pump diaphragm has a rip in it. So off to the parts store to get a rebuild kit. Fingers crossed, we'll be able to start it tomorrow.
I know you're a busy guy, and I definitely appreciate all you do for us..... But this start up of yours is the best cliffhanger that's come along in a while!
How'd it go?
How'd it go?
Unfortunately 1 more day of not being able to start the engine. We rebuilt the carb, but in doing so we also found one of the pump diaphragm screws was stripped, so we couldn't get a good enough seal to not leak gas. Not exactly the situation I want when starting a new engine. 
So I'll need to find some time this week to look at tapping that hole to the next size screw. If that doesn't work, I'm going to temporarily swap on my Bronco carb so I can finally get this engine fired up! See, I was able to make it Bronco related after all!
Thanks for the encouragement everyone. Sorry I have to string you along for another couple of days.
We haven't started the engine yet, but we fixed the carb gas leak at the pump diaphragm. We successfully tapped the one stripped screw to the next size up, but also noticed the pot metal pump cover was badly warped.
So we sanded it back flat again with various grit sandpapers laid on a sheet of glass on the work bench. Reassembled and no more leaking gas! Although now the pump cover is even thinner, so more likely to warp again. I don't think anyone makes this cover new, so I'll have to source a used one.
Pic below of the warp before sanding:

Pic below showing sanding progress:

Pic below after sanding out the warp:

So we sanded it back flat again with various grit sandpapers laid on a sheet of glass on the work bench. Reassembled and no more leaking gas! Although now the pump cover is even thinner, so more likely to warp again. I don't think anyone makes this cover new, so I'll have to source a used one.
Pic below of the warp before sanding:
Pic below showing sanding progress:
Pic below after sanding out the warp:
Broncobowsher
Total hack
- Joined
- Jun 4, 2002
- Messages
- 35,695
It has leaked before. With the "just snug it a little more to stop the leak" approach to fix it.
Success!!! We were finally able to run the engine for the first time today. Maybe fate was being kind and making up for all the road blocks we had to overcome to get to this point, but everything went extremely well.
It fired up right away, but wouldn't keep running the first couple of times. Fuel pressure was good and timing light confirmed spark, but it stumbled. Turns out the timing needed to be advanced more than I expected. I had stabbed the distributor in at about 10* BTD, but I needed to advance it to more like 18*-20* BTC to get it running smoothly.
Once the timing was right it ran very well. Pushed it up to about 2200 RPM and let it run for 25 minutes.
All in all, I'm very pleased with how it finally came together. Lots of stress melted away once it started running and it was obvious no major issues were popping up.
Thanks again to everyone for their advice and encouragement. I haven't rebuilt an engine since I was in college and it was way more stressful this time around! Back then I was too stupid to know if I was doing it right or not (although I never managed to blow up an engine!)
It fired up right away, but wouldn't keep running the first couple of times. Fuel pressure was good and timing light confirmed spark, but it stumbled. Turns out the timing needed to be advanced more than I expected. I had stabbed the distributor in at about 10* BTD, but I needed to advance it to more like 18*-20* BTC to get it running smoothly.
Once the timing was right it ran very well. Pushed it up to about 2200 RPM and let it run for 25 minutes.
- Filled the C-4 with another 5 quarts quickly.
- It smoked quite a bit for about 3-5 minutes after startup, but then it cleared up. Nothing visible out of the tailpipe.
- Didn't need to add any water to the radiator. We had worked out all the air pockets beforehand by temporarily pulling the temp sending unit from the top of the intake manifold.
- Amazingly, not a single drop leaked from the cooling system, transmission or fuel system!
I did have several drops of oil from the bottom of the bellhousing. When I installed the engine and C4 together I really had to tilt them at a severe angle to clear the radiator support. Oil dripped from the bellhousing then too, so my hope is that what dripped today is the remnants of that oil from the install. Time will tell. Not really looking forward to trying to fix a rear main seal.
- Vacuum was a consistent 14 inch Hg, which is low, so I may have a vacuum leak somewhere.
- Oil pressure was about 75.
- Exhaust manifold temps at each cylinder were about 630-700 deg F on the passenger bank and 510-580 deg F on the driver bank. This was at about 2200 RPM and with new rings and freshly bored cylinders. I'll be curious to see how much they drop the next time I fire it up, now that everything is broken in.
All in all, I'm very pleased with how it finally came together. Lots of stress melted away once it started running and it was obvious no major issues were popping up.
Thanks again to everyone for their advice and encouragement. I haven't rebuilt an engine since I was in college and it was way more stressful this time around! Back then I was too stupid to know if I was doing it right or not (although I never managed to blow up an engine!)
Last edited:
Broncobowsher
Total hack
- Joined
- Jun 4, 2002
- Messages
- 35,695
Clean looking engine bay.
Congratulations Jon, nothing like a positive outcome.
Now for the most important What was your sons reaction??
Hopefully a good moment for both of you!
Now for the most important
Hopefully a good moment for both of you!
Similar threads
- Replies
- 46
- Views
- 7K
- Replies
- 3
- Views
- 1K
- Replies
- 21
- Views
- 10K


