OP
OP
yea actually it is tempting, thats why I went ahead and ordered my sheetmetal today, before I get confused and lose track of my "Frank" project. .......Frank first then mustang ")


Bronco Ben said:thanks to you jaxlax.....better prepare that big ones headed our way!
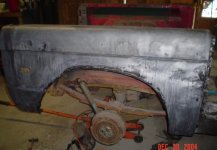


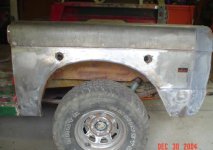
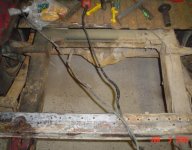
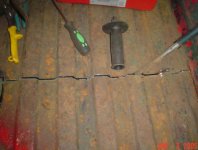
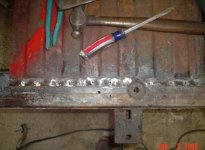
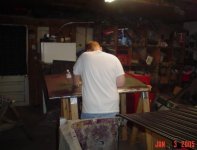
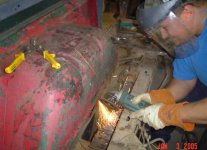
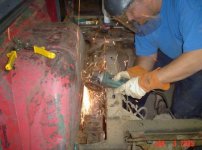
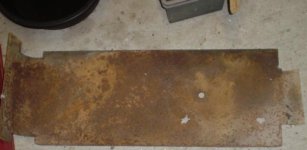
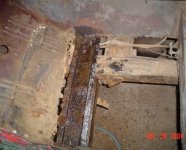
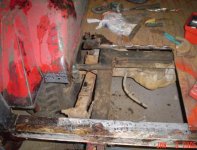
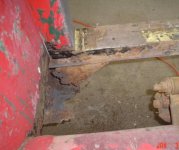
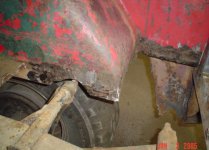
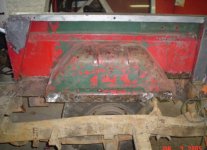
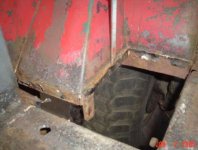
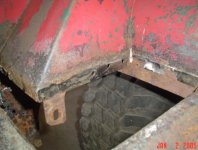
 where not as nice as nearly 95% of the broncos on here, I still feel that I am saving it from the scrap metal pile, so bear with me.......here is a few shots of how I removed my drivers side rear corner panel......first I cut out a large portion of the metal with a cutoff wheel, then I used a grinder to find the spot welds and a little technique I invented (many probably have already) by putting a chisel or screw driver behind the metal between the spot welds and prying out to expose exactly where the spot welds are. Then I used a 9/64" pilot bit to drill the center of the spot weld then, came back with a large enough bit to break the weld without causing to much damage to the underneth panels. here is a few pics!
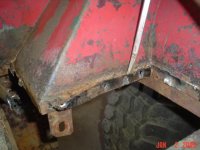

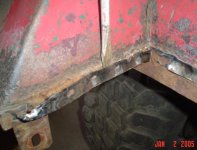
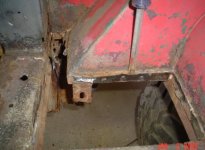

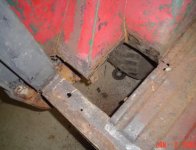
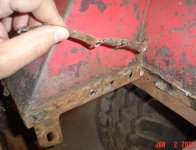
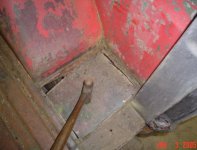
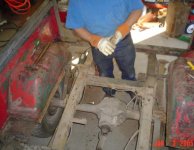
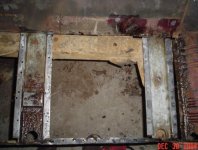
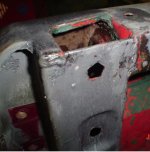
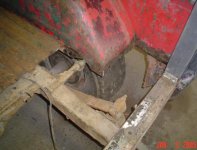
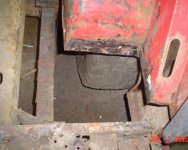
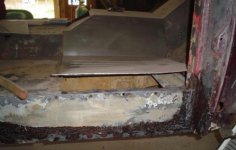
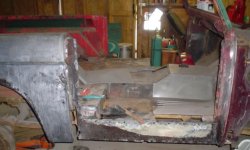
Bronco Ben said:But in this one picture I have circled with yellow, what panel is this called and what should I do about it, replace it or what?
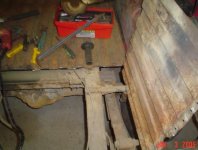
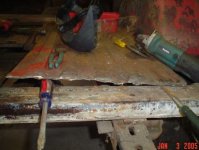
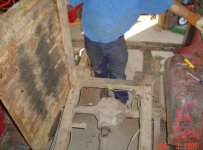
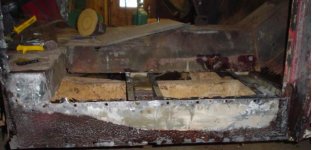
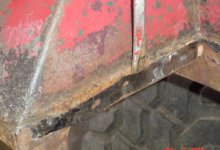
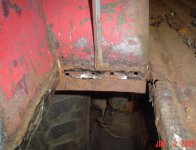
I dont remember what that peice is called but you can get it at JBG. I got it from them. They have any body part you need. Keep looking on their site and you will find anything you want.Bronco Ben said:a couple more pics with the bed panel particially removed and ospho on the rust. But in this one picture I have circled with yellow, what panel is this called and what should I do about it, replace it or what? is it the panel that runs inside the rear cross piece? ?:?
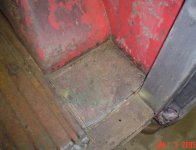
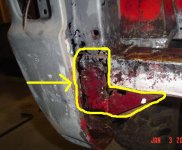
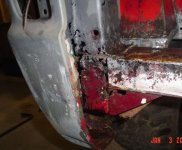
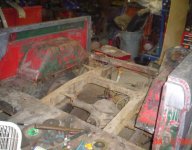
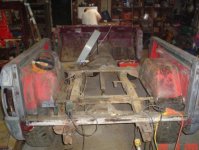
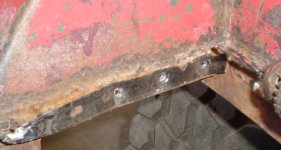
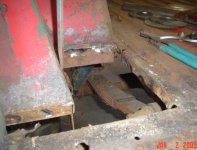
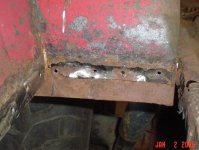
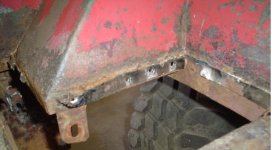
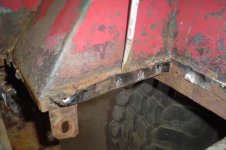
Also Notice in the 3rd picture that the tail gate post has been welded to the quarter panel, its this way on both sides, is this factory? Or some damage repair? and last but certainly not least How hard is it to remove the end caps.........You guys make it look soooooo easy, and yet I am haveing a hell of a time with mine! Any input would be appreciated!
thanks
Ben
it is posts like this that keep me motivated
77TexasBronc,Yes, this is factory