OP
OP
71massbronco
Bronco Guru
- Joined
- Mar 13, 2011
- Messages
- 1,321


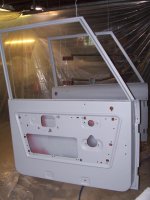
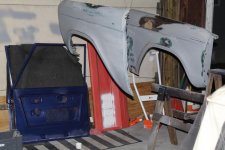
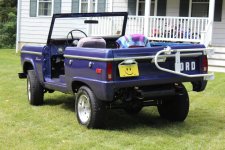
Doors look nice. Will you be installing the stock rear tire tire carrier?
")
Sounds good D'. Disconnect battery, Pull all the fuses, soak with WD40 and gently brush with soft bristle or wire brush and wipe down well.
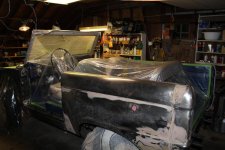
Been a while since I checked in on your build. Glad to see you have it running. Keep at it.... its all down hill from here!
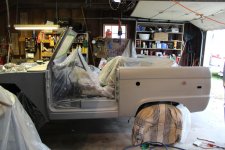
Doors look good from here!!! Glad you have it running, cause it sucks to have it in the way all the time and have to push it off to the side. I've been laid off for 2 weeks, going back on Tuesday, and got alot done on mine while I've had the chance.
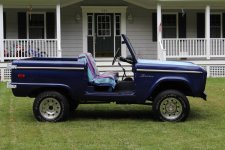


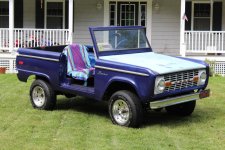
looks fantastic! you have done a great job....get it ready for the fall cruise!
Very nice.
Nice to see your near the end. Looks great..