• Just a reminder that you won't be able to start new posts or reply to existings posts in the Archive forum.

    This is where all the old posts go so they can still be used for reference and searched.
  • Welcome to ClassicBroncos! - You are currently viewing the forums as a GUEST. To take advantage of all the site features, please take a moment to register. It's fast, simple and absolutely free. So please join our community today!
    If you have problems registering or can't log into your account, please contact Admin.

Need pics of 2 inch body lift with stock bumper

broncofoo

New Member
Joined
May 23, 2006
Messages
10
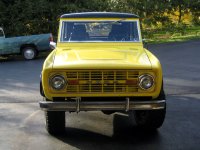
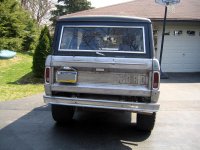
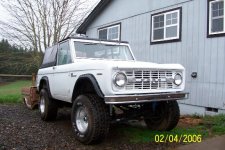
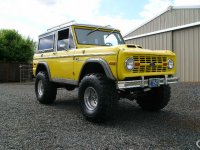
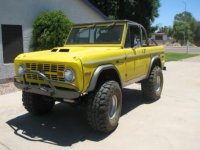
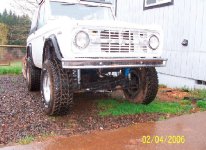
Hello all, I am a proud new owner of my first Ford Bronco. I am currently working on getting her lifted. I am going 3.5 suspension and would like to go either 1 or 2 inch body (leaning toward 2). I would like to stick with the stock bumpers for now, but would like to see how bad the gap is.

Please help me out and post some pics of 2 inch body lifts with stock bumpers.

Thanks!!!
 

gladrich

Full Member
Joined
Oct 27, 2005
Messages
281
1973 with 2 inch Body lift & stock bumpers..
 

Attachments

  • lft.jpg
    lft.jpg
    192.4 KB · Views: 104
  • lft2.jpg
    lft2.jpg
    162.3 KB · Views: 88

kyle

Contributor
Bronco Guru
Joined
Nov 2, 2001
Messages
2,199
Another option is that you can shim the bumper up 2".

This Bronco has a 2" body lift.
 

Attachments

  • 69 Bump.jpg
    69 Bump.jpg
    99.8 KB · Views: 89
Last edited:
OP
OP
B

broncofoo

New Member
Joined
May 23, 2006
Messages
10
Doesn't look as bad as I thought it would.

Kyle,

How did you shim the bumper up two inches? Can you snap some pics? It looks great.
 

kyle

Contributor
Bronco Guru
Joined
Nov 2, 2001
Messages
2,199
I got 2” longer bolts for the top and bottom of the bumper. On the top side of the bumper the bolt passes through the bumper and the bolt is secured to the bumper with a nut. Then probably about 1.5” down the bolt is another nut, this nut sits on top of the frame (this gives you your spacing and makes the spacing adjustable). The bolt then passes through the frame and is attached to the frame with a nut on the underside of the frame. Since the top bolt secures the spacing, on the bottom all you need to do use 1 bolt and 1 nut. I used a bolt with a long shank on the bottom to hide the look of exposed threads.

At first I thought it might look a little jimmy rigged, or not be secure, but I think it looks okay and it isn’t going anywhere. It’s kind hard to explain and make sense and this is the only other picture I have (if you zoom in you can get a better idea):
 

Attachments

  • 69 bump2.jpg
    69 bump2.jpg
    250.4 KB · Views: 40
Top