Mill KNOB
Bronco Guru
maybe i missed it, but what are you gonna do for tail lights now?
You don't need tail lights out on the trails..;D


maybe i missed it, but what are you gonna do for tail lights now?
You don't need tail lights out on the trails..;D
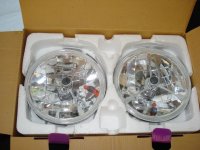
front blinker lights are easy. get some H4 headlights with the turn signal bulb built in.
http://cgi.ebay.com/ebaymotors/7-He...ptZMotorsQ5fCarQ5fTruckQ5fPartsQ5fAccessories
http://cgi.ebay.com/ebaymotors/7-Tr...ptZMotorsQ5fCarQ5fTruckQ5fPartsQ5fAccessories
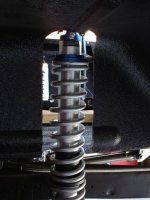
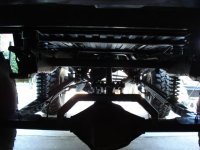
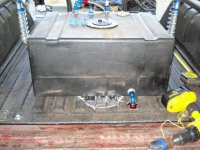
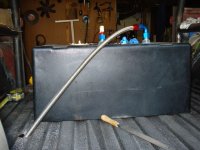
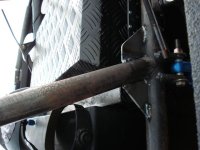
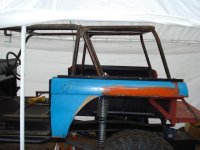
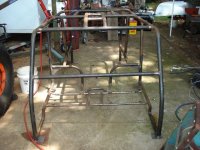
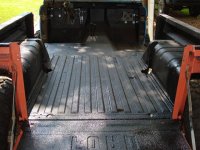
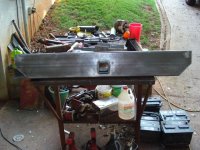
 It was too low and would have hit the diff cover under full compression (not even full really).
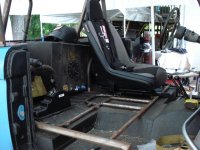
 Robert, Your Bronco is really coming along well. The new pictures are awesome. You and Keith do great work.
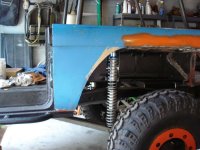
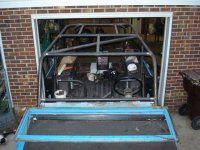
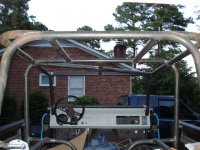
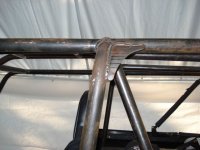
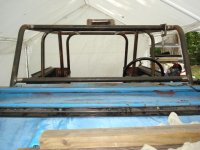
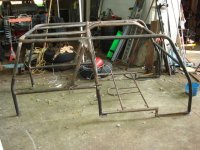
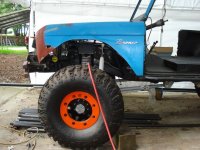
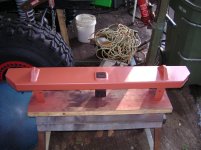
looking good robert, why didn't you dove tail the back as well? she's gonna be a bad bad baby.;D
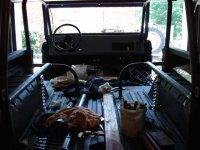
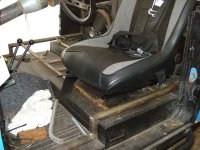
I thought about dovetailing the rear and may end up doing that in the future. My plan was to be able to run a soft-top for trailering it and in-case of rain when we take it places. I'm not too concerned about getting it wet or me getting wet, but the more things I can do to keep Jessica dry and comfortable the better off I will be ;D
smart man;D
KIN D