






Community
Buy / Sell



Bronco Tech
Fuel Tank Access Plate
3 Arm Wiper Setup
Fix Motor Mount
Roll Cage Braces
Throttle Body 65mm
Wheel Alignment
Heat Riser Replacement
Vent Window Repair
Center Console Mount
Straighten Bumper
Ford 6R80 6 spd
More Tech...
3 Arm Wiper Setup
Fix Motor Mount
Roll Cage Braces
Throttle Body 65mm
Wheel Alignment
Heat Riser Replacement
Vent Window Repair
Center Console Mount
Straighten Bumper
Ford 6R80 6 spd
More Tech...

-
Welcome to ClassicBroncos! - You are currently viewing the forums as a GUEST. To take advantage of all the site features, please take a moment to register. It's fast, simple and absolutely free. So please join our community today!If you have problems registering or can't log into your account, please contact Admin.
You are using an out of date browser. It may not display this or other websites correctly.
You should upgrade or use an alternative browser.
You should upgrade or use an alternative browser.
Transfer Seat Part 2
- Thread starter rydog1130
- Start date


- Joined
- Apr 26, 2015
- Messages
- 2,734
Upload to youtube, then post a link here, it imbeds it into the forum.
OP
OP

- Joined
- Jun 19, 2014
- Messages
- 4,188
Ok so got my plates mounted, and decide the best way to mount the gear box was to tack 3 1/4” nuts on the bottom. I know I strayed from the 6mm consistency but the GM window motor uses 1/4” bolts lol! Anyways got that tacked in there and then had to make a trip to the hardware store to find some nice spacers instead of nuts and washers!


OP
OP
- Joined
- Jun 19, 2014
- Messages
- 4,188
Here’s a short video of it moving back and fourth under power. It’s upside down at the moment and I havnt tried it with any weight yet. I’m hoping this week or next we get to put it all together and test it out!!! I also need to find some sort of limiter to cut the motor when it reaches either end of its travel because it stall wants to run even when it reaches its limit, the motor in my van seat which is the same stops so not sure if it has an internal system that senses stress or if it’s wired in somewhere else! Anyways enjoy the first sight of progress here!
OP
OP
- Joined
- Jun 19, 2014
- Messages
- 4,188
Not much of an update here, just need to attach my 4 link system back on and get this thing tested! My dad has some skid forks for the kabota tractor that I’m going to clamp this thing to and start load testing it. When? That’s the big question probably won’t be until next week. Big end of seasons soccer  ️ game for my little guy in preschool and then after party bbq here at the house. Then Sunday a big wine and art event our store helps out with to raise money for scholarships to give to the highschool students here! Don’t worry I’ll post all the action as soon as it happens!
OP
OP
- Joined
- Jun 19, 2014
- Messages
- 4,188
Well, I had an hour of free time today so my dad and I bolted the 4 link arm on. We put it on the pallet skids to give it a try and that was a great idea because we could raise or lower it to make it easy to work on. Any ways first test was in out then up down with out any weight. Then I looked around for the heaviest thing I could find and spotted an extra deep cycle marine battery (approximately 65lbs) I figured this was a good start! I’ll let you watch the video but I think it handled it just fine! I ran out of time but really it’s just time to test more weight on it. I’m thinking 300lbs as I’m 200 and the seat is 30-40 lbs that should give me a built in safety factor of 50 lbs just in case I eat to much and get fat lol!


OP
OP
- Joined
- Jun 19, 2014
- Messages
- 4,188
I did some weight testing on it, in and out no problem! Up down…welll….down works really good but it struggles lifting back up even without a load so im not sure what’s up. Do I have any Mercury trim/tilt gurus in the group?
OP
OP
- Joined
- Jun 19, 2014
- Messages
- 4,188
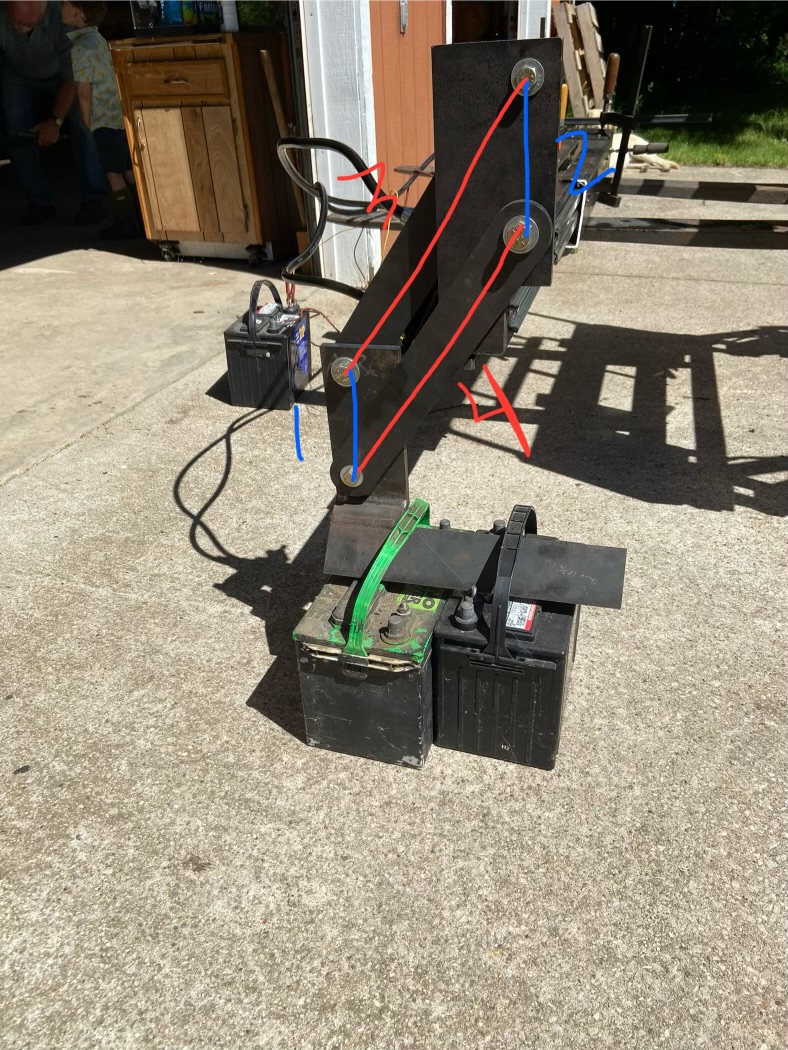
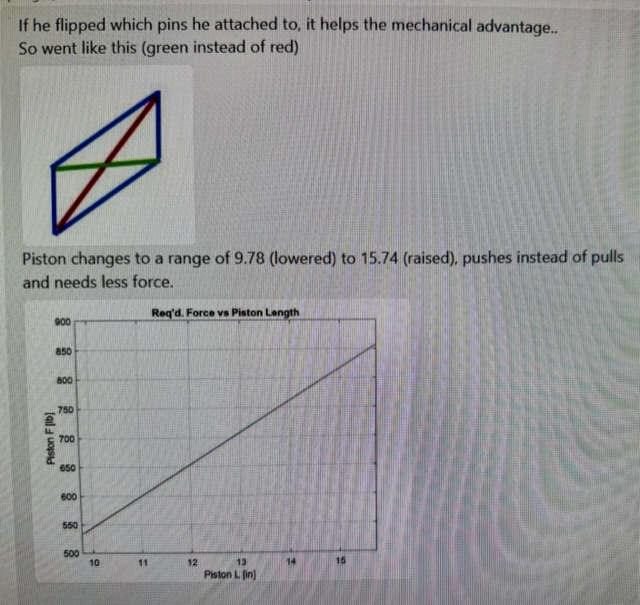
So the Mercury I/O pump is just not strong enough! I had my buddy who is a professional in this kind of stuff run the weight and measurements to calculate the appropriate force required to get this thing moving. Looks like I’ll need a min of 1500lbs of force to get this thing moving! New actuator on the way. I found a cool hydraulic electric combo unit that should work. If not then I’ll return it and go all electric w/ a 2000lb linear actuator!
OP
OP
- Joined
- Jun 19, 2014
- Messages
- 4,188
Yeah sometimes I do things backwards lol! Shoulda had the math done first but didn’t think it would be that much force! Anyways stay tuned the mechanics work great so I’m excited that this thing is most likely going to work once it’s adequately powered !I've worked on, oh so many Mercury trim units and there is no way they will 1000 pounds.!
Sounds like you're on the right track. W
OP
OP
- Joined
- Jun 19, 2014
- Messages
- 4,188
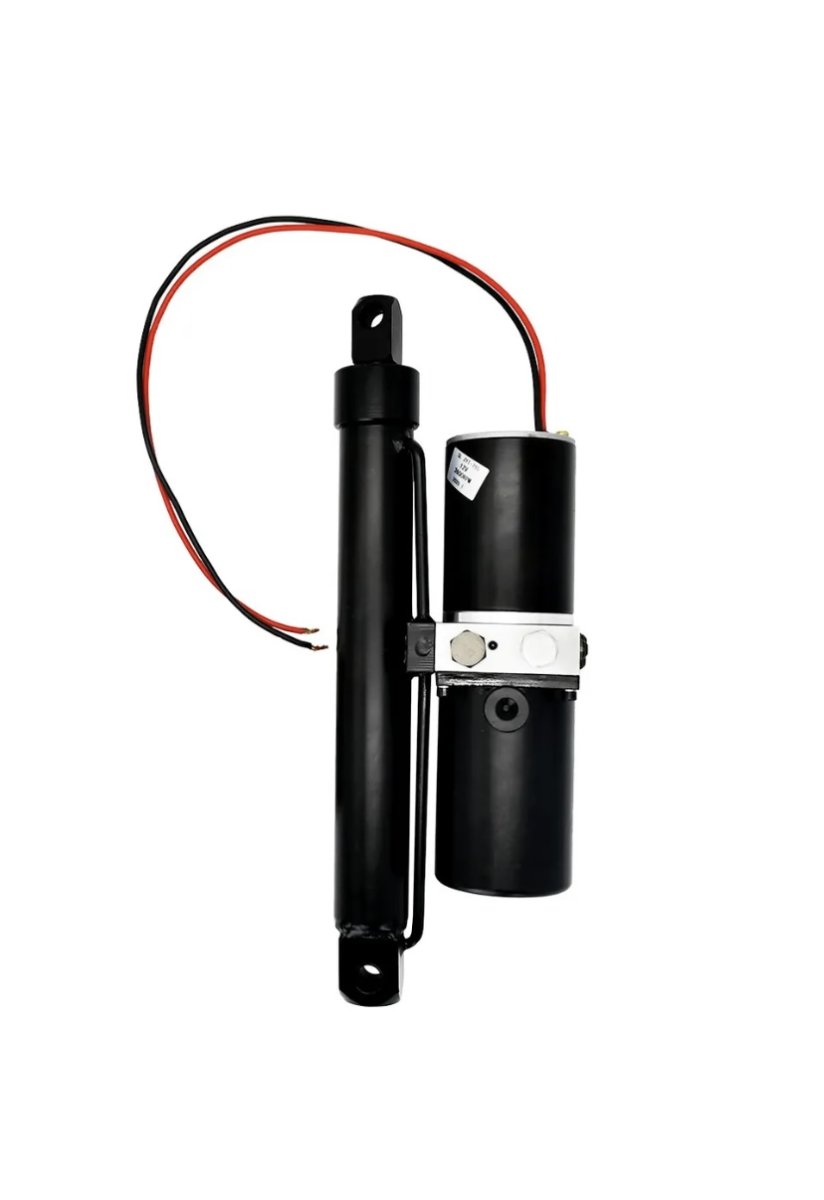
I ordered this and it came yesterday! All in one electric hydraulic actuator w/ 10” of travel! Sits at 15” long on center so I can actually run it out a bit to mount it then have more than enough travel to lower my seat. This unit is slightly more compact than and electric 2000 lb actuator. It boast a 1700lb rating so it should be more than enough to power the unit. I also like how compact it is and there’s no large hydraulic lines running to it. Plus I can hook it up to my electric box that will reverse the polarity via remote control which will make wiring easy. I just hope I have enough clearance past the rocker panel. Hopefully I can get it mounted this week and test it out!!!
OP
OP
- Joined
- Jun 19, 2014
- Messages
- 4,188
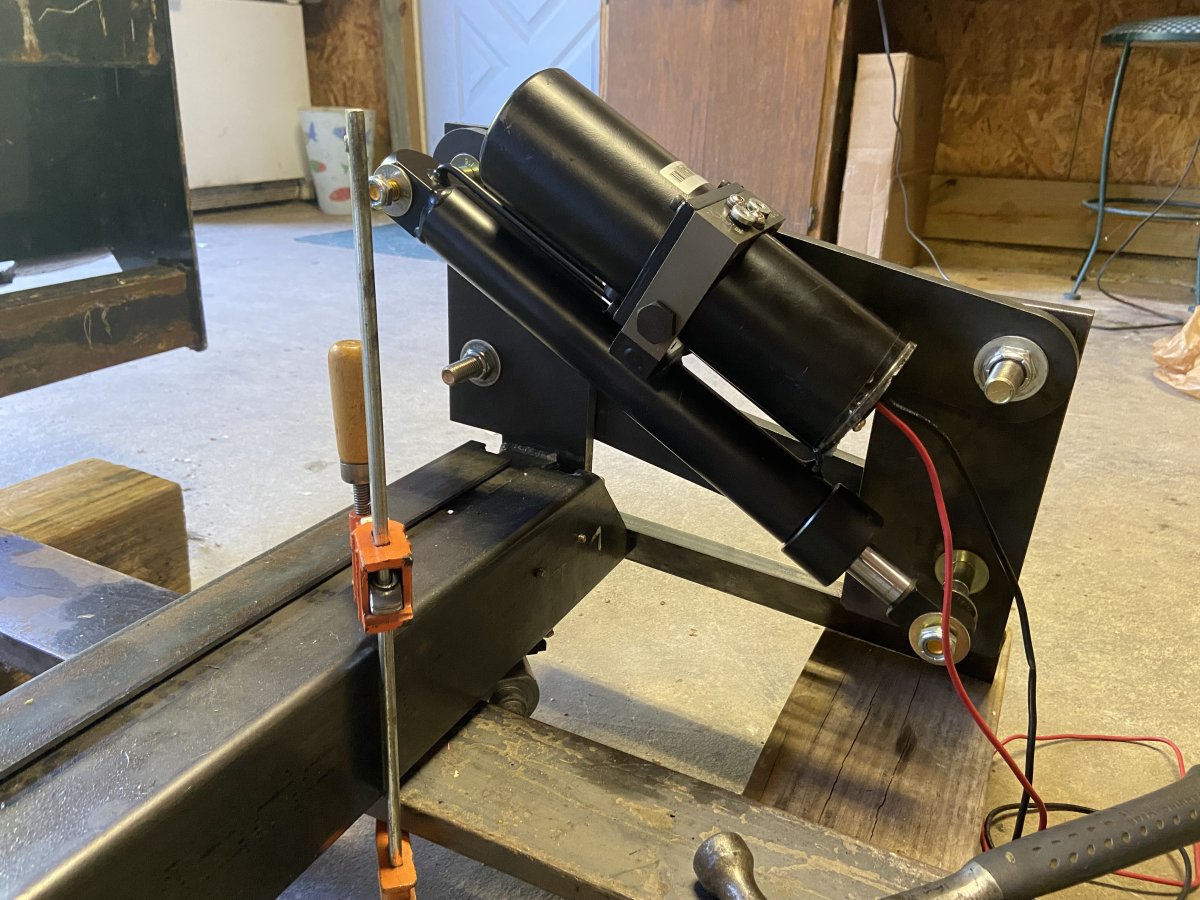
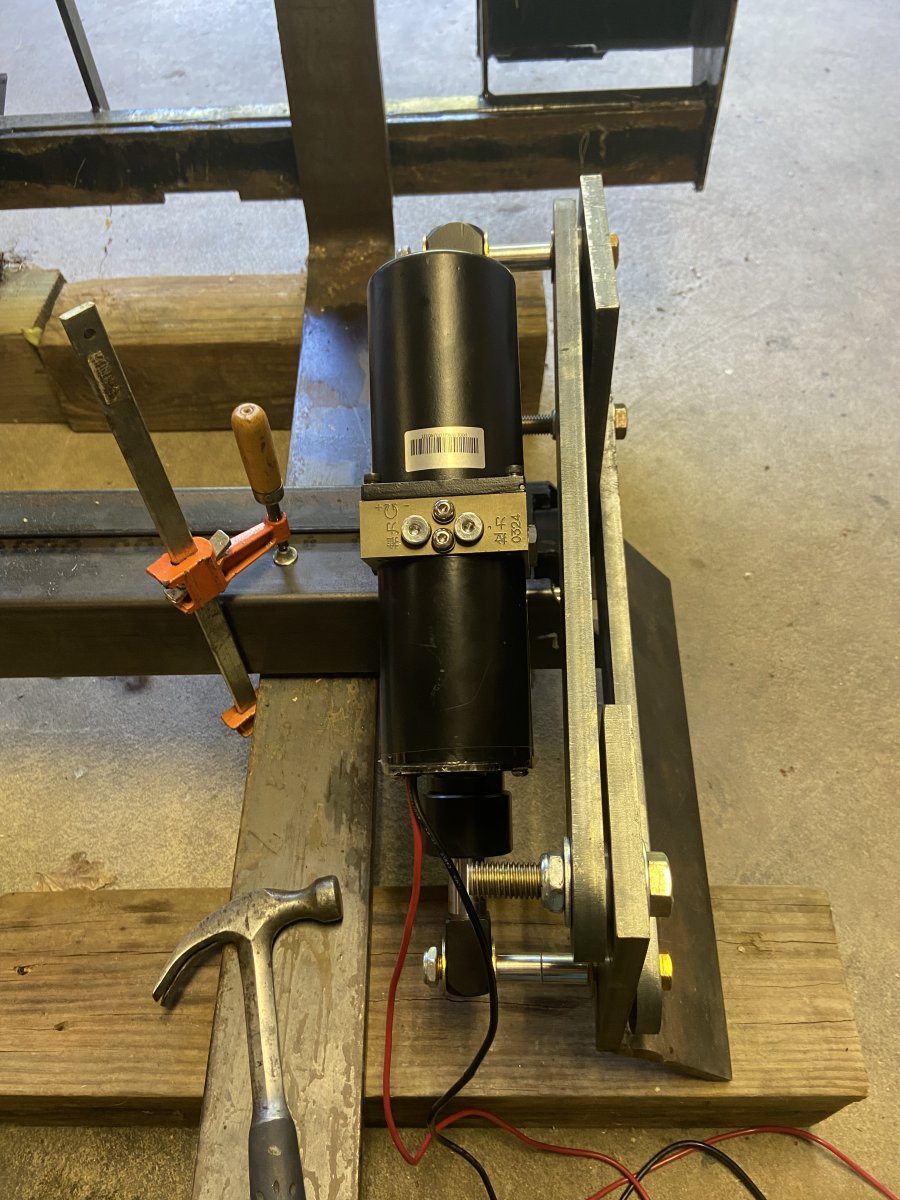
I put the longer bolts on today and did a rough mock up with some solid sleeve spacers. I’m thinking I’m going to cut some thicker dom tubing for spacers and then weld them in place to help support the bolts. I’m not sure those bolts will be able to hold up with as long as they are and by adding the dom tubing spacers it will def help support and stiffen up those bolts that the actuator mounts on.
OP
OP
- Joined
- Jun 19, 2014
- Messages
- 4,188
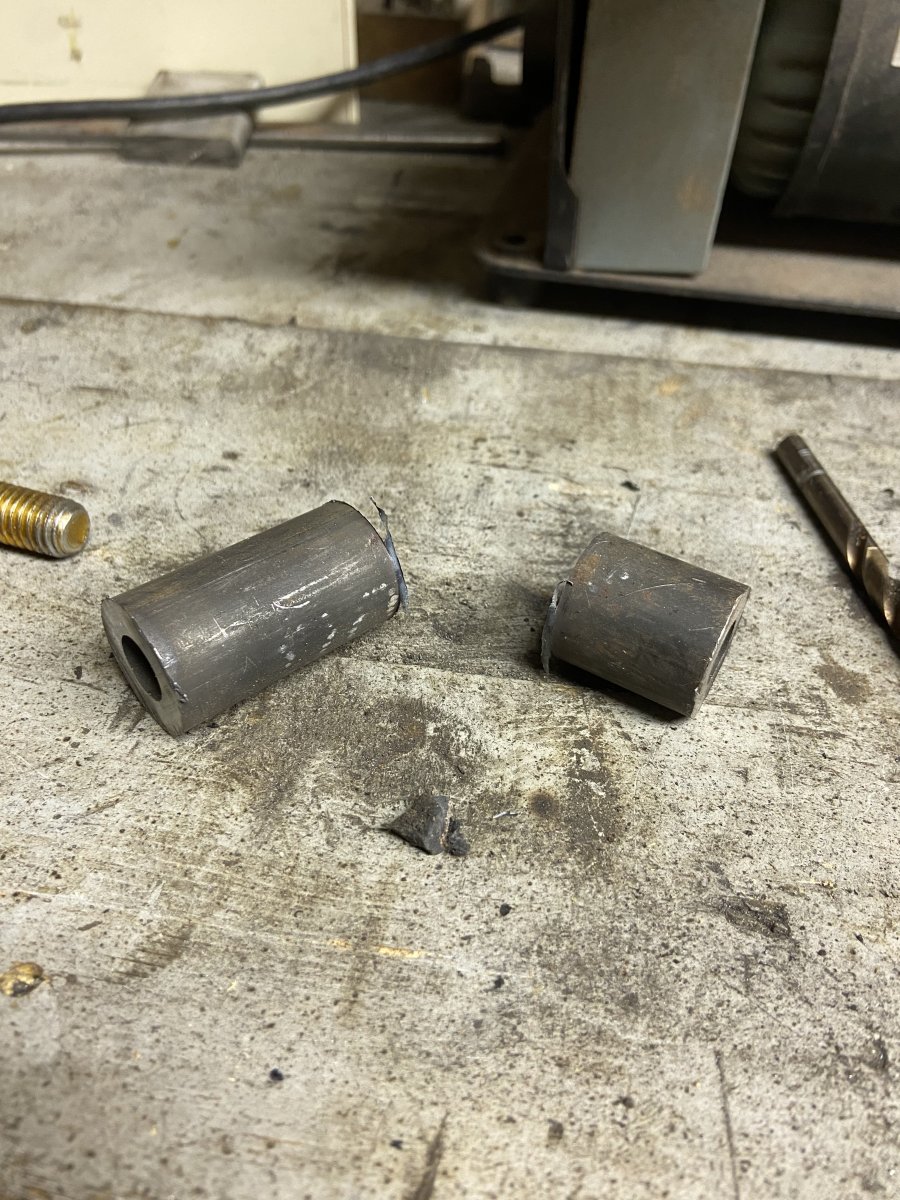
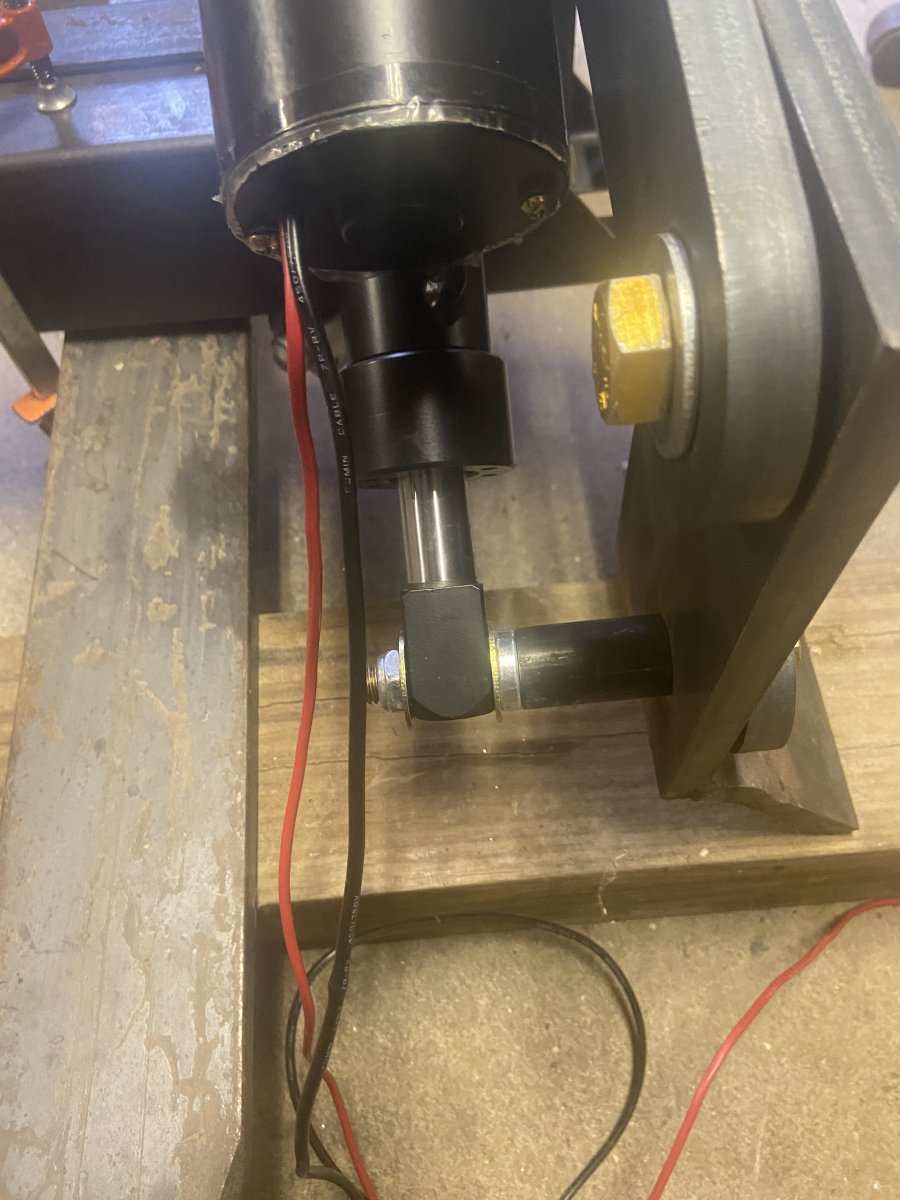
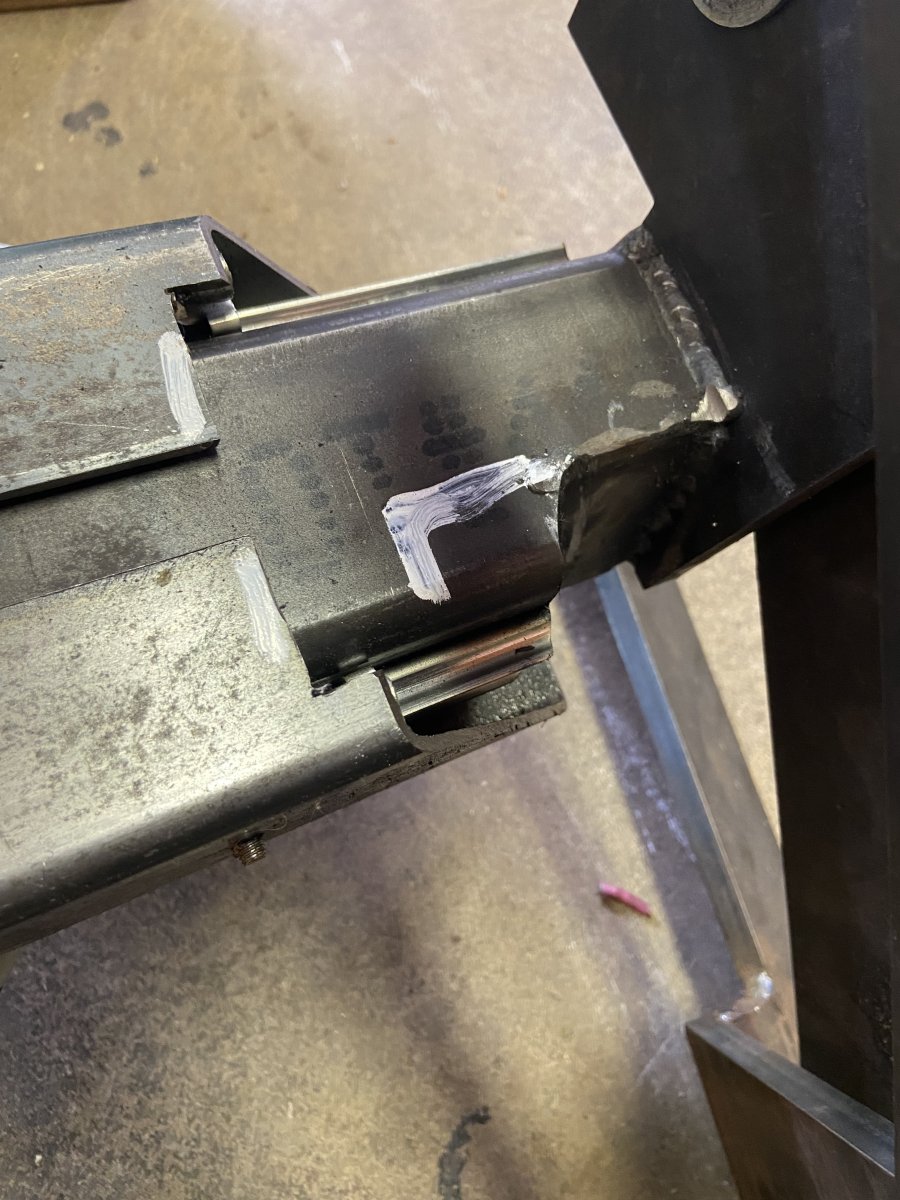
Latest update, cut the spacers for the bolts and gave it a full on test! Good news! I was impressed the actuator was able to lift a sold 300lbs without any major issues! The video only shows 2 batteries at 100 lbs but we threw more weight on it! Now the bad news, well not terrible but here’s the minor issue, this pump cylinder combo works great but under load the rod starts to slip once you cut power. I’m bummed because I thought this was it and I could move forward on modifying my seat pan etc. Anyways not the end of the world I just have to get an electric 2 ton actuator with practically the same dimensions but about $135 more…damn. The positive is though it’s static and has a 4000lbs rating when not in motion. It’s also a little slimmer by 1/2” which doesn’t sound like much but there’s not a ton of room in these broncos so every increment counts! I will have to notch my beam a little bit more to accommodate the wider actuator but will toss in some stronger steel. I’m also going to make some rollers that mount on the floor pan to help support the beam as it travels out. Once that new actuator shows up I’ll be disassembling it and getting it painted up and modifying my floor pan!!! Hopefully by mid July I’ll be done ! Bronco Take Over is in August!!!

- Joined
- Apr 26, 2015
- Messages
- 2,734
What about running a 36 or 48v motor? Then use a lawn mower battery to power it? Instead of the house battery?
OP
OP
- Joined
- Jun 19, 2014
- Messages
- 4,188
It looks like it cuts out but that's really my 4 year old son not holding down the wire consistently. I think it should run fine on the 12v system. I might upgrade the battery to a deep cycle marine battery in time. This hydraulic unit worked great but the ram wasn't static under a load. The new electric actuator is ordered and should be here this week. hopefully I'll have an update this saturdayWhat about running a 36 or 48v motor? Then use a lawn mower battery to power it? Instead of the house battery?
OP
OP
- Joined
- Jun 19, 2014
- Messages
- 4,188
New actuator is supposed to arrive today. Ive been thinking about adding some additional supports on the floor pan once this unit starts to extend. Im not sure if i can get away with adding two strips of hard nylon for it to ride on or if it will cause to much friction? i could grease it but not a fan. i might build some customer rollers out of angle iron and u channel with a 1/4" bolt and 5/8" aluminum spacers. .....hmmm


OP
OP
- Joined
- Jun 19, 2014
- Messages
- 4,188
So i had a redesign pop in my head at the hardware store when I went there to look at materials for my extra floor pan roller/support and decided it would be easier to just make two 18” long sections of 3/4” angle iron and attach rolling steel spacers to help support the beam if there’s any flex and it’s going to be way easier to make!


Lastly got the new actuator on and it rubs really smooth! I had to adjust the limit switch on it because it was a tad too long and I might try to shorten it another 1/8 to 1/4” if possible but over it looks good and lifts appropriately so I’m in the process now if disassembling the unit so I can notch out the beam a bit more which will allow about 3 more inches of travel. I plan on getting it painted then tackling the floor pan modification so I can get this thing installed and my ass back on the road!!


Lastly got the new actuator on and it rubs really smooth! I had to adjust the limit switch on it because it was a tad too long and I might try to shorten it another 1/8 to 1/4” if possible but over it looks good and lifts appropriately so I’m in the process now if disassembling the unit so I can notch out the beam a bit more which will allow about 3 more inches of travel. I plan on getting it painted then tackling the floor pan modification so I can get this thing installed and my ass back on the road!!
Last edited:
OP
OP
- Joined
- Jun 19, 2014
- Messages
- 4,188
Had my dad help me open up that notch for the actuator, cut a piece of angle iron to fit and welded it up and ground it smooth! (Deja vu?) lol! I got my passenger seat out and popped it in there just to see if my over all measurements were correct and it looked good! I’ll get pictures of that next time! Getting excited to lower this floor pan and get it installed


Similar threads


City: North Pekin
Price: $400
- Replies
- 0
- Views
- 141
- Locked
City: Temecula
- Replies
- 3
- Views
- 312