Center Console Mount
Tech article by admin and filed under InteriorCenter Console Mounting Bracket in an Early Bronco
Tech article by Mike Kipper (kip60)
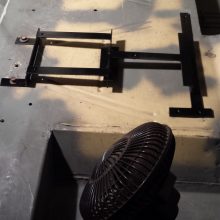
After finally fixing the rust in the floorboards, it was time to put everything back in and make sure it fit in the old locations. I had purchased new seats and needed to get them in and also get the console in place. My seat belt holes are in weird locations and interfered with the placement of the console. Searching the forums, I noticed that JAFO had fabricated a bracket that went underneath the console itself to gain some clearance. I decided to take his design a step further and make the bracket solid to increase the rigidity, while bolting to the floor in existing bolt locations. It also allows for adjustability front to back.
Materials:
- 10 gauge 1”x8’ strapping ($7.50 at metal yard)
- (2) 5/16”automotive cap seat bolts ($3.50 for pack part# 206CT at O’reilly)
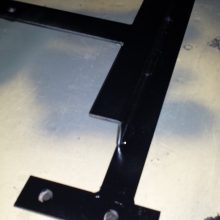
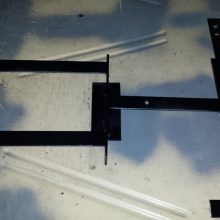
I welded and drilled the strap to bolt into the front seat bolt holes. Then building towards the back, welded pieces in to give me the clearance I needed for the seat belts and also mounting points for the console itself. I placed the straps so that the console could be adjusted front to back if need be. By elevating the console, you also gain a little forward space because of the angle of the floor at the tunnel hump. The console seems to sit a little far back because of the cup holders. The bracket was pieced together back to the rear floor mounting area, which for me was 2 existing holes with 5/16” nuts welded to the floor around where the seats belt holes are. The whole set up is 8” wide and leaves about an inch on both sides for seat belt access. The elevation also gives you space to run the wires for speakers and antennae, etc. out from underneath the console. Depending on your welding skills, it should only take a few hours, start to finish paint.
Tech article by Mike Kipper (kip60)


