Fishbone
Sr. Member
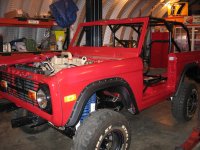
That is going to be very COOL!! Very nice work too.


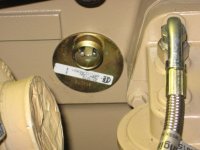
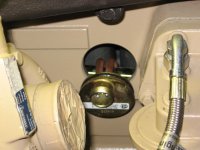
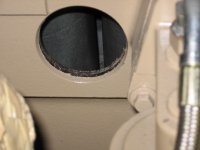
The fuel gauge showed about one quarter of a tank with the tank completely empty. I had installed a new tank and sender. When I checked the sender resistance from the dash it read about 50 ohms. The sender range is 10 to 70 ohms from full to empty. It had to be sender. I removed the sender from the tank and when I moved it it showed the 10 to 70 ohm range. This meant that the sender was sitting on the bottom of the tank before getting to 70 ohms. After moving float rod to get more travel I saw another problem. The spring the holds the float on the wire was holding the float off the bottom of the tank about a quarter of an inch. See the attached picture. I cut the wire off and the gage now reads empty as it should.
James


James, you remember the footage on the tubing for your roll cage?
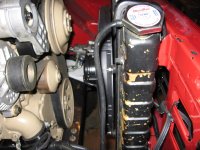
Click the link. Fixed a couple of coolant leaks. Drove around the neighborhood for about 10 minutes and the cooling fan didn't even come on!
This thing runs cool!
http://www.youtube.com/watch?v=BJE-oDoya14
James