Yeah, really looking good!
Community
Message Forum
Photo Gallery
Event Calendar
Book Reviews
Bronco Wallpaper
Bronco FAQ
Link Back to CB!
Photo Gallery
Event Calendar
Book Reviews
Bronco Wallpaper
Bronco FAQ
Link Back to CB!

Buy / Sell


Bronco Tech
3 Arm Wiper Setup
Fix Motor Mount
Roll Cage Braces
Throttle Body 65mm
Wheel Alignment
Heat Riser Replacement
Vent Window Repair
Center Console Mount
Straighten Bumper
Ford 6R80 6 spd
More Tech...
Fix Motor Mount
Roll Cage Braces
Throttle Body 65mm
Wheel Alignment
Heat Riser Replacement
Vent Window Repair
Center Console Mount
Straighten Bumper
Ford 6R80 6 spd
More Tech...

Install the app
-
Welcome to ClassicBroncos! - You are currently viewing the forums as a GUEST. To take advantage of all the site features, please take a moment to register. It's fast, simple and absolutely free. So please join our community today!If you have problems registering or can't log into your account, please contact Admin.
You are using an out of date browser. It may not display this or other websites correctly.
You should upgrade or use an alternative browser.
You should upgrade or use an alternative browser.
72 Bronco Rebuild
- Thread starter Big Red Dog
- Start date
johnnybgood74
Bronco Guru
well, what i did was remove the four carrier bolts from the housing, used a pry bar (with padding) and GENTLY put the bar between the housing and the carrier at the top (to the driver side of the ring gear). then i GENTLY bumped it til it worked its way out. took a while but never hurt anything. i used a 1 3/4 tubing to push the seals to the center of the housing from the outside of the axle tube. it was about 6' long piece of tubing. it worked great. you have to install them (the seals) from the carrier side. hope that helps you out.
Big Red Dog
Jr. Member
- Joined
- Jul 14, 2010
- Messages
- 57
Spindle Assembly
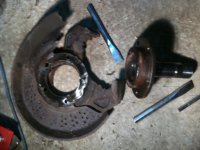
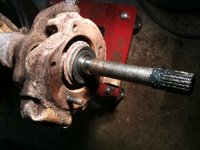
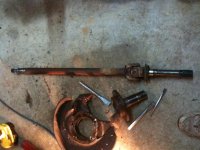
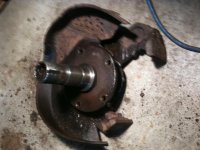
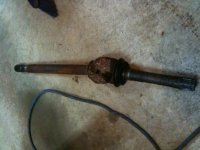
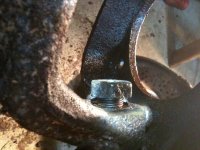
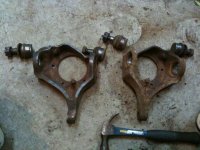
Wow.... What a chore!! I was able to get the spindle assemblies off along with the caliper support and rock shields. Just like my X wives they kicked my butt! Lots of pounding with a chisel and I finally got them off.
So now the question is how do I get the universal joints apart.... More internet time....
Cheers,
BRD
Attachments
Big Red Dog
Jr. Member
- Joined
- Jul 14, 2010
- Messages
- 57
Thanks Johhnybgood..... Sounds like a plan!
Big Red Dog
Jr. Member
- Joined
- Jul 14, 2010
- Messages
- 57
Dana 44
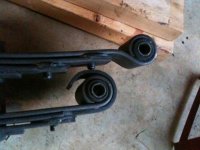
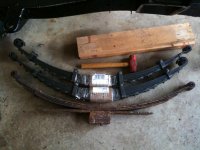
Well, work continues on the Dana 44. I was able to get the steering knuckles apart. Took a little bit of work but they finally came off.
I have a couple questions I'm hoping someone can help me with. I want to start putting the rear end back together and I'm not sure of a couple things. I ordered leaf springs from bronco graveyard. I purchased the leafs with a 3.5 inch lift. So the question is do I need the blocks from the old springs (see pic) or not? I'm assuming no. Also, since the leafs are different I'm not sure which end is the front and which end is the back (again, see pic). Finally, the new leafs are significantly different. They have 10 leafs as compared to the original 5. I can't remember if the more springs provide a softer ride of rougher ride.....
Thanks,
BRD
Attachments
Big Red Dog
Jr. Member
- Joined
- Jul 14, 2010
- Messages
- 57
One more thing.... Should I bother painting the springs or will the paint just peel off?!? I was thinkg rust bullet and blackshell....
Thanks,
BRD
Thanks,
BRD
Big Red Dog
Jr. Member
- Joined
- Jul 14, 2010
- Messages
- 57
Pieces falling into place....
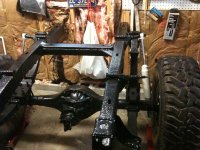
Work continues. Figured I needed an update. Finished cleaning up the front axle. RB and blackshelled the front axle. Pulled out the gears, replaced the axle seals and cleaned and painted the inner axle tubes. Put the rear axle back together. I think it looks good!
Ran into a couple problems. Had the ball joints pressed into the steering knuckles only to realize I forgot to put one of the studs back in. Had to have the bottom ball joints removed, stud installed then pressed back in. I could kick myself for missing such an easy step!! On the bright side the shop I used in Leesburg was easy going and didn't charge me a second time for being stupid! While cutting out a U-Joint I cut too close to an axle. Had to weld it up and grind it down. Hope it's ok! Finally, my 3.5 inch coil springs came in. They are longer than the original but slightly thinner. The original springs were supposed to be 3.5 inch lift.
I am surprised how high the rear end is. Maybe I'm just used to seeing the frame lower with no axles but I swear it's higher than when I started. We'll see....
BRD
Attachments
-
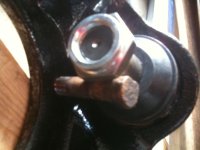 photo89.jpg63.4 KB · Views: 42
 -
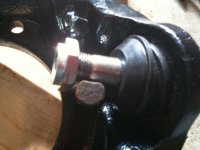 photo88.jpg59.9 KB · Views: 41
 -
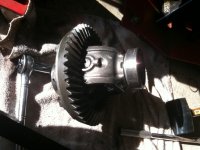 photo87.jpg90.3 KB · Views: 46
 -
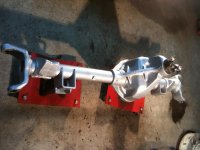 photo86.jpg88 KB · Views: 48
 -
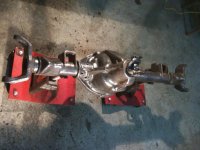 photo85.jpg94.7 KB · Views: 46
 -
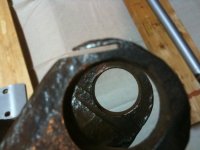 photo83.jpg66.6 KB · Views: 46
 -
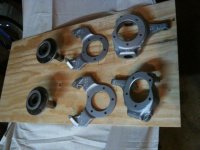 photo82.jpg81 KB · Views: 45
 -
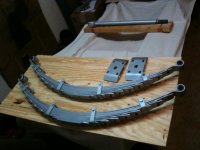 photo81.jpg71.1 KB · Views: 47
 -
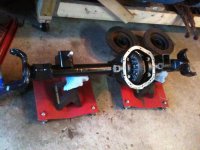 photo95.jpg103.2 KB · Views: 48
 -
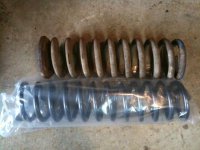 photo94.jpg89.1 KB · Views: 46
 -
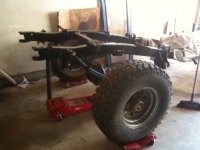 photo93.jpg71.1 KB · Views: 52
 -
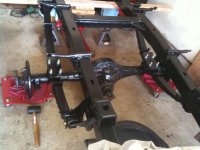 photo90.jpg92 KB · Views: 48
Coming along really well. Is there a bolt or screw you haven't touched?? LOL ;D
Big Red Dog
Jr. Member
- Joined
- Jul 14, 2010
- Messages
- 57
There might be one or two bolts I haven't touched. Yet!
I've begun pricing some of the parts and suddenly I'm realizing $$ are gonna slow me down!! I still need $1k to finish the engine, $400 for the transmission, $400 for shocks, $250 for rear brakes, $300 for front brakes, gas tanks, fuel lines, brake lines etc.... I think the long pole in the tent will be my budget. Suddenly I can see a slow down as I buy all these parts!!
But the BEST part will be when I can lay under this thing and NOT have rust fall in my eyes. Ahhh.... the little things!
Big Red Dog
Jr. Member
- Joined
- Jul 14, 2010
- Messages
- 57
Front End
Still working.... Slowly....
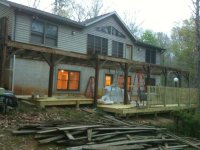
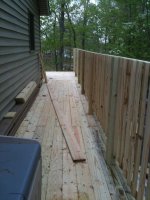
A good friend of mine owns a house on Lake Anna. I've been helping him most weekends to build a new lower deck. Thanks to scope creep we ended up replacing all the joists, decking and rails on the upper deck. So I've been spending LOTS of time away from the Bronco. We still have to add two sets of steps then we can kick back and enjoy the decks!
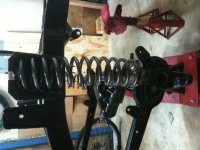
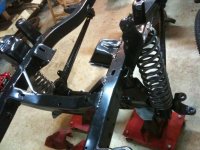
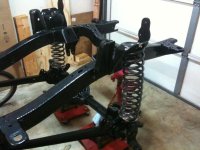
I installed the front end. As you can see from the pics the springs look like they are sticking out toward the front of the truck. I'm assuming once the engine is installed the weight will bring the springs back where they belong. Installed the passenger steering knuckle but forgot to grease the ball joints. I think the ball joints come pre-greased. But I'm not sure. I'm gonna have to pull it apart again.
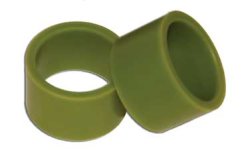
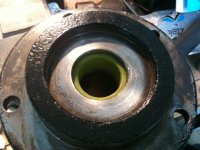
I also purchased the Wild Horses "Extreme Spindle Bushings" for the Dana 44. Has anyone ever used these bushings? I had one heck of a time getting the old bearings out.
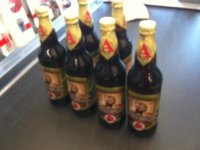
Finally, Avery Brewing from Colorado just shipped the Maharaja beer to Norther Virginia. Its a seasonal beer and only available for about a month! Had to buy a few bottles! Love that beer! Needless to say I'm enjoying working on the Bronco and drinking some Maharaja!!
Cheers,
BRD
Attachments
Cliff I work near you and live i Leesburg. I have a frame off 77 and another in the works. It would be great to meet another local and lend a hand or tool if you ever need one.
I will shoot you a pm with my info if you want to meet up.
Good luck.
John
I will shoot you a pm with my info if you want to meet up.
Good luck.
John
Big Red Dog
Jr. Member
- Joined
- Jul 14, 2010
- Messages
- 57
Update - FINALLY
Well it's been a while since I have done an update but I've been busy working on the Bronco!
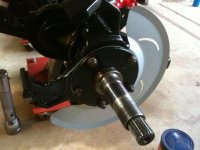
I finished up the front end. I replaced the seals, hubs, rotors, locking hubs and installed the front end. Of course I cleaned up and painted everything. Except for the hubs that got a little wet and are starting to rust. Guess I need to paint them as well!
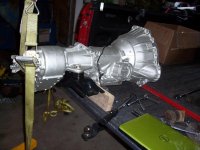
I picked up the transmission/transfer case from the shop. They tore them down for me, inspected and replaced the seals. The shop said everything was in very good condition! Whoo Hoo!
My little brother and his boys made a midnight (ok 11 pm) run to a self serve carwash in Leesburg that is open 24/7. I took the tranny/xfer case to the carwash with a couple cans of gunk and powerwashed everything. It came out pretty clean. I then took a drill w/ wire brush to the tranny/xfer case and it cleaned up really well. I then sprayed it down with a couple cans of tranny paint from Westwood. It came out beautiful!
More to follow...
BRD
Attachments
-
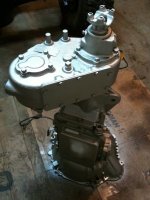 photo109.jpg178.2 KB · Views: 46
 -
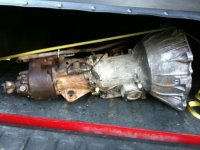 photo1013.jpg186.9 KB · Views: 42
 -
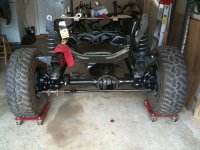 photo1023.jpg231.5 KB · Views: 50
 -
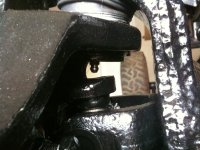 photo1015.jpg229.6 KB · Views: 43
 -
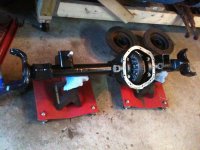 photo1019.jpg250.8 KB · Views: 44
 -
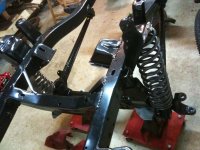 photo1021.jpg258.6 KB · Views: 41
 -
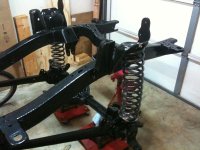 photo1018.jpg223.6 KB · Views: 49
 -
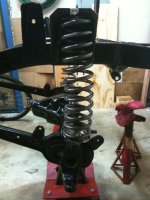 photo1017.jpg190.1 KB · Views: 48
 -
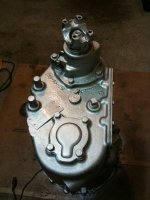 photo1010.jpg167.7 KB · Views: 37
 -
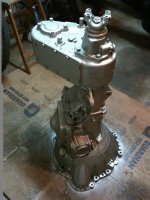 photo1011.jpg196.2 KB · Views: 42
Big Red Dog
Jr. Member
- Joined
- Jul 14, 2010
- Messages
- 57
The Big Move
Well it is with great sadness that I have to report my Bronco project will have to be put on hold for a while. I have taken a new job that is taking me overseas. I will be out of the country for 2 (or 3) years. So I will have to shelve this until I get back. The good news is I pretty much finished up step two of this process. I still have a few items left such as the gas tanks/lines and brakes/lines. Then it's onto the body!
My rents have a good sized garage and live in PA just outside Somerset so they agreed to let me store the Bronco there until I get back. Of course I completed a number of things before storing the Bronco.
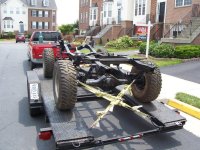
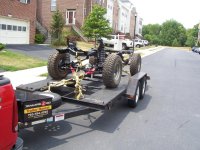
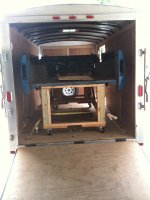
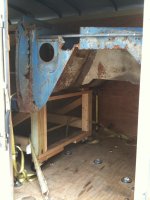
I made the move in two trips. I rented a covered trailer to move the body. Then I rented a car tailer for the frame.
More to follow....
BRD
Attachments
Big Red Dog
Jr. Member
- Joined
- Jul 14, 2010
- Messages
- 57
Engine Time
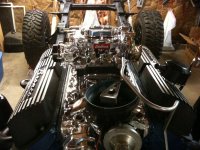
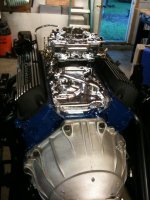
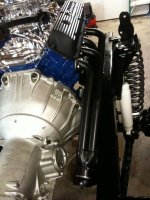
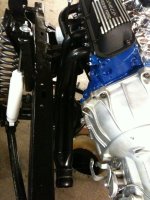
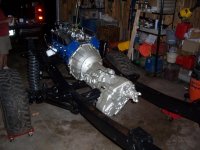
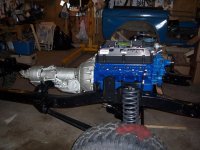
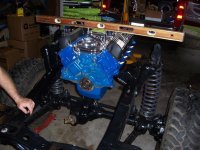
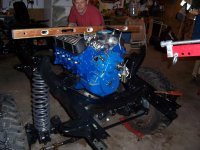
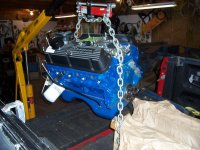
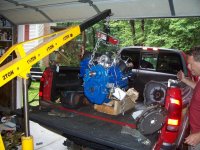
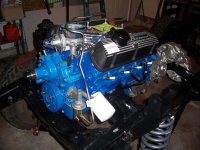
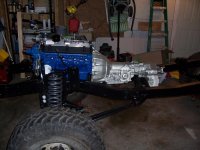
After moving everything to PA I picked up the engine and installed it and the tranny. Now THAT was fun! At least I didn't have to deal with the body while installing everything! Made life much easier!
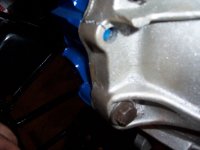
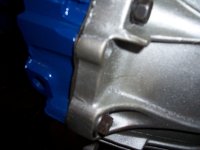
Had one problem. I cracked the housing on the transmission. As you can see from the photos I don't think it's going to be a problem.
BTW, the ugly mug in the photo is my little brother. Clearly I got the looks in the family!!
More to follow....
BRD
Attachments
-
 102_0864.jpg90.5 KB · Views: 58
 -
 102_0863.jpg101.7 KB · Views: 55
 -
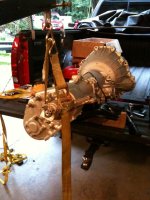 photo108.jpg199.8 KB · Views: 57
 -
 102_0862.jpg90 KB · Views: 56
 -
 102_0861.jpg111.3 KB · Views: 54
 -
 102_0860.jpg98.2 KB · Views: 56
 -
 102_0858.jpg109.6 KB · Views: 55
 -
 102_0859.jpg140.6 KB · Views: 57
 -
 102_0871.jpg195.7 KB · Views: 50
 -
 102_0870.jpg184.5 KB · Views: 48
 -
 102_0867.jpg103.2 KB · Views: 59
 -
 102_0865.jpg93.7 KB · Views: 51
Big Red Dog
Jr. Member
- Joined
- Jul 14, 2010
- Messages
- 57
More Parts!
I added a few more parts before finishing up moth-balling the project.
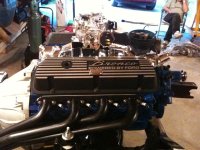
I had to install a spacer between the carb and intake manifold. The linkage was rubbing on the valve covers. I really didn't want to as it will throw off the connections and I'm really hoping the air cleaner won't hit the hood!!!
Installed the shocks, starter and headers. I would have bet money the headers were not going to fit. But low and behold they fit like a glove!
After finishing up all of this I couldn't believe how good it looks! I wanted to sleep in the garage with it!! It brought a tear to my eye!!
So now the hard part. What do I do with that body! I thought I had a plan of attack. But my little brother has been dogging me about how crappy the body looks! He treatened to go out in the middle of the night and cut it up with a saws-all. Keeps telling me how can I put such a crappy body on such a beautify thing? So now he's got me thinking maybe I should go with the fiberglass tub. Does anyone have any experience with the fiberglass tubs? Any thoughts or magical words of wisdom as to which path I should take?
This is a 77 and as such has the gas doors on it. Apparently 77 was the only model year with the gas doors. If I move to a fiberglass tub I'm assuming I will have to give up my doors? I know, I know that's a stupid reason to keep the old body. But I liked having the doors. They made it unique
Thanks,
BRD
Attachments
Justafordguy
Bronco Guru
- Joined
- Sep 26, 2009
- Messages
- 6,253
Lookin good, it sure is a lot easier to work on with the body off isn't it.;D
Big Red Dog
Jr. Member
- Joined
- Jul 14, 2010
- Messages
- 57
I'll say!! Gotta love not having rust fall in your eyes every 5 seconds!!
Big Red Dog
Jr. Member
- Joined
- Jul 14, 2010
- Messages
- 57
Does anyone have any experience with fiberglass tubs? I'm kicking around the idea of replacing the body with one. I've found a couple companies that sell them but wondering about the quality, fit, strength etc...
Thanks,
BRD
Thanks,
BRD


