Hi-Lift Jack Mount
Tech article by 66horse and filed under - Roll Cage, InteriorTech article by Steve Wedeking (66horse)
Most have run into the problem of where to put that big ol’ Hi-Lift jack. Well a couple of my buddies had a solution. I copied their idea and now present it to you.
This mount cost about 10 dollars. And all the parts can bought at your local hardware and parts stores.
Parts needed:
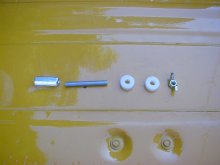
- Two exhaust clamps (same size as your roll bar tubing, they all seem to be 3/8 thread)
- Two 3/8 wing nuts
- 2 pieces of 3/8 all thread
- 2 3/8 coupling nuts (its like a long nut)
- 4 nylon spacers with 3/8 diameter hole in the middle
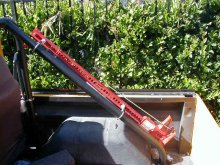
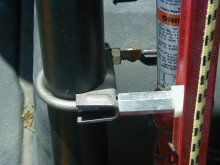
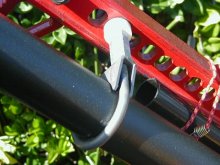
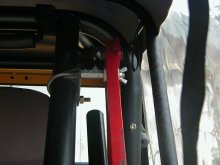
The mount is simple. Put the 2 exhaust clamps on the part of your roll bar that angles back form the center loop. Only attach using one of the exhaust clamp nuts on each exhaust clamp.
On the other side of the exhaust clamp, screw on the coupling nut.
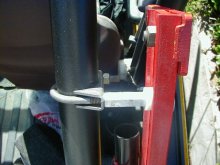
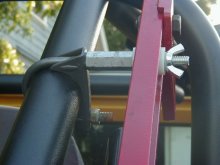
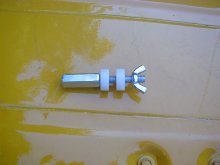
At this point you have two options. One is to put a piece of all thread in the coupling nut. You then put a spacer in after that. Put the hi-lift on the all thread after the spacer. Add another spacer and screw on the wing nut. Done!!!!!
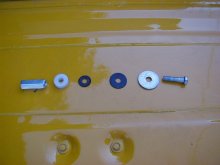
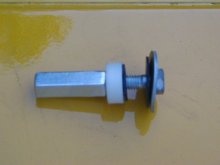
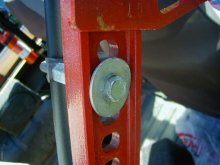
The other option is to use a 3/8 bolt instead of the all thread an wing nut.
This is what I did originally. It works well but there a few things that I do not like about it. First, screwing the nut in and out every time that you use the jack is more of pain than spinning of a 2 wing nuts. The other thing I do not like about it is that you have to hold it and line it up when you mount it. With the first method, you just it on the all thread and it stays. With the bolt method, you have to put the bolt through, put the spacer on bolt after the jack and then balance it all while you get the nut started. That pretty much explains how you do it!
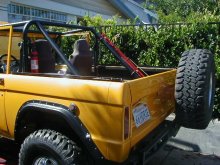
Both methods work well and are easy. A couple of things be aware of. If you mount your exhaust clamp to low (like I did), you cannot use the wing nut method for that clamp. There is not enough clearance between the all thread and bed rail to get the hi lift in place. The other thing is that these pictures show the mount on a Protofab roll bar. This will also work on a smittybilt cage. My buddy has got the same setup on his Smittybilt.
I need to give special thanks to Tony and Greg for giving me this idea!
Tech article by Steve Wedeking (66horse)


March 9th, 2011 at 11:35 am
[…] Jack to tube bumpers, bull bars, roll cages or roof racks | Hi Lift Jack Company Or you can make your own with a pair of exhaust clamps __________________ -Keith- 2M HAM '88 4runner SR5 – 3L 7MGE swap – Marlin HD W56 – 4.56 V6 […]