Blue Bastard
Bronco Guru
- Joined
- May 14, 2012
- Messages
- 2,161
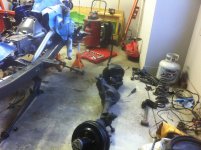
Is your concrete a greasy mess now? The old lady will love that.


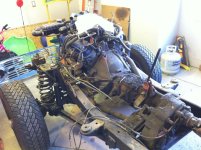
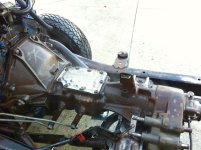
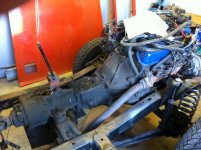
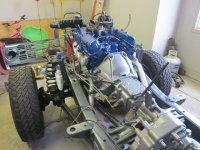
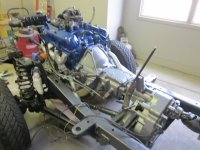
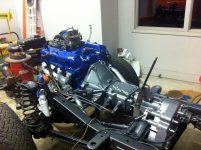
The factory Ok on the bellhousing, and the RAT or RAN stamp on the trans is really cool to see. Going to be a awesome roadster soon.


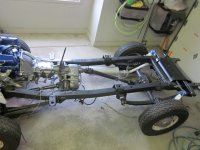

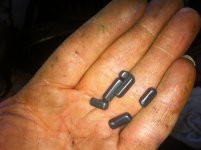

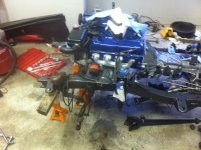
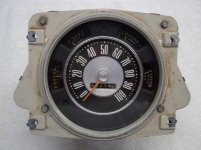
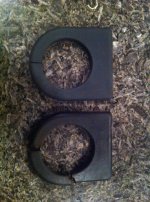
Rich, this roadster is looking awesome!! I am actually envious of the progress you have made in a short amount of time. What a perfect match the two of you and the family. Keep the pics coming and can't wait to see it in person!. Btw, what are those in your hand? tim
Rich, so what are those in your hand? tim
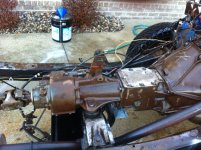
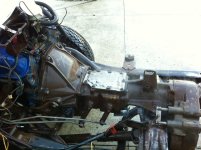
What paint did you use on the trans and transfer case? Very nice looking.
This is awesome, just read through the whole thing. What's the idea behind the tape for the seam sealer? Just to get a nice clean straight line?
Can it not be laid down and smoothed out with the finger like a bead of caulk? I have never used seam sealer before, but have plans to while repairing my rear quarter panels!
Thanks
Don't blame the iPod on her......it's so you can listen to all your 80's hair band music. Very cool.