Flash69
Bronco Guru
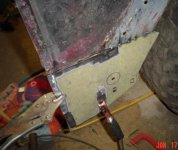
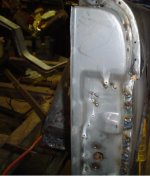
If thats the case i dont think it will matter where you put it as long as it fairly close. I just took a guess on mine. It may not be close to where it was from factory.


")


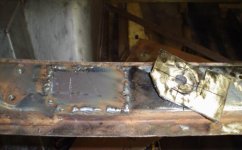


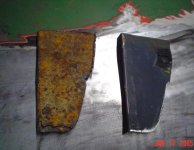


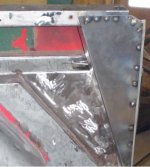
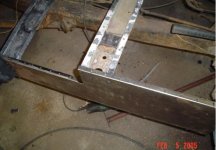
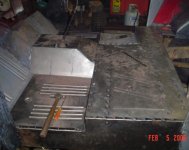
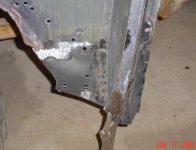
 .......did I mention the hood of a 1981 buick regal works well for patch panels


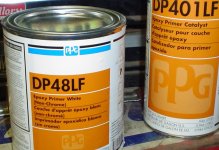
I am an amateur painter!
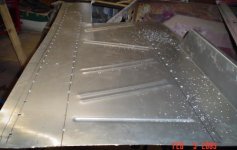
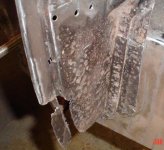
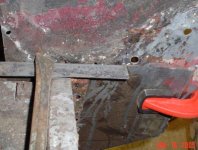
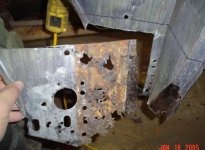
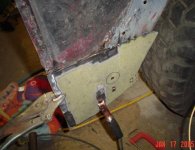
Bronco Ben said:man I have never in my life been so tired of drilling holes!.......
..........and I just hope I can continue to do my part with help...back in the right direction. If I can just give a little support/help in return compaired to what I recieve, then I'll feel good about myself. thanks everyone!