DonsBolt
Bronco Guru
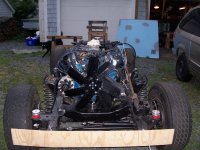
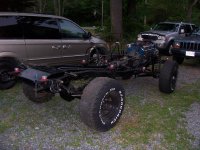
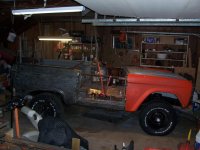
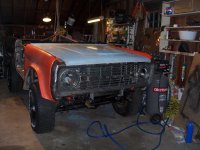
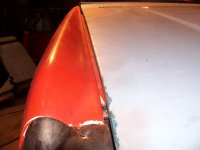
comming along great


comming along great
") Was a good day.
Was a good day.I just found the time to go through your whole thread... Great work ;D
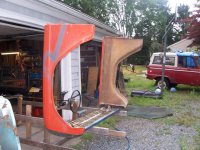
When we talk about dealing with rust on the West Coast, you East Coaster's have us beat by a long mile... Keep with it, you have come so far and you are almost there!
D,
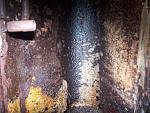
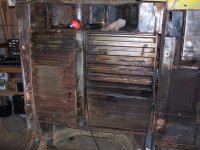
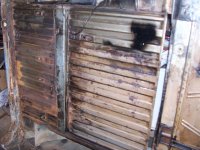
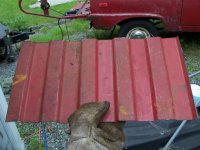
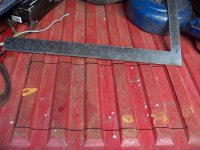
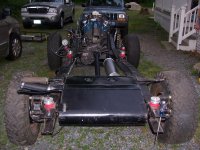
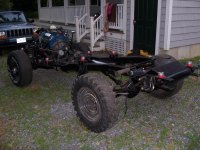
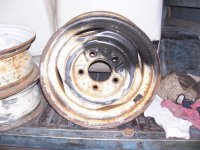
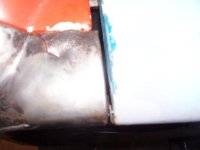
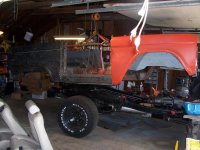
Lookin good. Missed a few of your posts along the way, busy at work and my laptop died so had to pick-up a new one and do a transfer. Trying to stay focused on the finishing the garage for the mean time and miss workin on the EB. Anyway, the undercarriage looks pretty clean without all the undercoat so i guess it did it's job. keep at it your making great progress.
Mine is still kickin but hasn't yet had the abuse your has gone through. I think mine came with another set of brushes. I didn't get the extended warranty so it'll just be disposable.
Definitely look forward to a visit. I'll have to do the same.
Oh man, just had to update you on my grinder saga, Dave. This is me being lazy as my HF store is about 20 miles away, and don't want to make the trip just yet.
Grinder #1 just quit working.
Grinder #2 worked great until a bearing started going and giving the wheel an unbearable wobble.
Took out the motor of #1, put it in the body of #2. Worked fine until the gears started stripping out.
Took out the gear of grinder motor #2 put on the motor of grinder "hybrid" A (HUH?)
So my frankenstein grinder is like new and seems to be working fantastic. I am about to go out and give it a real work out.
Let you know how it goes. ;D