Mike Hewett
Sr. Member
- Joined
- Mar 1, 2004
- Messages
- 358
Another thought...if you havent already, put your dash in position. Seems like I had about a 1/2" between the dash end and door post/kick panel


Thanks for the input. I haven't tacked anything down yet. I only can go by what was left on the truck before and that wasn't much!
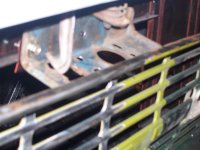
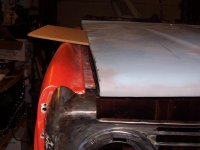
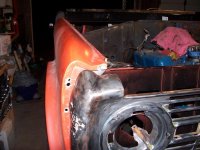
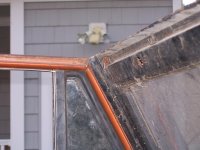
I did fit the door on when installing the post. I know the DS post is in good position. I am a little fuzzy on the exact placement of that cowl piece. You wouldn't happen to have any pics of where your cowl and door post meet would you? I have nothing to go by. I was thinking the same thing about putting the dash in to get placement. I really need to get that other kick panel in, so I can get things a placed better. Thanks again.
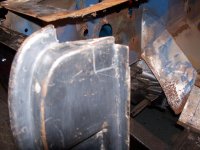
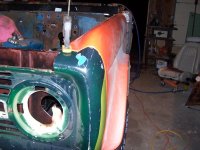
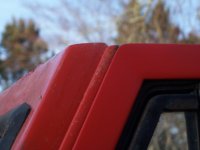
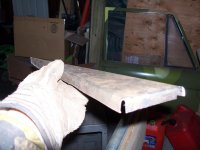
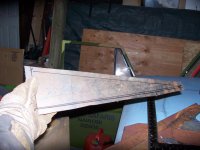
Edit: After some extensive searching, found the right placement for the window cowl. See above pic.
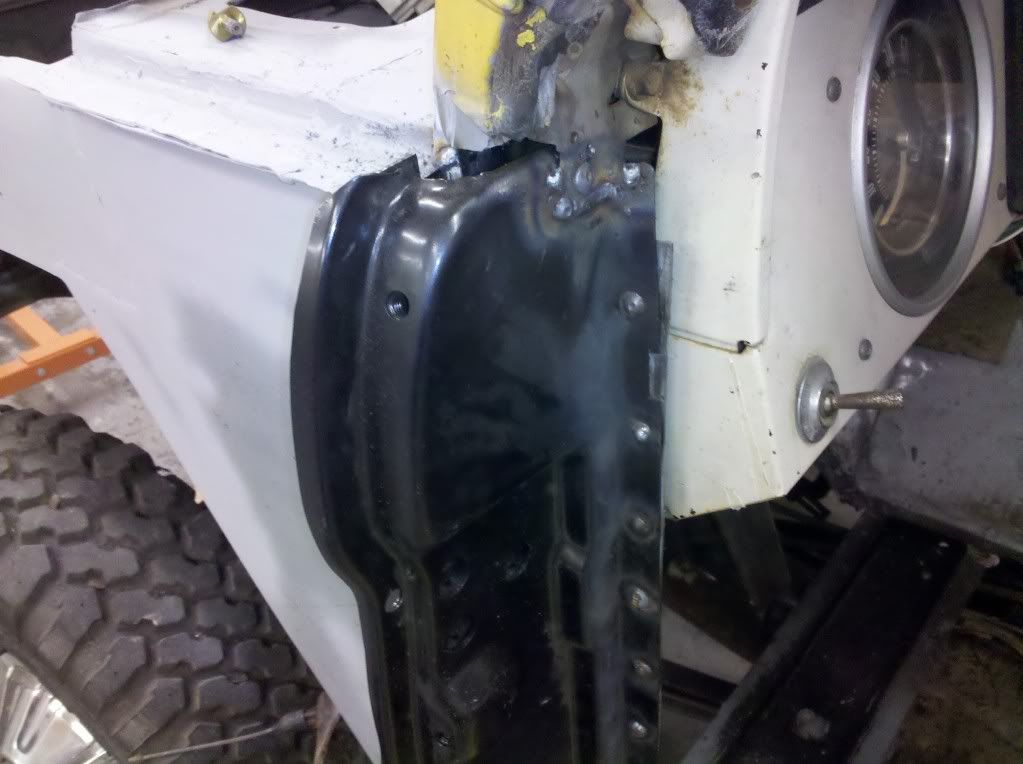
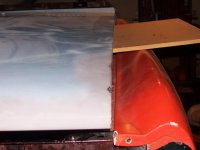
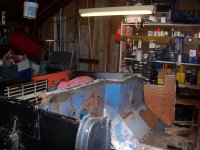
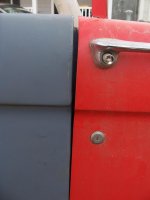
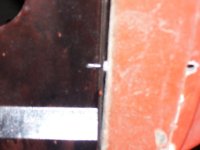
Thanks for the pic. I thought it would sit a little lower without so much gap. I assume the gap is need so the fender can fit in there correct?Here is my hinge post.
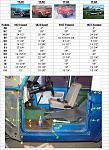
HGM, if you find those measurements to front core support, let me know what they are!.
 I guess the moral of the story is, make sure you check the measurements on your replacement parts!
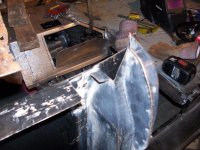
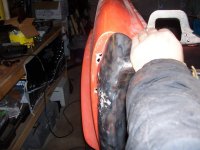
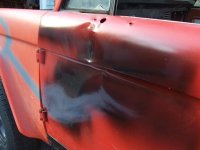
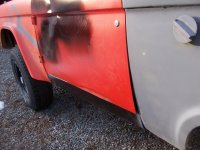
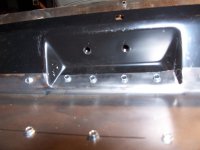
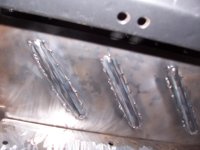
After pulling the panels back and forth, getting them to exact specs, then putting on the fenders to check the fit, it would all go out of whack. Then it occurred to me, that I never checked the new radiator support see actually how wide it is. I measured it and it came in at 57 1/2 inches. I went to my original and measured it. Low and behold, it came in at 57 inches. That explains the 1/2 offset on the PS. So now I have to shave 1/4 inch off of each side of the radiator support. At least now I know what the problem is. Man what a relief! It was absolutely driving me bonkers.
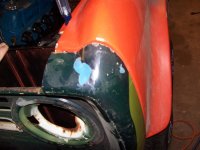
That first pic is scary. My cowl area will need all that same treatment at some point. I'll know who to call for help.;D
You'll be needing one of my Hoods soon!!;D
Really, I want to get up there, just my wife works Saturdays and I have four young sons. Someday I will get up there. I will bring the brake and my cutting wheels, all I need is 18 gauge stock and we are all set!