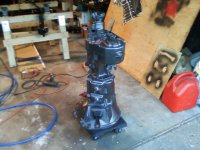
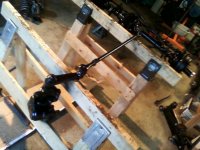
im impressed youve got alot done in not that much time stay on it the worst of the dirty work looks done getting close to assembly time?? hey those rear springs are they the old ones? if so they were trash they r going to need something . believe it or not i drove that thing around and those springs were sooo wishy washy. funny thing when i got it it ran horribly until i figured out the exaust was plugged bye something cleared that and the disttributer was loose as goose so i timed it by ear than took it out for a ride oh my god, what a motor the thing woke right up but didnt stop for shit have you fired that motor at all?? i think you will be quite happy with it. like to be there the day you fire it up
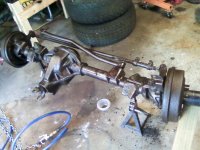
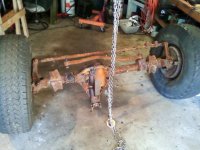
Yeah, those are the stock springs. Probably wishy washy because of those nasty shocks that were on it? I am hoping for the best until I get new ones.
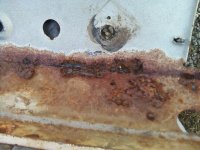
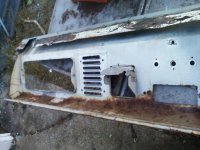
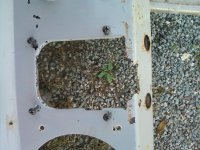
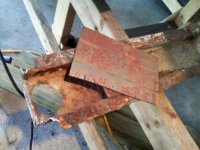
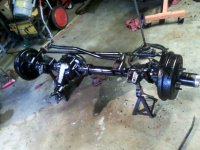
As for stopping, after digging into the brake lines, and master cylinder, I see why!

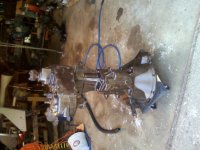
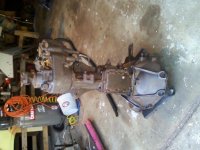
I haven't had a chance to fire the motor, I am working on blind faith and your expertise and word of mouth that the motor was a champ. A little soot in the exhaust ports, but nothing to get in a twist about. I just want to get it reassembled, drivable, and have it a driving project rather then a garage project.
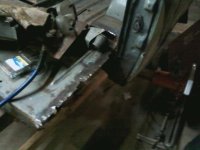
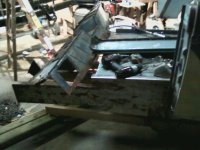
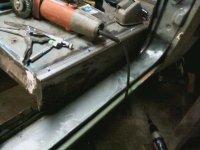
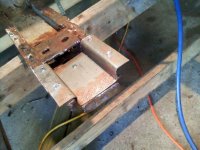
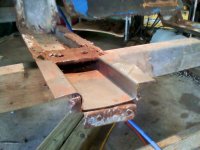
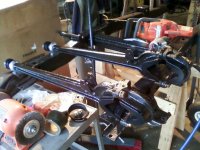
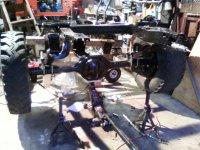
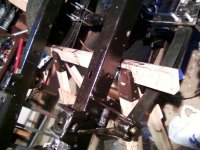
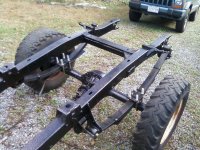
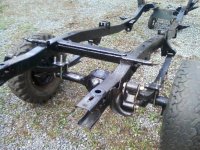
Top priorities were the c bushings, radius arm mount bushings, new shocks, body mounts, body lift.
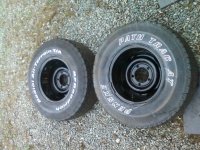
Next major purchases are tires,wheels to get a rolling chassis.
Then after that it's on to the body. That's a long punch list.