• Welcome to ClassicBroncos! - You are currently viewing the forums as a GUEST. To take advantage of all the site features, please take a moment to register. It's fast, simple and absolutely free. So please join our community today!
    If you have problems registering or can't log into your account, please contact Admin.

migs Bronco Barn - a chronicle of what's happening at the new place

DirtDonk

Contributor
Bronco Guru
Joined
Nov 3, 2003
Messages
47,561
Is the curtain wall open at the top? Just wondering if it wouldn’t be helpful to create a simple skirt to hang up directly off the ceiling and overlap a little bit.
Doesn’t have to be anything exotic or airtight. Just something to cut down on the floaters that invariably find their way out of an enclosure.
Whether it’s dust, paint, grinding debris, it will all find its way out onto your other equipment and projects. as I’m sure you know.
Or does the curtain wall take care of that? Is it sealed at the top with a ceiling by chance?
 
OP
OP
migs

migs

Sponsor/Vendor
Bronco Guru
Joined
Nov 12, 2011
Messages
1,320
Is the curtain wall open at the top? Just wondering if it wouldn’t be helpful to create a simple skirt to hang up directly off the ceiling and overlap a little bit.
Doesn’t have to be anything exotic or airtight. Just something to cut down on the floaters that invariably find their way out of an enclosure.
Whether it’s dust, paint, grinding debris, it will all find its way out onto your other equipment and projects. as I’m sure you know.
Or does the curtain wall take care of that? Is it sealed at the top with a ceiling by chance?
Yes, there is currently a 4” gap between the ceiling and the rail. My plan is to block off the long side gap and leave the gap open on the end. Exhaust fan will be at the bottom of the garage door so drawing the air in over the far end gap creates a cross flow downdraft. I’ve tested this setup before in here with some temporary plastic sheeting and tarps and it worked out great.
 

sprdv1

Contributor
REBEL
Joined
Mar 8, 2007
Messages
81,755
Yes, there is currently a 4” gap between the ceiling and the rail. My plan is to block off the long side gap and leave the gap open on the end. Exhaust fan will be at the bottom of the garage door so drawing the air in over the far end gap creates a cross flow downdraft. I’ve tested this setup before in here with some temporary plastic sheeting and tarps and it worked out great.
dang well at least you've tested it before
 

tasker

Contributor
all knowing of nothing
Joined
Jun 2, 2006
Messages
20,769
Loc.
NH
cannot wait to see it!! acquiring parts still so it will be full speed ahead when the time comes!
 
OP
OP
migs

migs

Sponsor/Vendor
Bronco Guru
Joined
Nov 12, 2011
Messages
1,320
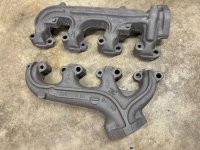
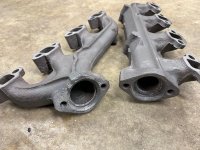
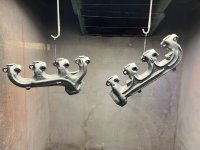
Alright, second set of exhaust manifolds blasted and prepped. These have the correct bevel size and are in better condition so any of the prior leaky exhaust issues should now be a thing of the past.

IMG_8186.jpg IMG_8187.jpg
 
OP
OP
migs

migs

Sponsor/Vendor
Bronco Guru
Joined
Nov 12, 2011
Messages
1,320
Thanks!

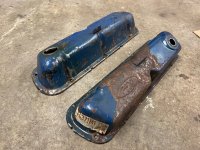
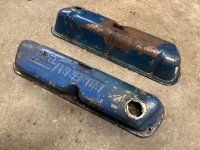
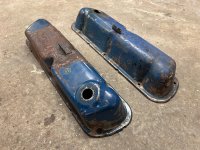
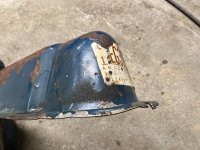
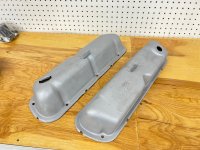
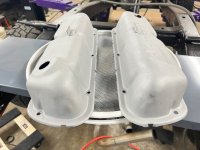
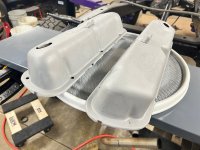
Started prepping the valve covers....

IMG_8190.jpg IMG_8191.jpg IMG_8192.jpg IMG_8193.jpg IMG_8194.jpg

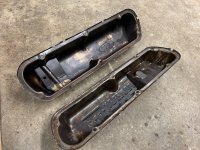
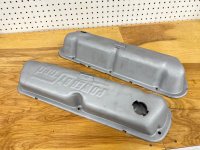
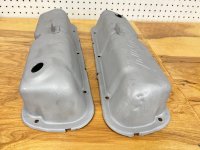
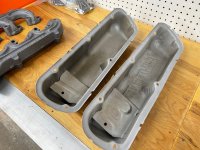
After some degreasing and a trip through the blast cabinet...

IMG_8198.jpg IMG_8199.jpg IMG_8200.jpg IMG_8201.jpg

I still need to straighten the flanges a bit and smooth out a few small dents before painting.
 
OP
OP
migs

migs

Sponsor/Vendor
Bronco Guru
Joined
Nov 12, 2011
Messages
1,320
I'll make one of them work! 😁


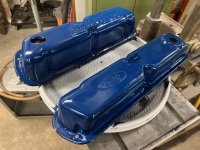
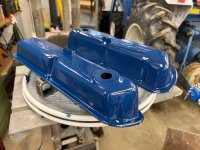
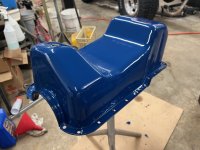
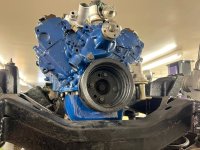
Smoothed the valve covers and prepped the oil pan, and now we have some more fresh paint!

IMG_8209.jpg IMG_8210.jpg IMG_8214.jpg IMG_8215.jpg IMG_8213.jpg
 

fordfan

Contributor
Bronco Guru
Joined
Sep 13, 2009
Messages
3,507
Wow! That's very glossy Ford blue paint on that pan! What kind of paint is that Migs?
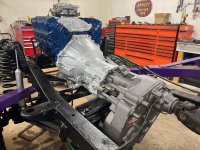
Tasker is going to get a crick in his neck when he drives it!..... Cause his nose is going to be so high in the air! :LOL: :LOL:
 
OP
OP
migs

migs

Sponsor/Vendor
Bronco Guru
Joined
Nov 12, 2011
Messages
1,320
The paint is POR15 engine enamel.

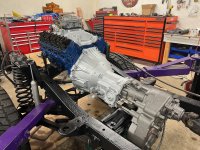
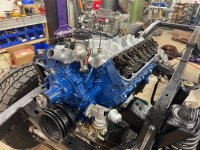
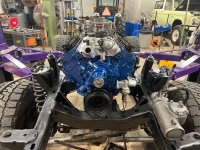
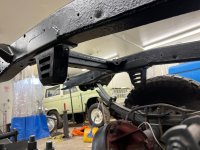
And more parts going back on... Starter cleaned and installed along with the transmission inspection plate cover. Also finally installed those new rear bump stops.

IMG_8306.jpg IMG_8310.jpg IMG_8311.jpg
 
Top