Dave please take a bow. This is an amazing thread and your workmanship and diligence in recording your efforts for the rest of us are not going unappreciated.
I'm still looking for my efi donor, but I guess I may have to expand my search from loose engines to complete wrecked explorers.
I have two questions though....
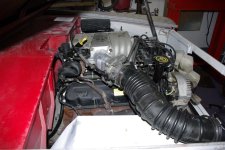
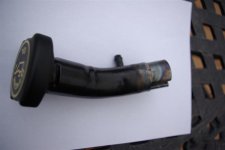
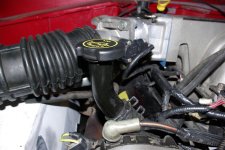
First; for your Idle control valve, could you have got the clearance you need by must milling down the mounting flange on the throttle body? It looks pretty thick.. Or what about just rotating the TB 90 or 180 degrees?
Second; What's your hourly rate for helping those of us who aren't as technically skilled as you are
")