• Just a reminder that you won't be able to start new posts or reply to existings posts in the Archive forum.

    This is where all the old posts go so they can still be used for reference and searched.
  • Welcome to ClassicBroncos! - You are currently viewing the forums as a GUEST. To take advantage of all the site features, please take a moment to register. It's fast, simple and absolutely free. So please join our community today!
    If you have problems registering or can't log into your account, please contact Admin.

Project grocery getter

OP
OP
P

ponyracer

Sr. Member
Joined
Sep 30, 2009
Messages
706
Loc.
Crestview, Fl, 32539
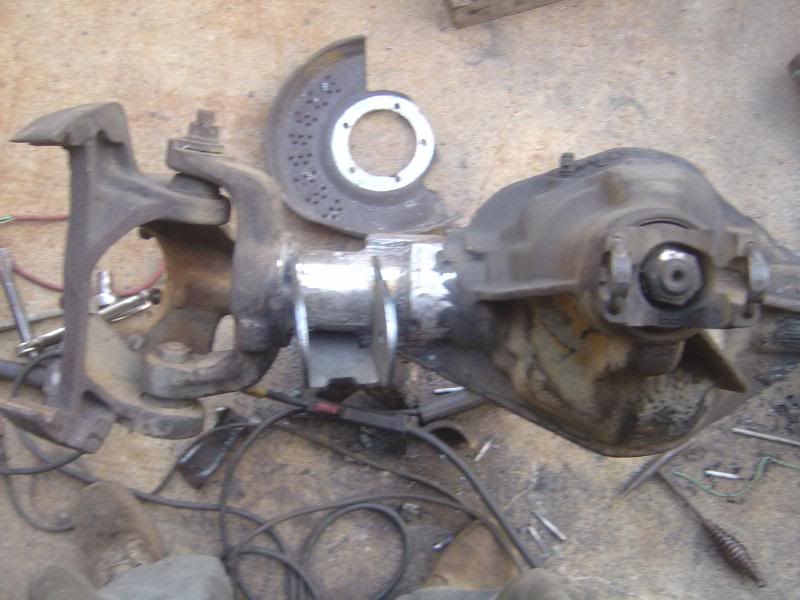
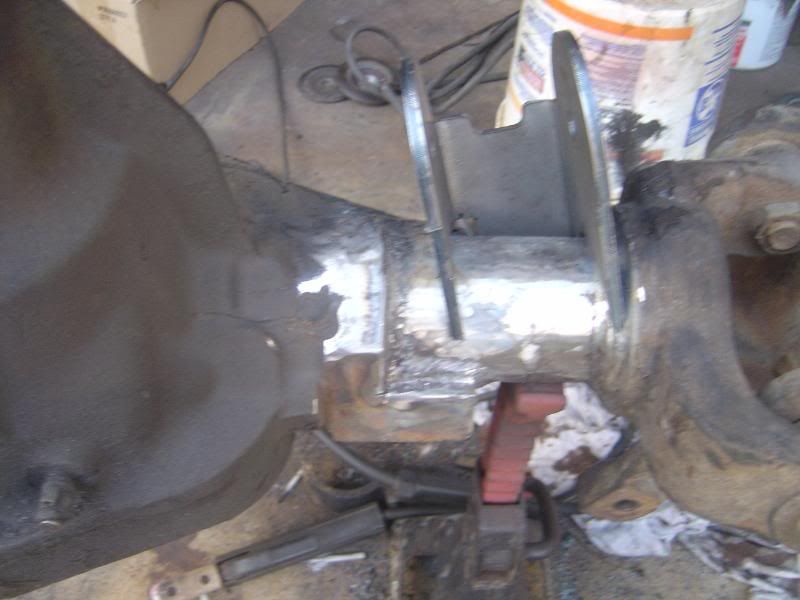
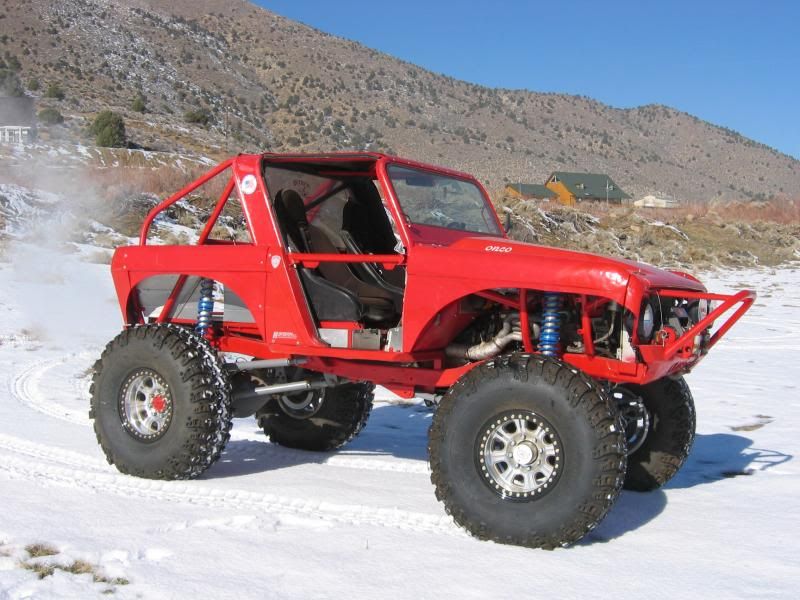
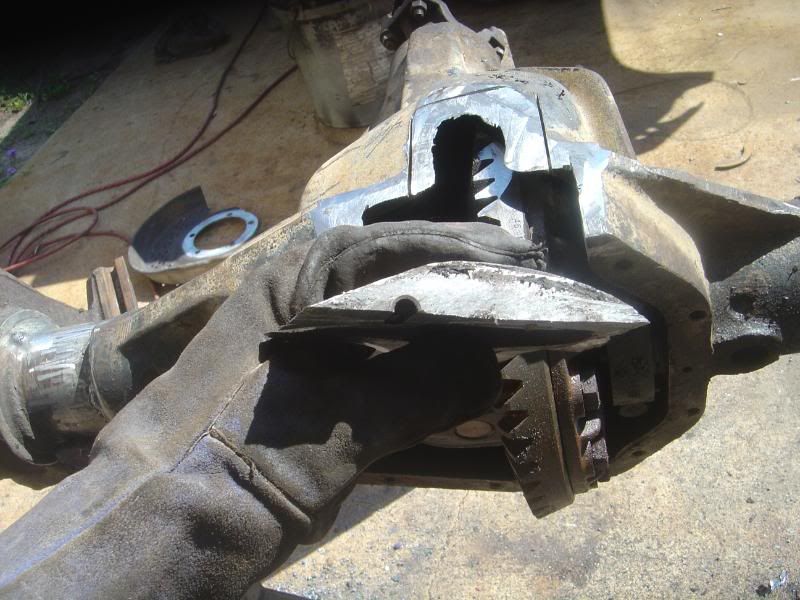
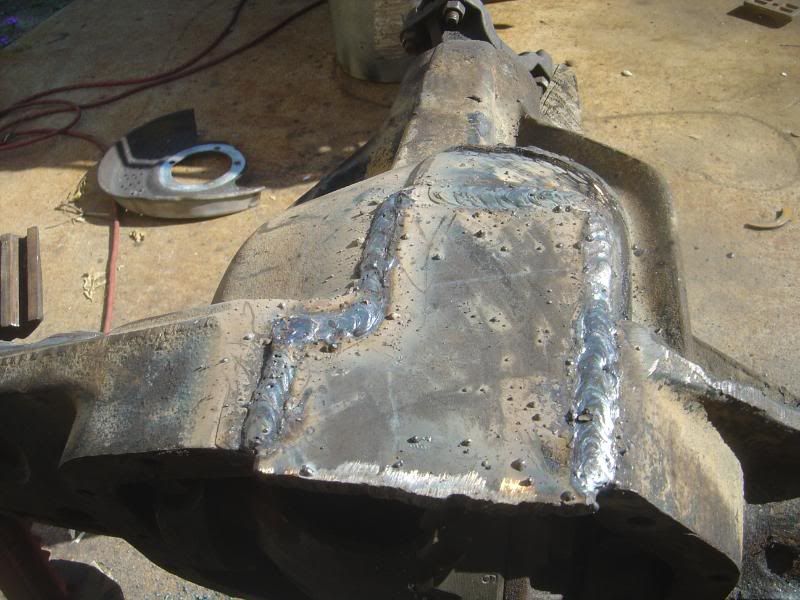
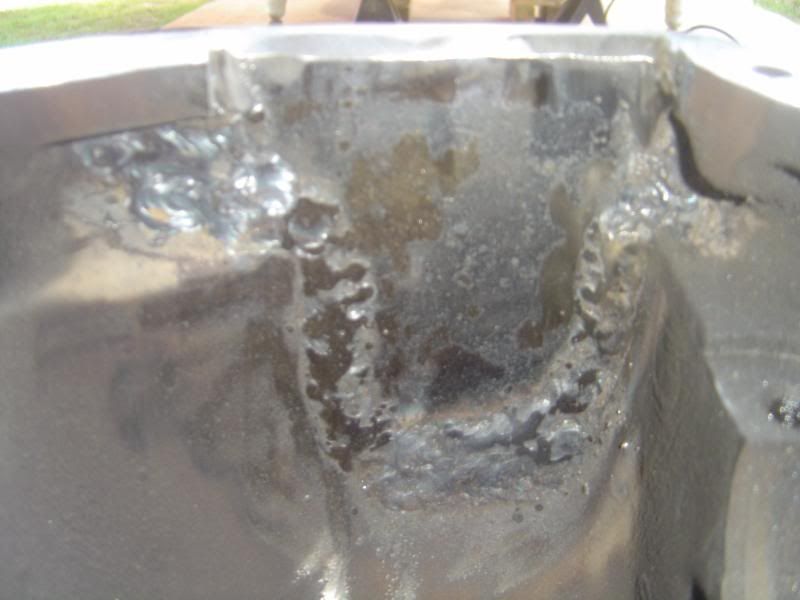
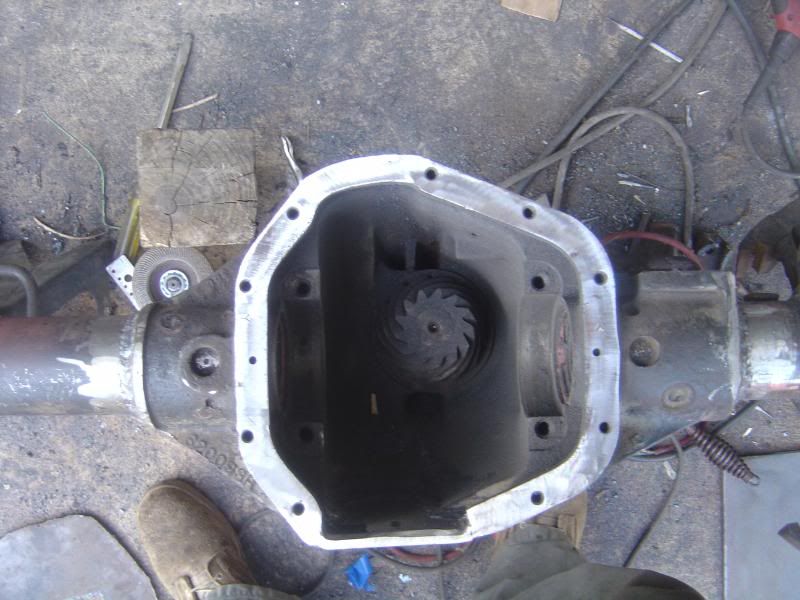
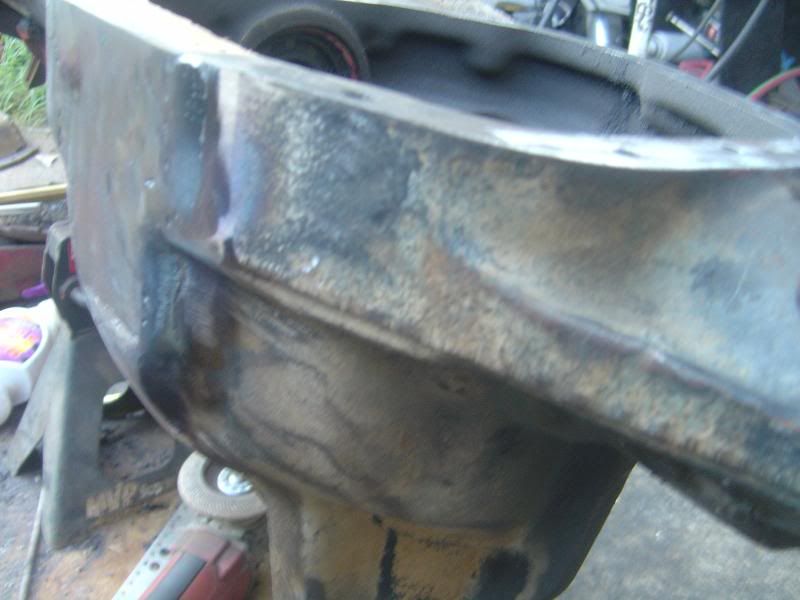
Doing some research on tires, prob going to end up with tsl's or pitbulls in the 39.5 flavor. Found a couple of killer deals on some 49" Iroks but I don't want to build a monster truck!! Figure that 39's are the best compromise of tire height, width, and $$$$$. Found some 39x14.50 16.5 maddogs for $322 ea.
 

JDJ

Bronco Guru
Joined
Nov 29, 2009
Messages
2,077
Loc.
Dothan
I was wondering what happened to you.....I haven't seen many posts on here from you lately man.

Did you get a great deal on the front D60? I am still thinking about trying to find one to go in my rig.

JDJ
 
OP
OP
P

ponyracer

Sr. Member
Joined
Sep 30, 2009
Messages
706
Loc.
Crestview, Fl, 32539
Ya I've been busy, just tinkering and driving her. Until I completely tore it apart again lol. I got my 60 and sterling off craigslist in valdosta for $800. A little more than I wanted to spend for a bj axle but oh well.
 
OP
OP
P

ponyracer

Sr. Member
Joined
Sep 30, 2009
Messages
706
Loc.
Crestview, Fl, 32539
Well I'm home and managed to get a few hrs in the garage. Started putting the sterling back together. I'm using Stainless rod, and on the advice of the welding shop guy where I got the rod no pre or post heating. I'm welding 1" at a time on diff sides and letting it cool. So far no cracks, I'll see what it looks like tomorrow. I'd have some pics but my camera batt was dead, I'll take some tomorrow.
 

br0nc0xrapt0r

Loves pickles
Joined
Sep 28, 2007
Messages
5,437
Well I'm home and managed to get a few hrs in the garage. Started putting the sterling back together. I'm using Stainless rod, and on the advice of the welding shop guy where I got the rod no pre or post heating. I'm welding 1" at a time on diff sides and letting it cool. So far no cracks, I'll see what it looks like tomorrow. I'd have some pics but my camera batt was dead, I'll take some tomorrow.

You may not see any cracks-holes-leaks, but they could be there. I would paint along the welds with JB weld. Call me crazy but it works really well and it'l keep your rear from being wet and soggy/drippy all the time! I did this on an old diff cover and it never leaked in the 6 years I had it.
 
OP
OP
P

ponyracer

Sr. Member
Joined
Sep 30, 2009
Messages
706
Loc.
Crestview, Fl, 32539
Got it mostly welded up, still need to get the tubes welded to the housing. For some reason the weld keeps splitting right down the center. Using stainless rods, peening, tried it cold 1" at a time, preheated to 2-300 degrees, preheated to 6-700 degrees, all with the same result. The weld cracks before I can set the stinger down and pick up the hammer to peen it.

Alot of work to gain 1", would not do it on this axle again. The 14 bolt hangs WAY lower than it needs to, the sterling is a pretty good design and it really doesn't need to be shaved.

DSC05194.jpg

DSC05199.jpg

DSC05198.jpg

DSC05200.jpg

DSC05202.jpg

DSC05215.jpg

DSC05213.jpg

DSC05210.jpg
 
OP
OP
P

ponyracer

Sr. Member
Joined
Sep 30, 2009
Messages
706
Loc.
Crestview, Fl, 32539
Well I decided to take a break from the sterling, started playing with the 60.

After spending $22 for 3 lbs of stainless welding rod and watching it crack no matter what I did I picked up some good old 7018 and:
DSC05224.jpg

No pre/post heat, just started welding. No cracks. Maybe it's the iron content of the 60 vs the sterling housing? Guess I'll find out when I start working on the sterling this weekend.
Notched the spring mount on the drivers side to open up some more tube, temp tacked on the ballistic mount. Not sure, I may trim the bracket some more so I can rotate it down further.
DSC05227.jpg

DSC05228.jpg

DSC05225.jpg


An oh yea, found my top design. God I love this truck.
IMG_2906.jpg
 
OP
OP
P

ponyracer

Sr. Member
Joined
Sep 30, 2009
Messages
706
Loc.
Crestview, Fl, 32539
OK done with the drooling over that beauty.

Decided to give the 60 a hair cut.
DSC05229.jpg

DSC05230.jpg

DSC05231.jpg

I cut the ring gear down in one spot to simulate the shave.
DSC05232.jpg

DSC05233.jpg

The 3/8 plate sits inside the cut, pretty much flush with the housing.
DSC05238.jpg

DSC05244.jpg

7018, no pre/post heat or anything else. No cracks.
DSC05245.jpg

Inside
DSC05246.jpg
 
Last edited:

camomog

Full Member
Joined
Sep 10, 2008
Messages
254
Loc.
Reno, Nv.
Looks like you have been busy. The Red Bronco, I saw it when it was first finished, we were on Jack hammer and he just crused up effortless, was a nice guy, it has since changed hands a few times but nice.
 

dnewman9

Bronco Guru
Joined
Aug 12, 2003
Messages
1,305
Looks like you have been busy. The Red Bronco, I saw it when it was first finished, we were on Jack hammer and he just crused up effortless, was a nice guy, it has since changed hands a few times but nice.

I think that truck is for sale again...I thought I just saw it on Pirate somewhere.
Dennis
 
OP
OP
P

ponyracer

Sr. Member
Joined
Sep 30, 2009
Messages
706
Loc.
Crestview, Fl, 32539
Well I put it under the truck, need to go get a new angle finder so I can set the angle and start lining up spring buckets etc. Should have my dom next weekend for the 3 link and the track bar.

And yes it has been a TON of work and like the rear, I shouldn't have done it. I gained about and 1" and lost a huge ridge that runs under the housing.
 
OP
OP
P

ponyracer

Sr. Member
Joined
Sep 30, 2009
Messages
706
Loc.
Crestview, Fl, 32539
Well I got all my brackets on the front axle temporarily and took some measurements for my 3 link setup. Got some crazy numbers, can you guys look at it and tell me what I'm doing wrong?

Numbers.png
 

OX1

Bronco Guru
Joined
Aug 26, 2003
Messages
3,462
X=forward from rear axle centerline
Z=Height from ground

Sprung mass cg is set at 42" which is halfway up the door, about camshaft height.


You need to reverse the X explanation for a front axle ;D

Look at this guys numbers.


http://www.pirate4x4.com/forum/showthread.php?t=870803

I also wonder when people use exactly half a tire dia as their radius.
Tire probably won't be 42" true height and aired down might be 18/19 true radius to ground.
Typcially CG is at top bellhousing bolt, if you just purely guessing.
 
OP
OP
P

ponyracer

Sr. Member
Joined
Sep 30, 2009
Messages
706
Loc.
Crestview, Fl, 32539
You need to reverse the X explanation for a front axle ;D
I also wonder when people use exactly half a tire dia as their radius.
Tire probably won't be 42" true height and aired down might be 18/19 true radius to ground.
Typcially CG is at top bellhousing bolt, if you just purely guessing.

I used the descriptions in the boxes for where to get the values from, how do you mean reverse them? Maybe I got a bad calculator? I'll double check the CG measurement, it should be fairly close to the BH bolt. I was reading some on the tire height measurements, ya your right, I'll need to shorten that up some as well.

Thanks for the reply
 
Top