


C6-203-205 Doubler
Tech article by admin and filed under Transfer CaseI then placed the drivelines up under it with the original front and rear ones swapped. The rear driveline fit the front just right. The back one was compressed further than hat I was happy with so I modified the spring perches and u-bolt plates to reposition the axle back about 1 1/2″. I’ve since gone back and put the springs back in the center of the perches and the u-bolt plates and instead moved the spring hangers back about 3″.


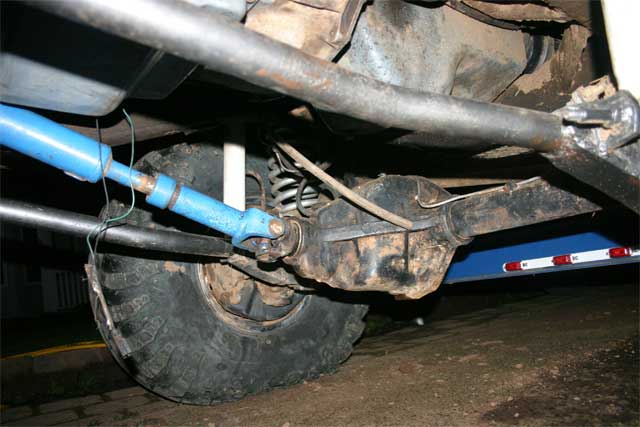

Drivelines installed.
Last I wrapped up the small details like installing the transmission lines (Both the vacuum line and the cooler lines) and installing a dipstick for it. (I chose a Lokar flexible one to avoid fighting to make one fit, it helped that Ford wanted my right arm for a stock dipstick and my right leg for a stock dipstick tube to fit the original C6) I also picked up a stock kick down cable to fit the transmission when I bought it so I installed it. Being an 89 transmission the kick down was already set up to work with the bracket on my EFI so there were no modifications required there.
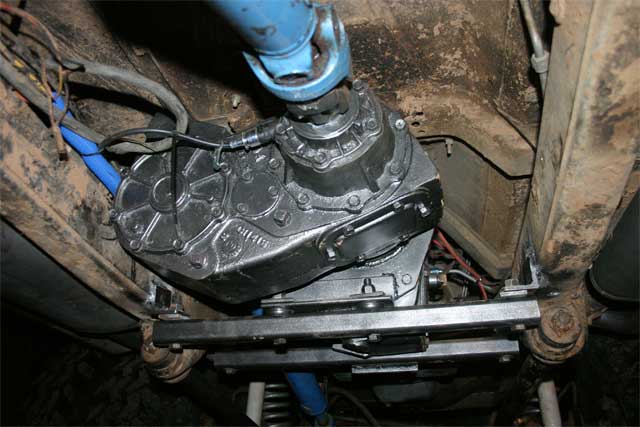
C6/203/205 Final installation.
At this point I think I’ve covered everything on the initial install except for the exhaust. After looking it over I considered 2 options. First was to run the drivers side underneath the transmission and then join it with the passenger side to run a single exhaust out the rear. The second was to run it over the frame and down the sides instead. I installed the Mustang headers I had previously obtained and headed to the local hot rod exhaust specialist. After looking it over we decided the second option would work the best. I’m very happy with what they put together. I had them install a new set of Magna Flows as well.


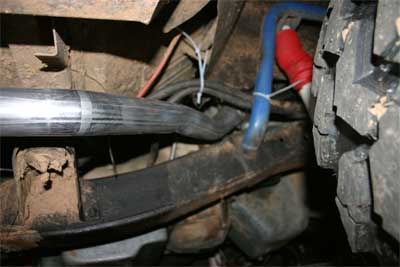


Exhaust installed.
While I was very happy with how well this setup had worked I later went back and built the cross member over again. This time I added more support between both bars and changed to bushings at the frame mounts. The bushings are actually spring eye bushings which fit 1 1/2″ x 0.120 Dom perfectly. I made it flat at the bottom to make it easy to install a skid plate if I ever decide to. I’ve decided not to though right now since the cross member itself does a pretty good job of protecting the transfer cases which are already plenty strong anyway. I’m confident that I can slide over pretty much any rock without breaking the cases the way it is.
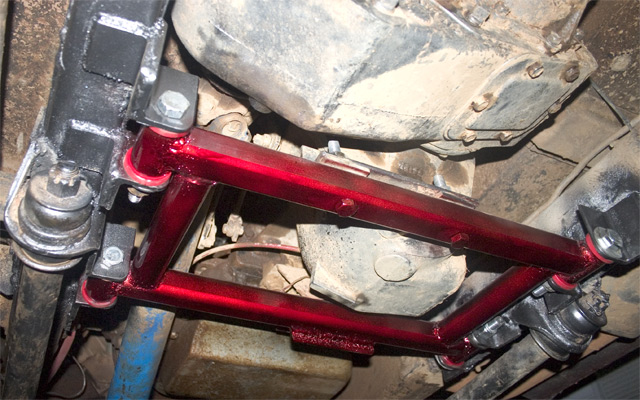
New cross member to replace the original one.
Here is a short video showing the C6/203/205 doubler in action.
Tech article by Rick Halle (SaddleUp)
June 13th, 2010 at 12:22 pm
How is the rear drivehsaft angle on this? Do you have any measurements?
Thanks