trailpsycho
Bronco Guru
- Joined
- Dec 11, 2003
- Messages
- 4,856
That looks fantastic 2-Bad. Keep the pics coming. What is the green from? Looks really nice.


trailpsycho said:That looks fantastic 2-Bad. Keep the pics coming. What is the green from? Looks really nice.
")
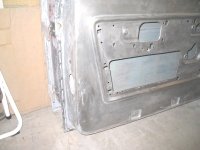
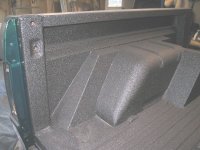
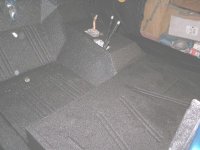
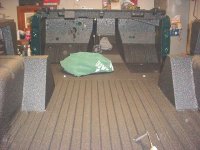
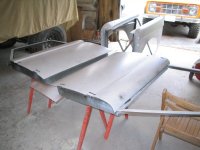
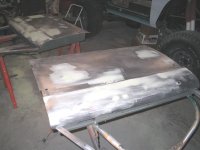
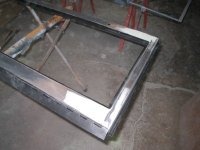
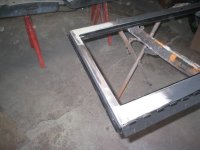
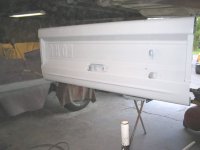
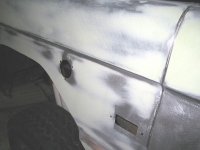
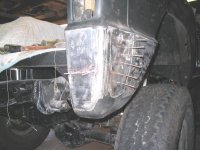
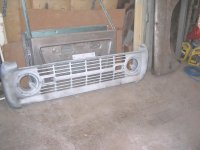
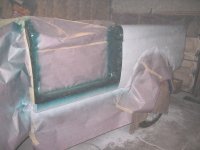
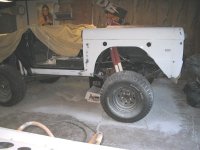
2badrotties said:Just adding a couple of pics. I'm going to start working on this again. Member plothead was looking for info on quarter panel install so I brought this back to top. Check out how nice that used quarter panel look with bedliner on it.


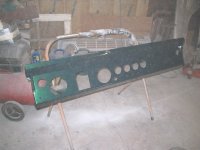
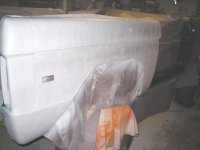
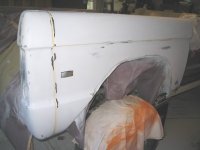
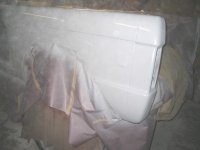
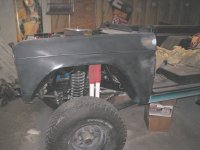
tejayandtina said:Not going to paint the tub and all the other parts off the truck?
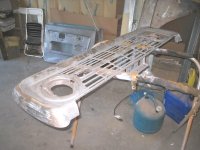
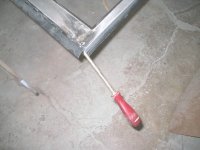
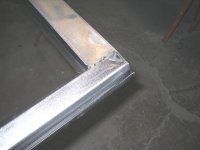
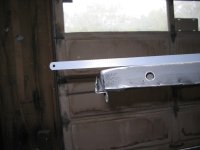
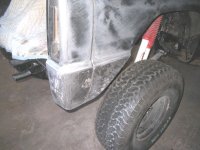
. I fixed it up pretty well but that should have been made a lot better than that. Pics as follows - I can stick a rather large screwdriver between the frame and hinge on both ends ( nearest weld is about 6 inches in from edge ). The entire side is welded together wrong. One side is welded at a angle. Look at the straight edge and look at the end of windshield frame. All of the welds are very rough and need grinding and body work. 2badrotties said:Problems - Windshield frame is pretty piss poor. Welded together wrong, hinge falling off, not too good
A factory frame isn't real good from the factory but this is just a little too crude. I will not tell you where it was purchased. If NYBronco wants to post that info that is fine. Might save someone else some work in the future