OP
OP
- Joined
- Nov 12, 2011
- Messages
- 1,378
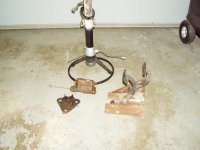
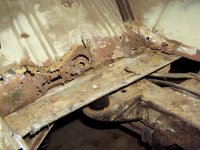
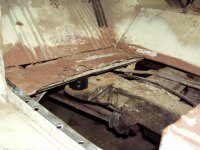
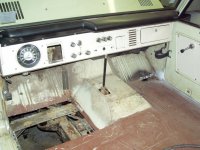
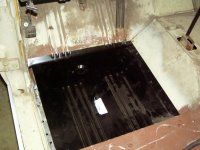
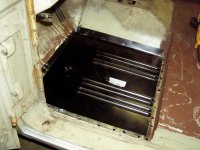
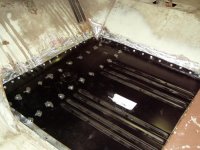
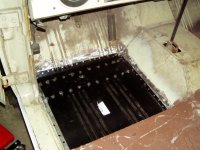
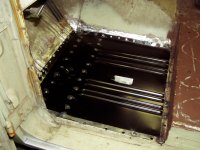
did a little more tonight... out with the old, in with the.... well, less old.
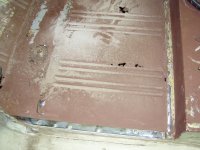
got some donor parts from my 76 to mix and match with. will start cleaning up and rebuilding the little things to have them ready to go back in when the time comes.
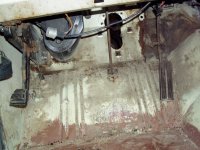
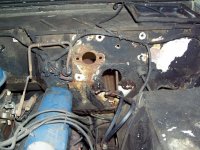
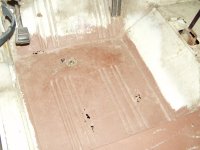
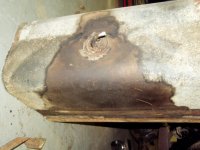
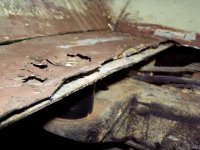
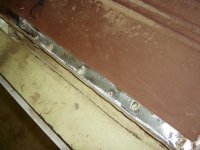
oh, and I've about had it up to here with old dirty undercoating, talk about making a mess of everything...
got some donor parts from my 76 to mix and match with. will start cleaning up and rebuilding the little things to have them ready to go back in when the time comes.
oh, and I've about had it up to here with old dirty undercoating, talk about making a mess of everything...