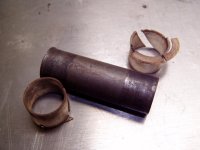
Well in that case I'm suprised you didn't just make the whole damn thing to begin with.;D
Ain't that but the truth!


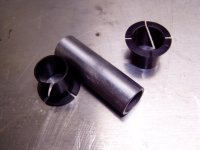
Well in that case I'm suprised you didn't just make the whole damn thing to begin with.;D
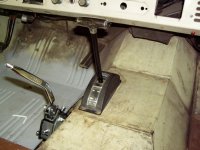
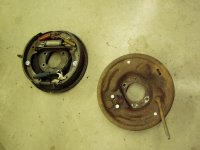
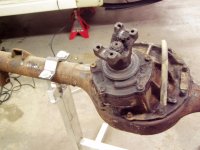
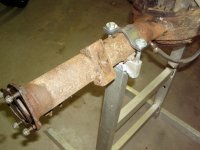
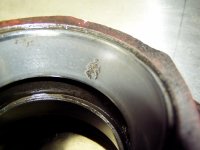
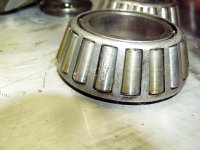
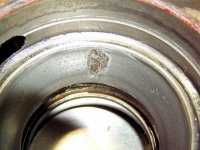
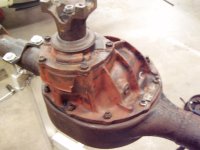
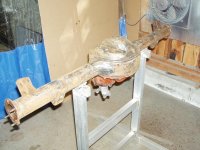
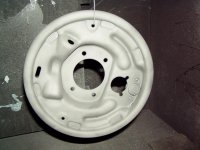
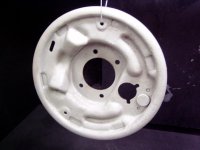
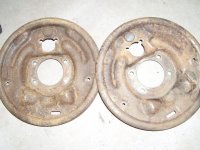
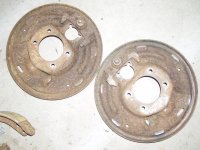
migs, looking great. FYI - I think all the rear brake parts on the original axle were new except possibly the shoes. Pretty sure I replaced the cylinders and spring kit on it right=when I pulled it out of the barn. Plus brake lines.
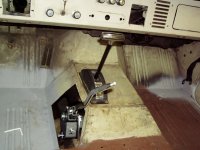
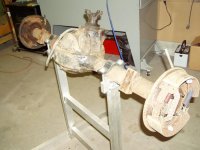
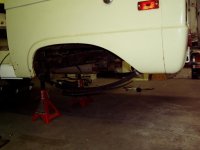
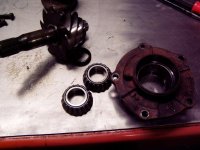
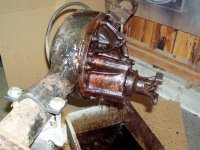
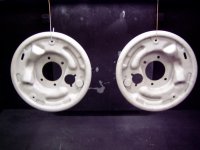
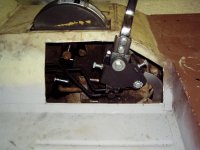
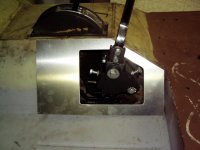
Better to find that on the stands than on the trail! Looks nice, Migs. Hard to believe Fatboy gave that one up!;D

")