AND picking on Pete!")
Someone has got to!


AND picking on Pete!

all this and a toddler? you are amazing!
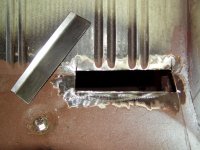
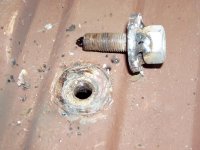
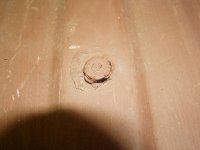
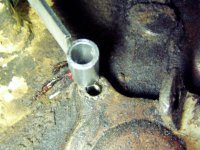
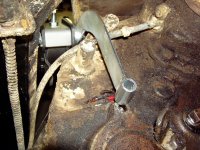
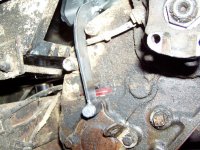
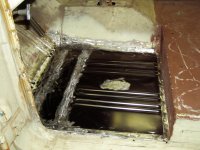
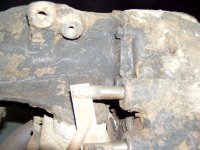
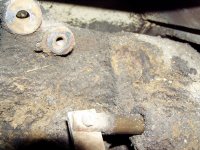
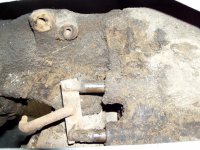
Whereabouts was the threaded bolt?
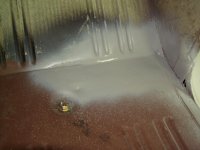
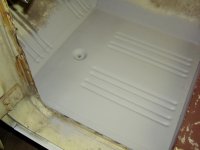
Didn't know they had plugs either. Drains I'm guessing?
fall cruise? hmm, maybe if I postpone some of the planned upgrades and... with a little help from my friends...
Depending on date i would be there in a heartbeat

thank's Dave. so far seems pretty straight forward, I'll let you know if I get stuck.
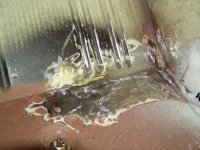
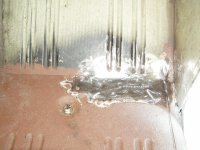
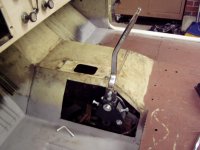
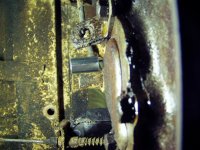
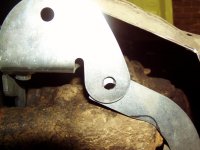
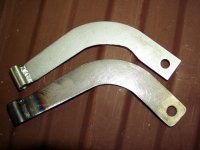
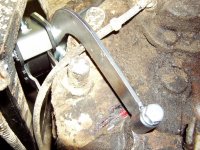
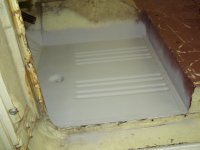
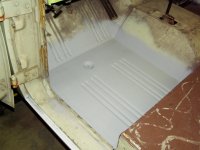
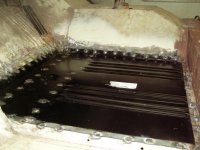
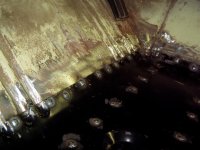
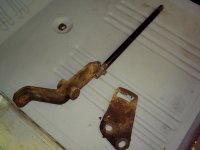
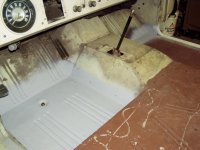
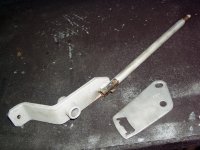
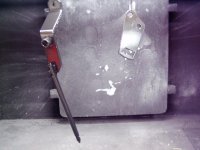
I did make that new rear brace though. fits pretty good. while I was at it figured I'd beef it up a bit, probably not necessary but what the heck, right?;D
pics of the original then the new one...