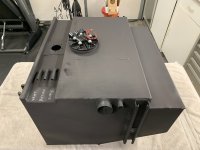
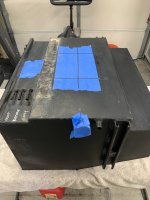
Cool stuff!Measured adapters, cleaned gasket faces on the Dana 20 and bell housing, gathered bell crank pieces and started cleaning brackets.
Paint progress on the bell housing and engine.
View attachment 914986 View attachment 914987
Community
Buy / Sell


Bronco Tech
3 Arm Wiper Setup
Fix Motor Mount
Roll Cage Braces
Throttle Body 65mm
Wheel Alignment
Heat Riser Replacement
Vent Window Repair
Center Console Mount
Straighten Bumper
Ford 6R80 6 spd
More Tech...
Fix Motor Mount
Roll Cage Braces
Throttle Body 65mm
Wheel Alignment
Heat Riser Replacement
Vent Window Repair
Center Console Mount
Straighten Bumper
Ford 6R80 6 spd
More Tech...

-
Welcome to ClassicBroncos! - You are currently viewing the forums as a GUEST. To take advantage of all the site features, please take a moment to register. It's fast, simple and absolutely free. So please join our community today!If you have problems registering or can't log into your account, please contact Admin.
You are using an out of date browser. It may not display this or other websites correctly.
You should upgrade or use an alternative browser.
You should upgrade or use an alternative browser.
What have you done to your Bronco today?
- Thread starter Heus33
- Start date
Got my passenger vent window rebuilt this weekend and did some plowing today.


- Joined
- Apr 19, 2013
- Messages
- 389
Removed the engine last night. It was an easy pull with no issues at all. I thought I might have to lower the tire pressure to clear the front, but this hoist had room to spare. Very impressed with it, much more stable than my old one. I can't believe how dirty this engine is, I think everything is original including the clutch/pressure plate. Now I can finish cleaning the frame and the underside where the trans/engine sat. A small light at the end of the tunnel. 


Who built those radius arms?Worked all day yesterday cutting off brackets, cleaning old welds up, changing coil buckets, mounted my radius arms. Considering starting over again with a 3 link though.. View attachment 914382
View attachment 914383
They are home made with some old WH plates that are no longer available, but i made some changes like the addition of the heim joints.Who built those radius arms?
- Joined
- Mar 8, 2007
- Messages
- 81,983
Got my passenger vent window rebuilt this weekend and did some plowing today. View attachment 915428 View attachment 915429
Plowing the ole snow Love it
- Joined
- Mar 8, 2007
- Messages
- 81,983
Seattle66
Full Member
- Joined
- Dec 4, 2012
- Messages
- 223
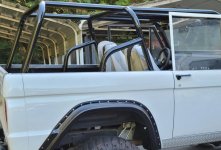
I put the top back on and drove it home after 1.5 years. It's been in my Dad's shop as I have been working on it. So fired up to have it on the road and back my house. Still little things to do, but it's drivable and I can work on it in my garage.
Mocked up my soft top today. Marked locations for drilling holes for the rails. It was a little cool today, but the sun heated the top nicely and made it lay down good.

- Joined
- Apr 19, 2013
- Messages
- 389
I had Christmas week off of work and ended up getting sick, so I spent that time in the garage of course! Pulled the engine and trans recently, and now needed to clean up the frame and underbody in that area before a new drivetrain is installed. I used a wire wheel for most of it, strip discs work great also but they disintegrate too quickly unless the area is flat.
Make sure you get the area under the body mounts!


Make sure you get the area under the body mounts!
Seattle66
Full Member
- Joined
- Dec 4, 2012
- Messages
- 223
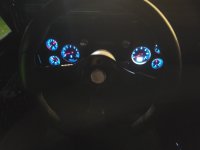
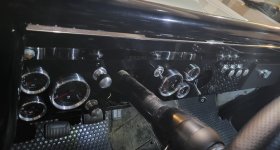
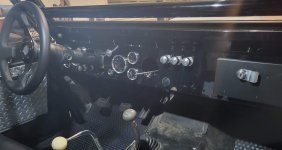
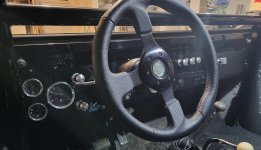
I finished installing the front seat belts. I recently installed the family cage from Bronco Bob/All 4 Fun Offroad and it came with the welded in seatbelt bungs which were awesome. Made the install super simple. I also finally got a few pics of the new cage and custom dash. Still need to install the cover around the steering column cutout and the Clarion Marine Gauge style radio I plan to use. You can see in the pics I just have the choke cable hanging through the stereo cutout until I can get it wired up.
The Speed Hut Gauges are great. The back lighting it great at night. The best part is the GPS Speedo. Connects right away and is accurate.
The Speed Hut Gauges are great. The back lighting it great at night. The best part is the GPS Speedo. Connects right away and is accurate.
Attachments
Last edited:
Jdgephar
Bronco Guru
- Joined
- Sep 25, 2012
- Messages
- 1,384
Installed new LED headlights
Nice. I bought a set with daytime run and turn signals also.
They are a white ring for the run lights, and change to amber with the turn signal (seen here with the hazard lights on).

Sent from my SM-S916U using Tapatalk
- Joined
- May 28, 2013
- Messages
- 1,844
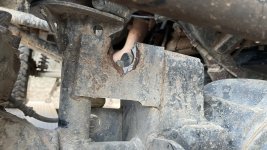
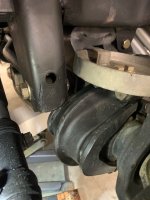
Checked pumpkin to pan clearance to the new 351w this morning. Im good at pan and shock compression, but I do have contact at diff cover to track bar and track bar bracket to radium arm C cup.
Im going to find a way to get a 1" to 1.5" spacer under or over the bump stop to play it safe. Also grind down the diff cover a tad will help.
But very happy I have plenty of room at the pan.

Any suggestions on spacer?
Im going to find a way to get a 1" to 1.5" spacer under or over the bump stop to play it safe. Also grind down the diff cover a tad will help.
But very happy I have plenty of room at the pan.
Any suggestions on spacer?
Attachments
Any suggestions on spacer?
I cut a couple of spacers out of 1/2" aluminum plate (with a holesaw) and stacked them, extended bump stop stud with a coupling nut and long set screw.
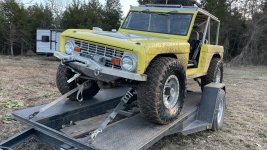
Got the newly acquired Boxwood Green 70 unloaded and in the shop. Gave her a bath. Very pleased with the way she cleaned up.


Similar threads
- Replies
- 38
- Views
- 6K
- Replies
- 23
- Views
- 4K
- Replies
- 31
- Views
- 2K
- Replies
- 5
- Views
- 722


