• Welcome to ClassicBroncos! - You are currently viewing the forums as a GUEST. To take advantage of all the site features, please take a moment to register. It's fast, simple and absolutely free. So please join our community today!
    If you have problems registering or can't log into your account, please contact Admin.

Engine Swap: Cummins R2.8

OP
OP
Digger556

Digger556

Sr. Member
Joined
Aug 8, 2013
Messages
793
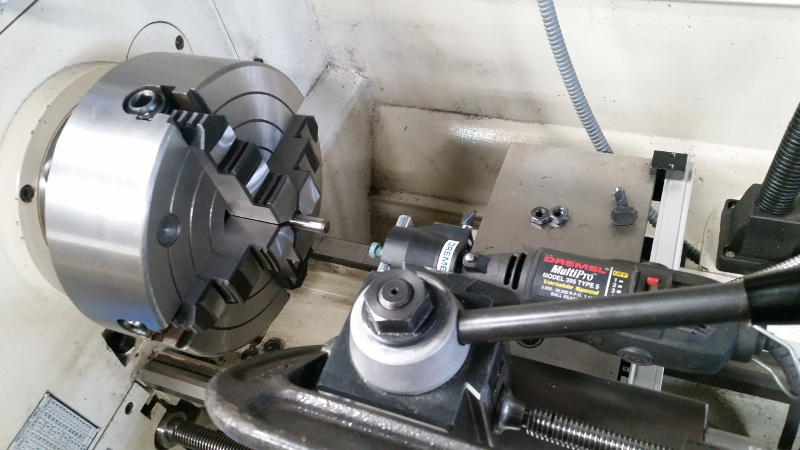
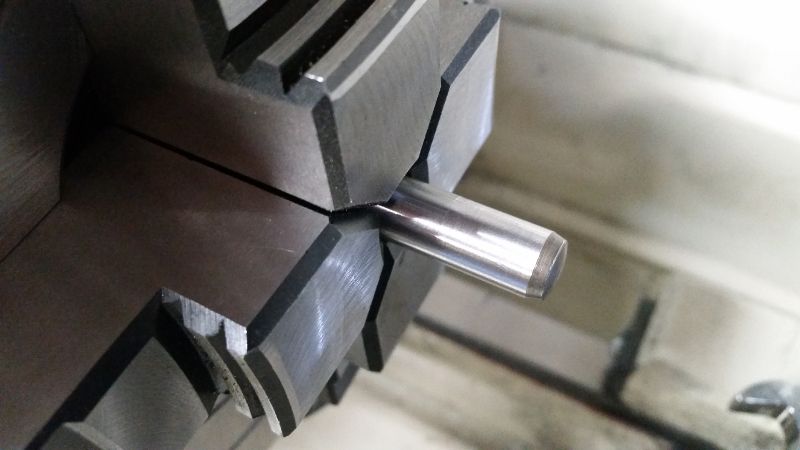
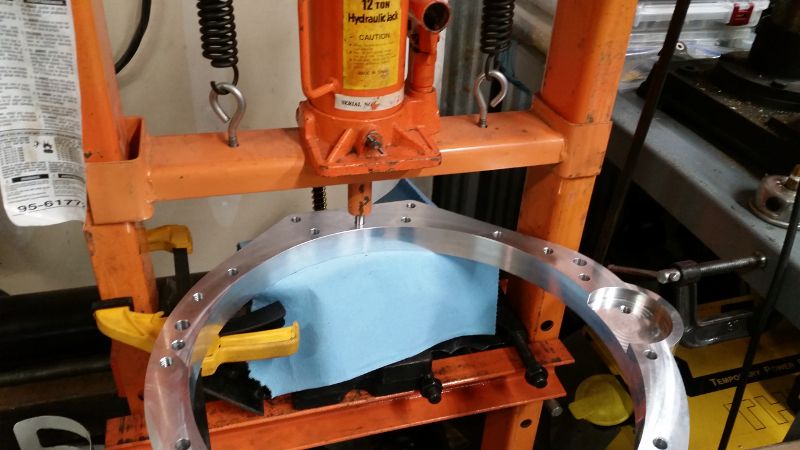
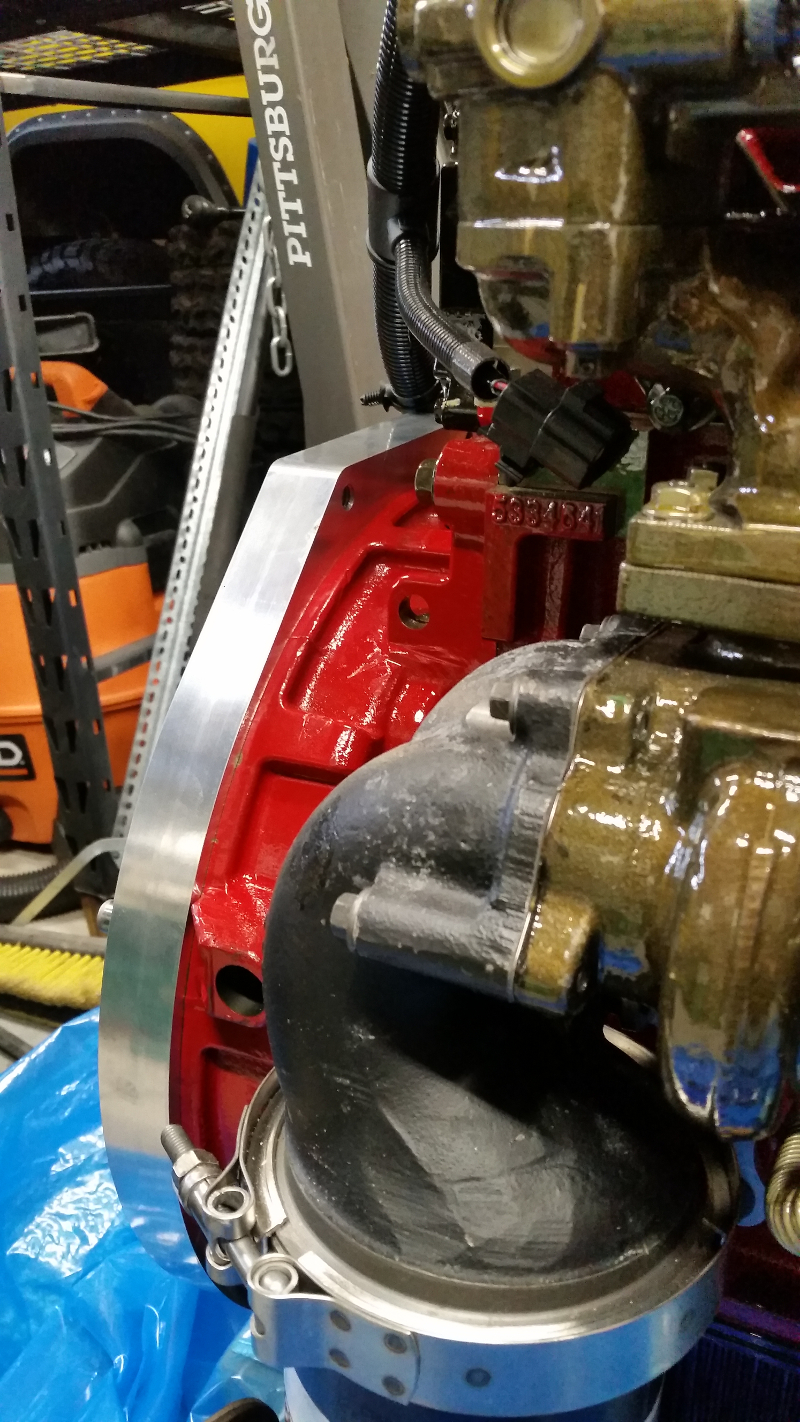
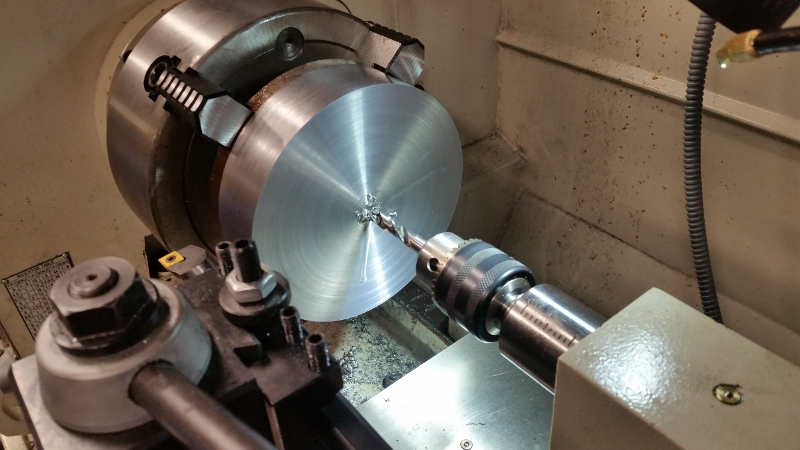
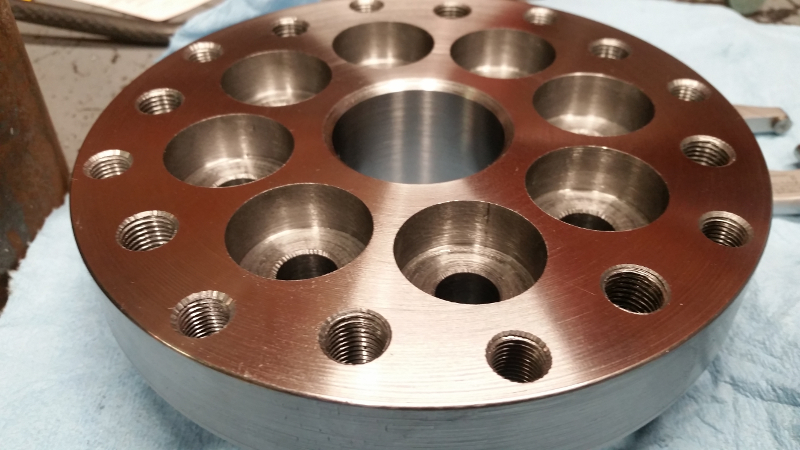
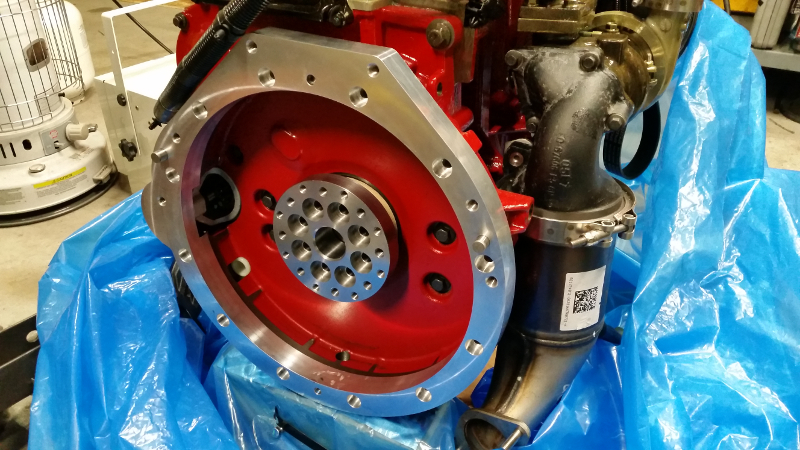
Getting back to the adapter...

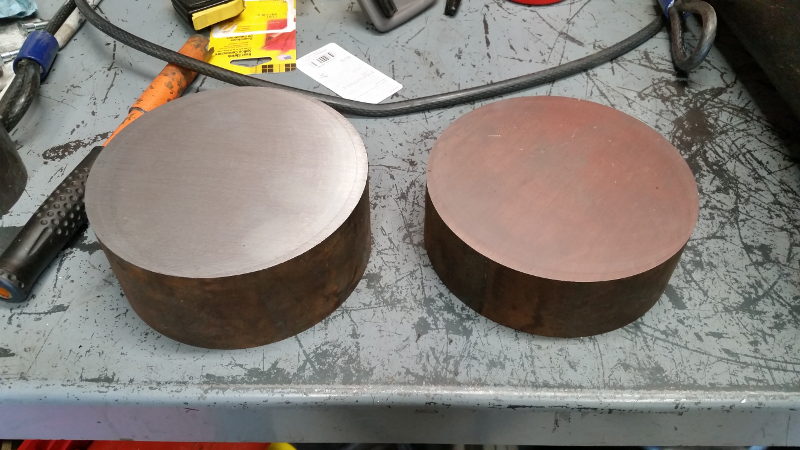
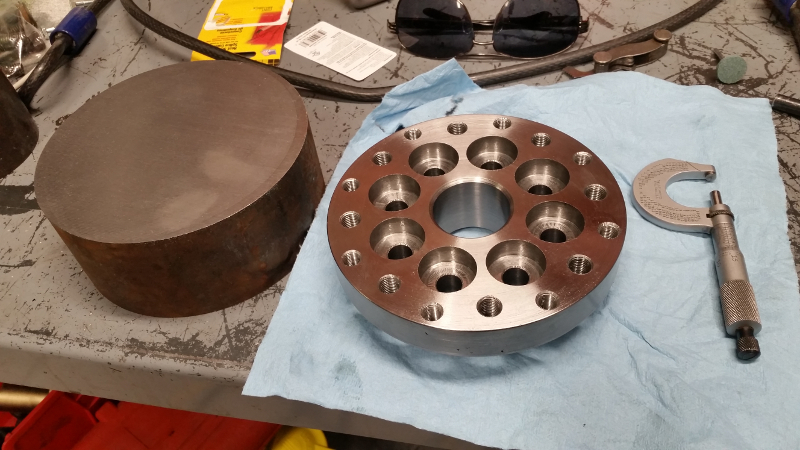
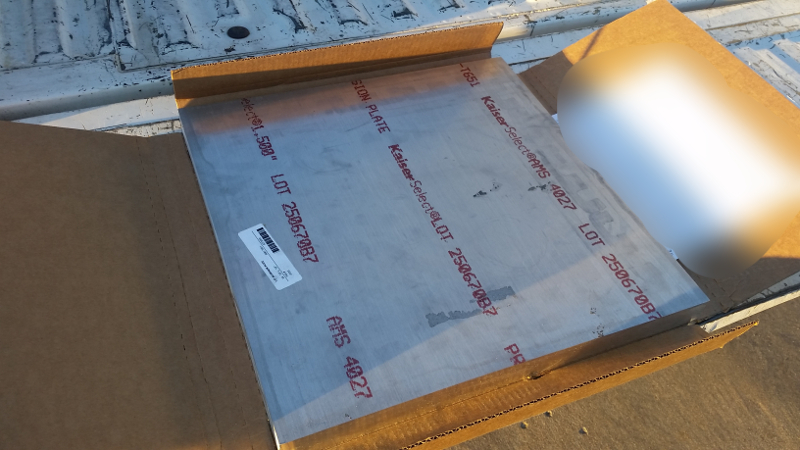
I spoke with our manufacturing engineer at work in order to get a recommendation on a machine shop. (our shop is busy most of the time) He looked at my project and thought we could fit it into the schedule, so we had some back and forth discussing how to produce my bell housing adapter, what machine should run it, who would program it and what was critical. I went ahead and purchased the raw material, a 50lb slab of 6061-T651 aluminum plate that measured 18"x18"x1.5"
47456745832_faae03d4a7_o.jpg


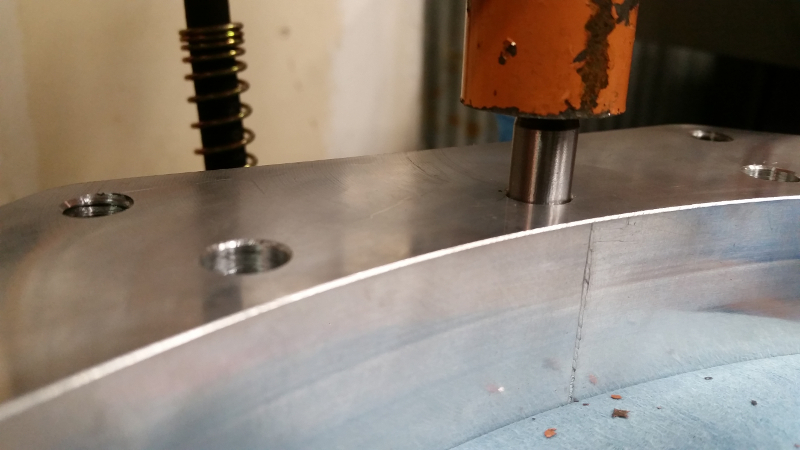
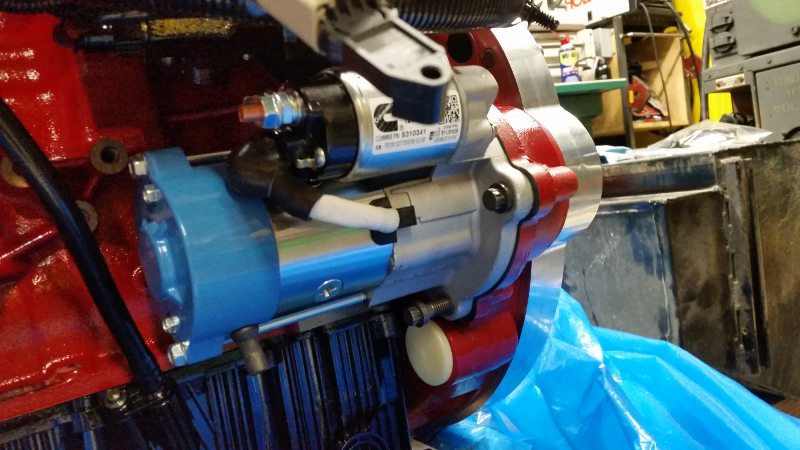
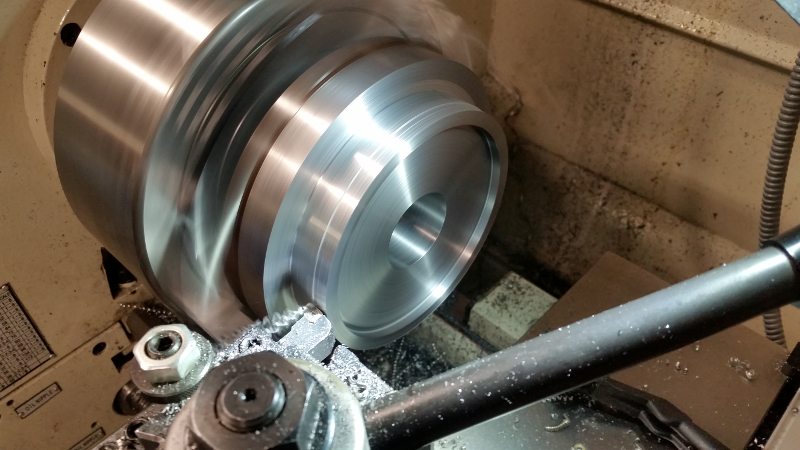
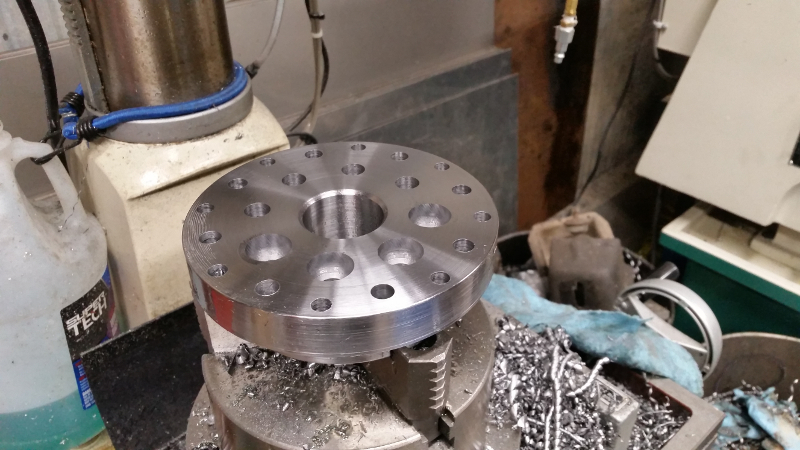
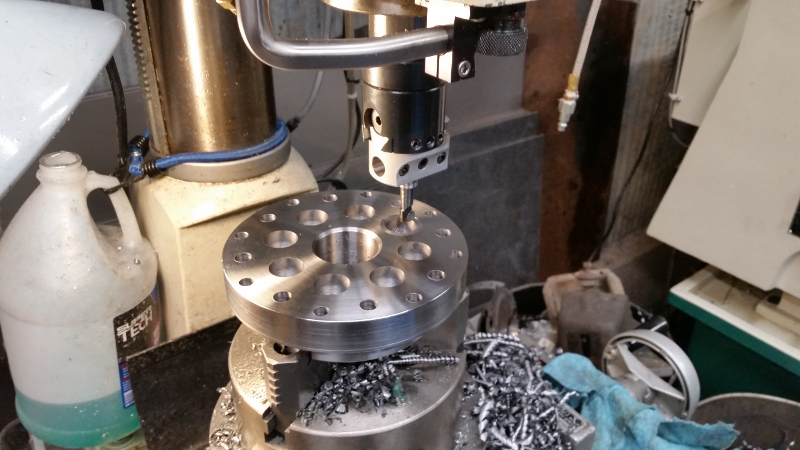
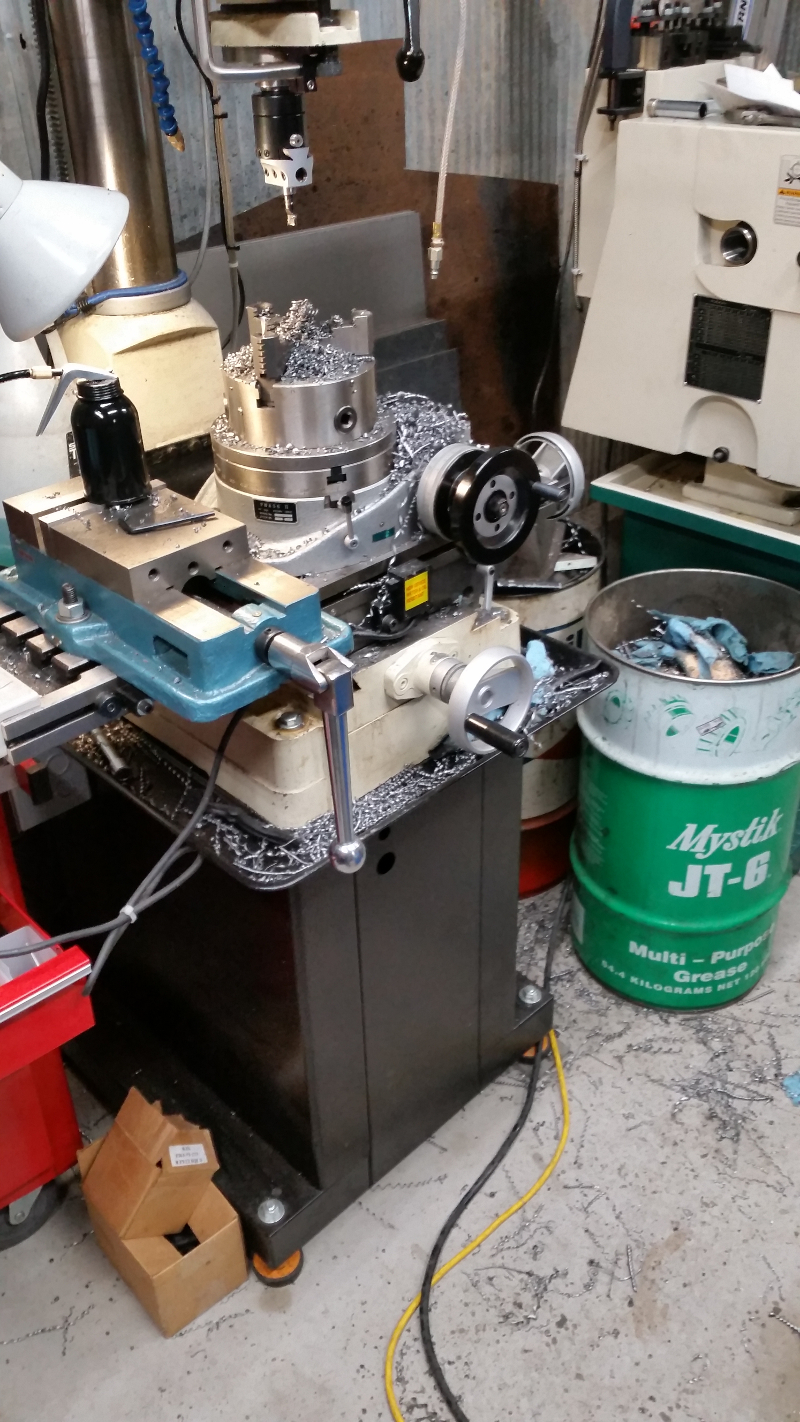
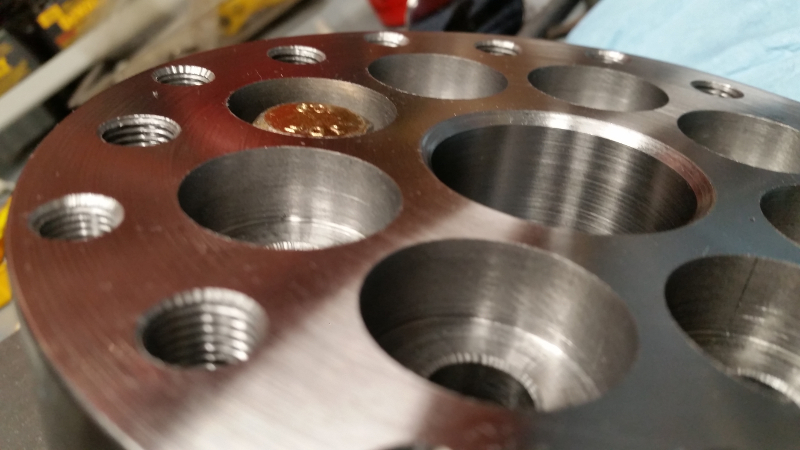
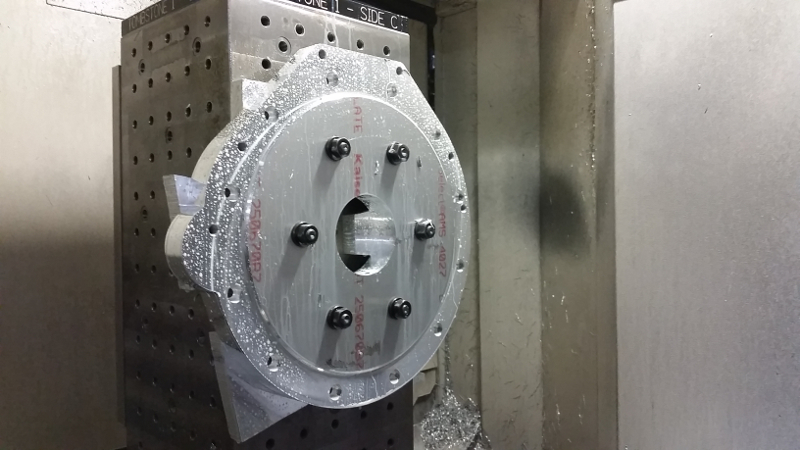
After about 4 weeks, it was time to run my part. The guys really did a great job. It was run in a horizontal mill with a pallet changer and a 35HP spindle. It made short work of my plate.
47509470191_bc18d0dfc4_o.jpg


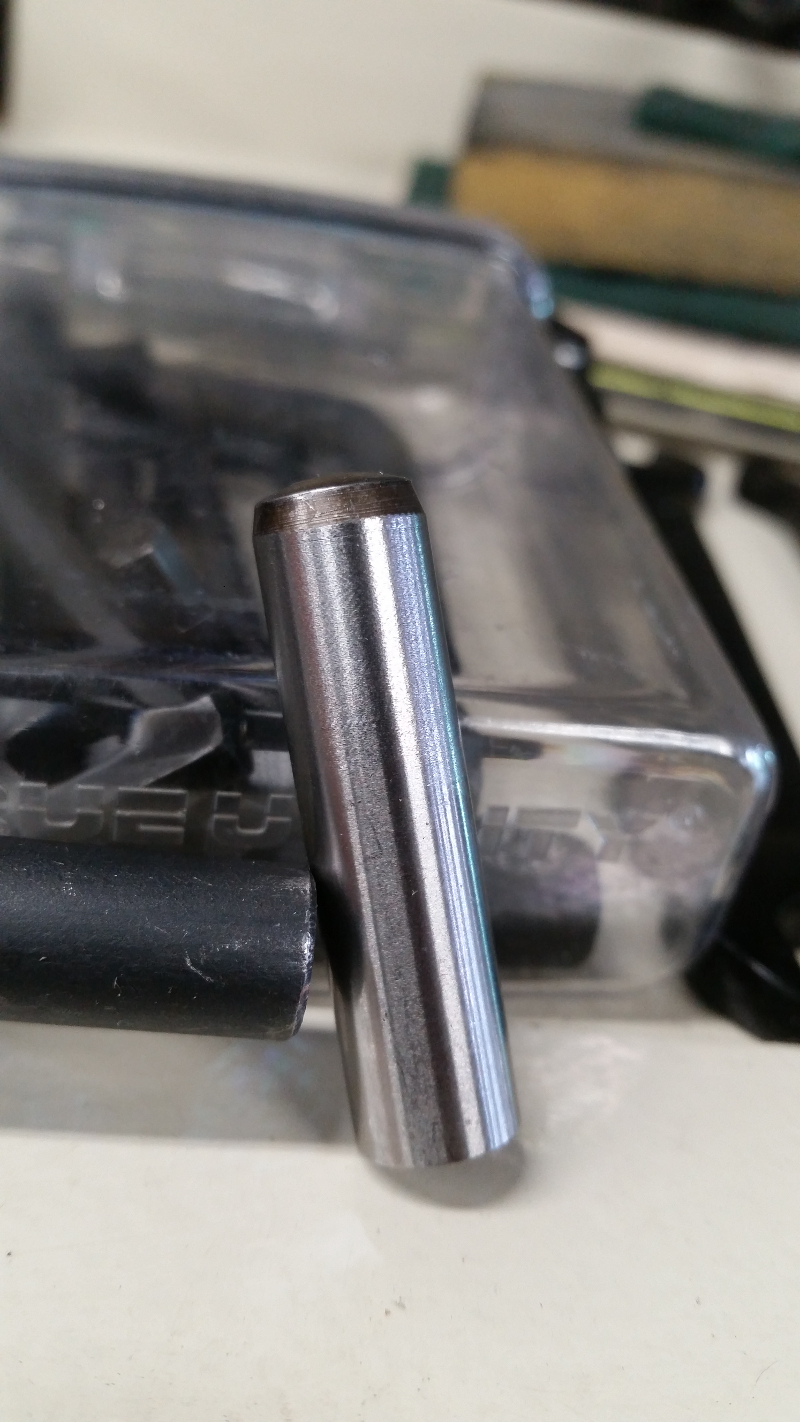
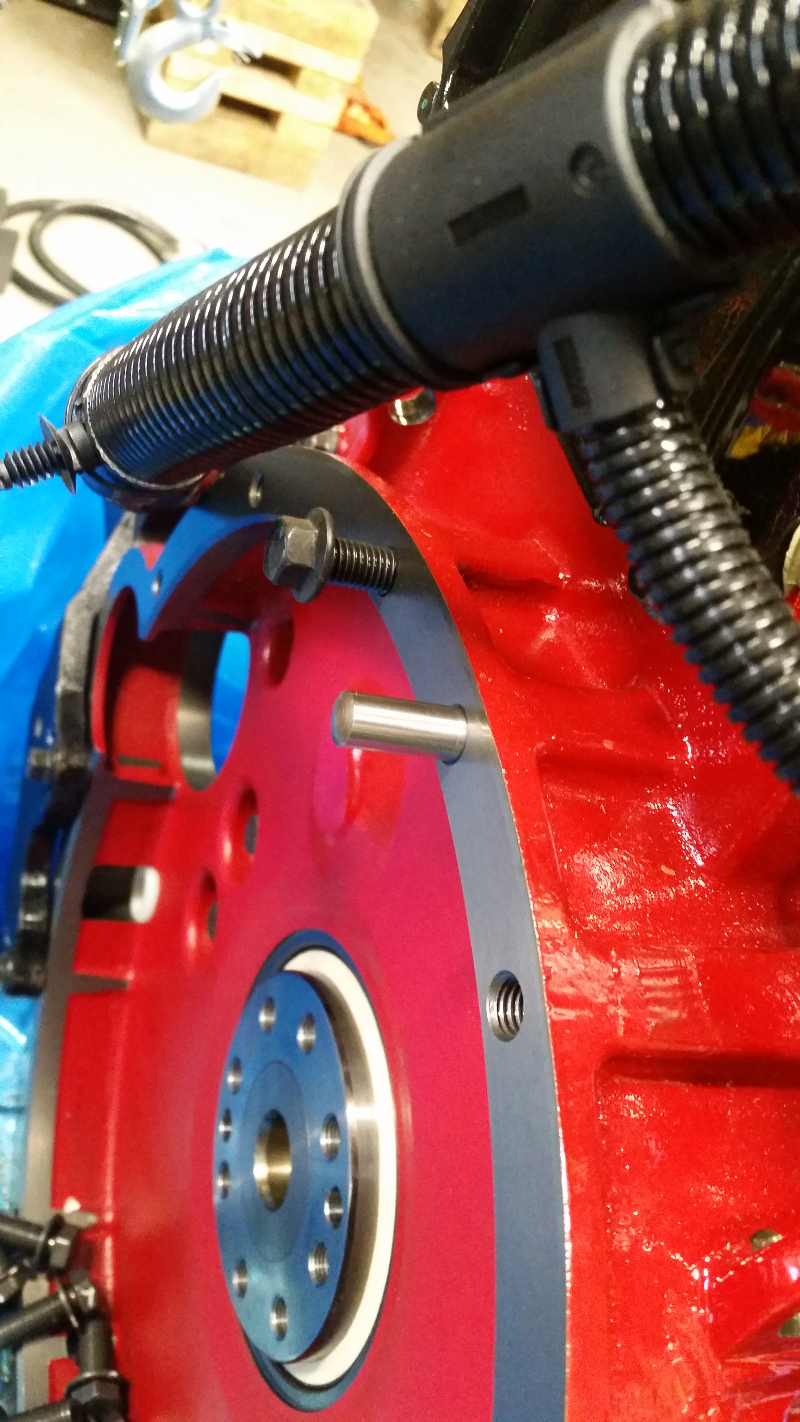
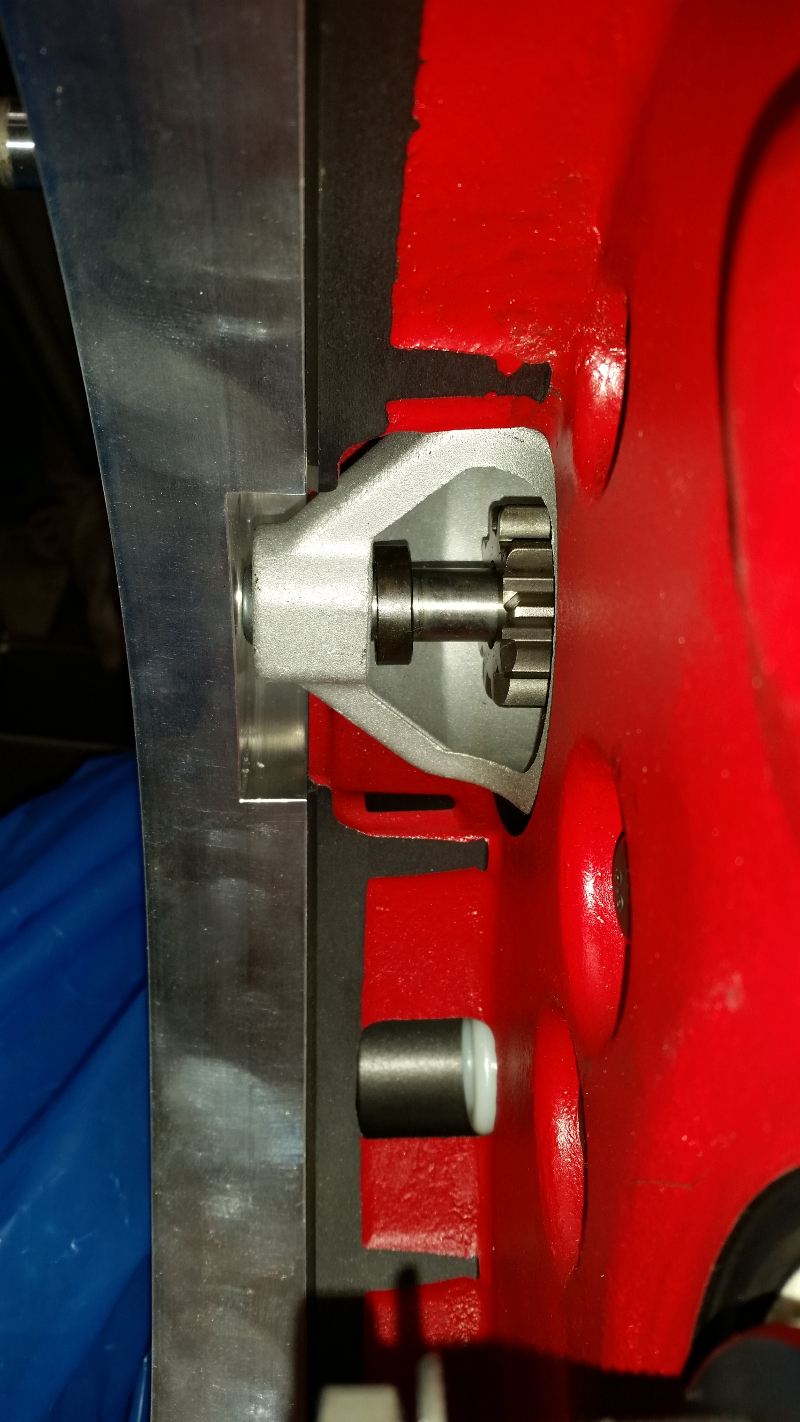
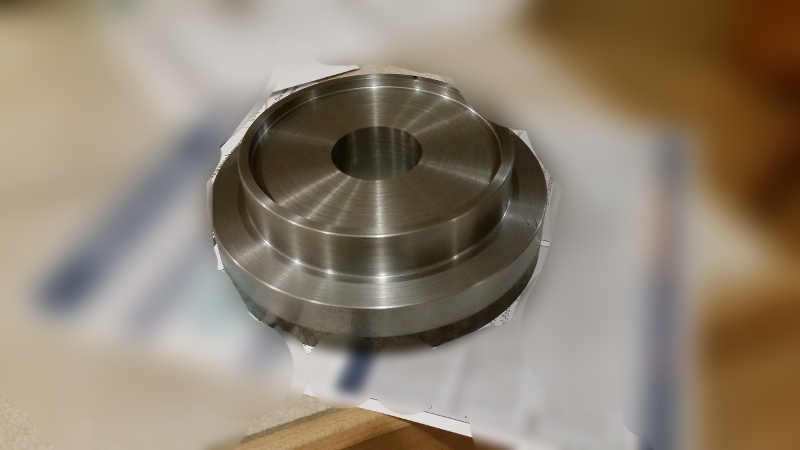
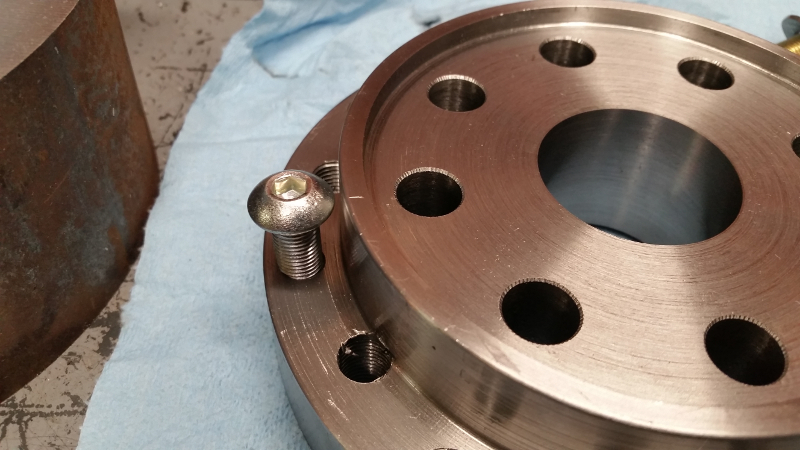
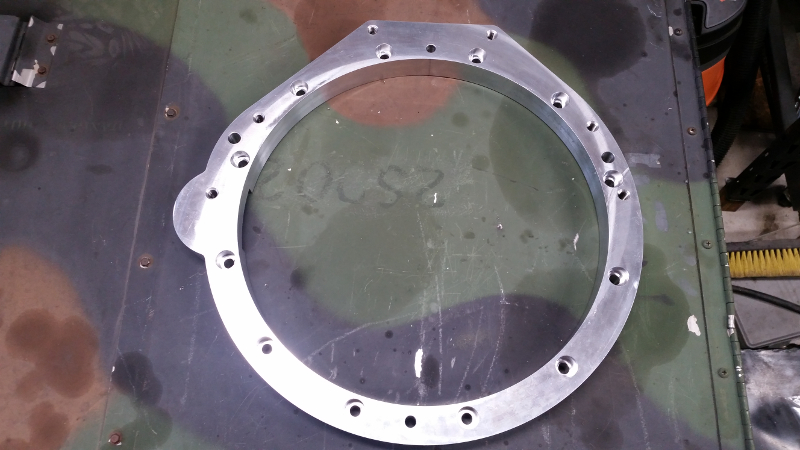
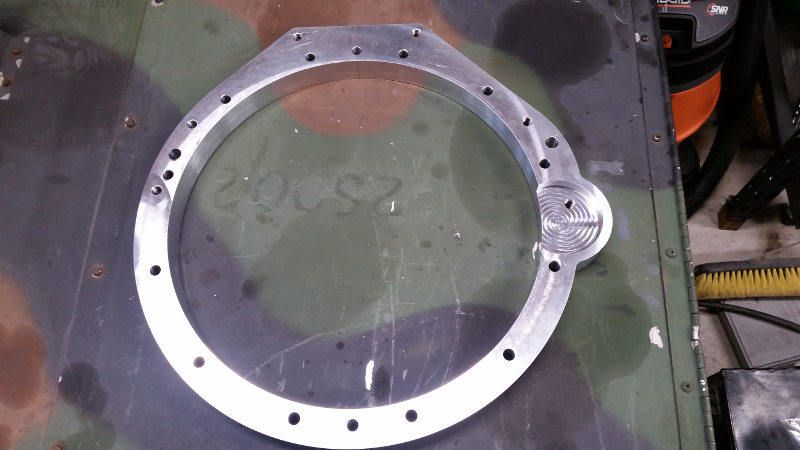
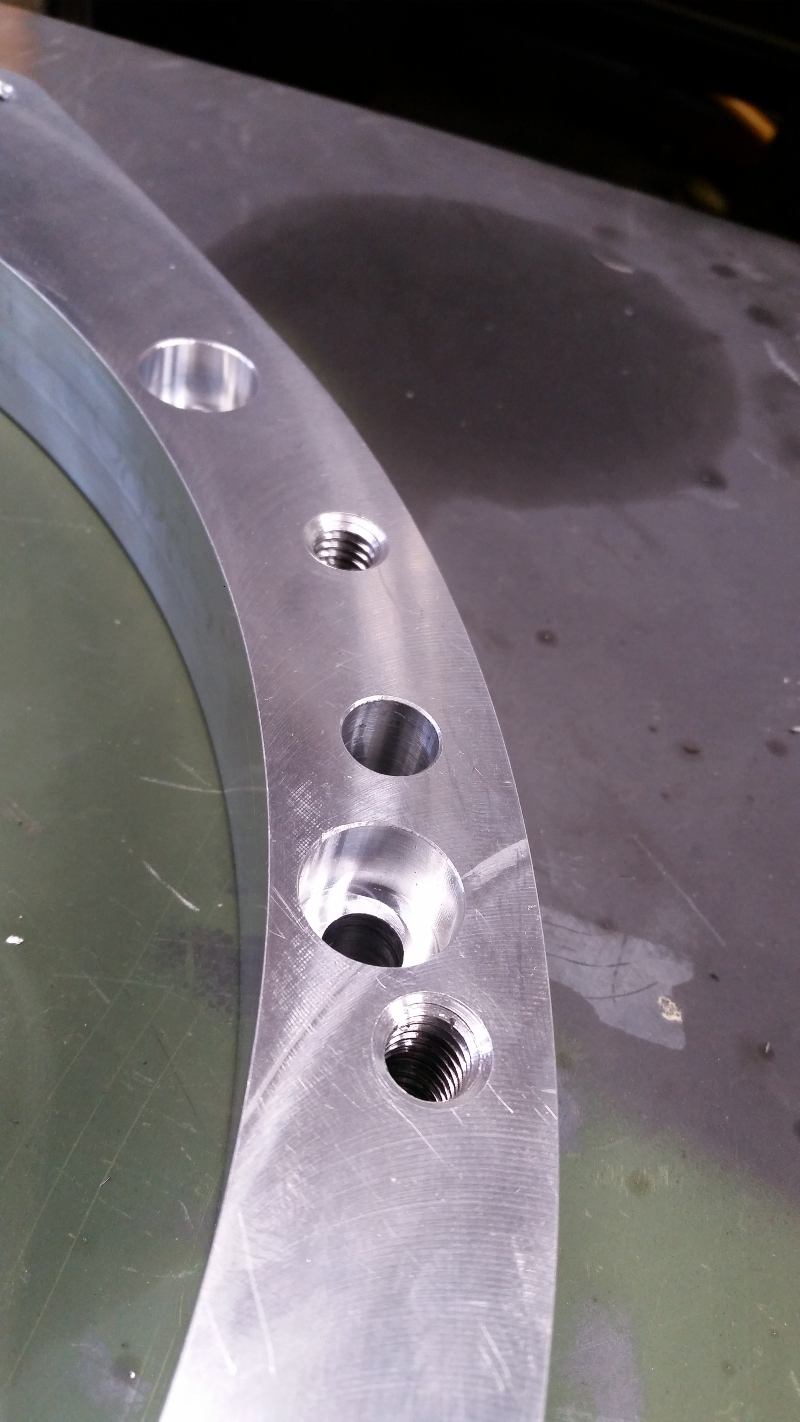
The final product is beautiful and dead accurate. The guys CMMd the part and the critical dowel pins holes were all within 0.0002" of their nominal positions. The dowel holes were reamed, so press fit will be very precise.
47509469731_bf86fbd291_o.jpg

47456744772_4ca3e55d10_o.jpg

47509469621_aea2a1338b_o.jpg
 
Last edited:
OP
OP
Digger556

Digger556

Sr. Member
Joined
Aug 8, 2013
Messages
793
With the bellhousing adapter finished, I needed turn the 10mm dowel pins down slightly. Given that the holes in the engine were reamed, I didn't have the right measuring tool to accurately measure the ID to 0.0001". So I ordered standard +tolerance dowel pins and test fit them. They almost wanted to go, but not quite. Because the dowels locate the engine to adapter to transmission, I couldn't just chuck them in the 3-jaw and turn them with cutting tools. I needed something more precise. Generally when you're working under 0.001", you need to grind, not cut, so I rigged up a makeshift tool post grinder with a Dremel tool. I also loaded the 4-jaw chuck and dialed the dowel pin to the lathe so there was less than 0.0001" runout.
47456744472_1b6fddf51b_o.jpg


I ended up taking off 0.0004" over 4 passes of the grinder.
47509469481_4d9382c982_o.jpg


You can barely tell anything was done, but the upper 14mm of the dowel is a smaller OD.
47456744372_a631888df7_o.jpg


Now the pins slides in easy, but is still tight enough to seal the air behind it.
47509469181_d5f0d79ff2_o.jpg


After grinding a lead-in chamfer, I pressed all 4 dowels into place.
47456743502_3f7946d6c6_o.jpg

47509469071_1c45a533ed_o.jpg
 
OP
OP
Digger556

Digger556

Sr. Member
Joined
Aug 8, 2013
Messages
793
Now for the moment of truth...
.
.
.
.
.
.
.
.
.
.
.
.
.
.
.
.
Perfect!
47456743342_ba41938c8c_o.jpg


The fit on the engine side was so perfect and tight, I had to slide the adapter in very squarely or it could get stuck, but lined up right, it just slid right on.
47509468981_2760cb530f_o.jpg

47509468931_65318630e0_o.jpg


I also checked the starter clearance. Just enough.
47456742842_ebd804a6ee_o.jpg

40543575333_7e346a868e_o.jpg

46594065825_66941358b6_o.jpg
 
OP
OP
Digger556

Digger556

Sr. Member
Joined
Aug 8, 2013
Messages
793
While the guys at work were machining the bellhousing adapter, I was at home working on the crank adapter. I already had to redesign this once after sourcing material proved to be difficult. Now it's a little smaller. The crank adapter proved to be a challenge to manage all the tolerance stackup over all the features of two adapters plus flywheel etc. After giving some thought to the manufacturing approach, I got started.

Starting out with raw stock...
47456745622_d5da30d856_o.jpg


...I faced the part (after dialing it into the lathe), punched the center bore which located the 2nd crank adapter, and turned the counterbore that locates the adapter to the crank. Tolerances for the critical features were all sub-thousandth of an inch. I was aiming for 0.0003 or less deviation from print.
47509470101_e355a4866e_o.jpg

47456745402_ae5bd13db5_o.jpg


Turning the hub face for the starter ring
47509469961_bf67b3bbb7_o.jpg


A-side completed.
47456745192_c3220a00c6_o.jpg


And test fitted
47509469841_47beef09da_o.jpg
 
Last edited:
OP
OP
Digger556

Digger556

Sr. Member
Joined
Aug 8, 2013
Messages
793
Now things starting getting frustrating. I spent the first 5 hours of the 2nd day trying to get the part dialed back into the lathe. After trying a few different configurations and switching measuring tools, I got it as close as possible. After reading the factory calibration report, I am at the limits of what this lathe can do.
47456744952_2944c24768_o.jpg


After finishing the B-side and measuring runout, I moved the part to the mill to punch all the holes.
40543574873_c4bbda29b7_o.jpg

40543574563_158d694544_o.jpg


More holes
40543574453_998e4f294f_o.jpg


And counterbores
40543574343_3368feba7a_o.jpg

40543574133_1c97bf42dd_o.jpg


What a mess.
40543574003_892b61038f_o.jpg


After tapping all the holes, the finished product
40543573753_63b10fb7ea_o.jpg
40543573663_17b267c740_o.jpg


Checking bolt fitment vs the model
40543573243_040a54deda_o.jpg

40543573563_8321253c6f_o.jpg


Finally, checking fit on the engine
40543573133_ded59eb381_o.jpg
 

EB70

Contributor
Sr. Member
Joined
Jun 9, 2006
Messages
703
I admire the accuracy. What I am really curious about is the outcome. I have a Bronco that the engine would work well in. If I could reliably pull 20 MPG with decent power and 35-37" tires I would be all in.

I am likely going to run the Jeep 5-speed though as I have it already.

Keep it up, we are watching.
 

EB70

Contributor
Sr. Member
Joined
Jun 9, 2006
Messages
703
I highly doubt I will tow anything etc. Just drive it around. I highly doubt that fuel will go down in the next 4-5 years so the better the MPG the better the chance that I will actually drive the thing.

I am guessing the AX-15 will stick together. For whatever reason I am not a fast 4x4 kind of guy and I actually find my stock 302 to be plenty for how I use it.

Keep it up. What is your approximate ETA on finishing this? I know projects take too long but I am just curious.
 

toddz69

Sponsor/Vendor
Bronco Guru
Joined
Nov 28, 2001
Messages
10,352
Beautiful work! You know you'll have to add these parts to the catalog....

Todd Z.
 

markw

Contributor
Bronco Guru
Joined
Sep 10, 2009
Messages
2,053
I'll pile on as well. Very nice work, impressive!
 
OP
OP
Digger556

Digger556

Sr. Member
Joined
Aug 8, 2013
Messages
793
Thanks everyone!


The new boost and pyro gauges showed up tonight.
46617397995_b2bc8319e6_o.jpg
 

Broncobowsher

Total hack
Joined
Jun 4, 2002
Messages
35,241
Really nice gauges. I have been running Isspro for years now. They are way overlooked when people go shopping for gauges. Full sweep electric gauges made in America. And priced comparable to the imported race brand stuff.
 

ntsqd

heratic car camper
Joined
Jan 30, 2005
Messages
3,419
Loc.
Upper SoKA
I wondered what Digger would buy. I tend to think of all other common gauge brands as farkles rather than useful tools.
 
OP
OP
Digger556

Digger556

Sr. Member
Joined
Aug 8, 2013
Messages
793
Well that is good feedback. I have a set of Autometer's in the F250 and they have been very disappointing.

The pyro quit working after 2 years, the trans temp gauge has moisture trapped inside. The boost gauge is okay but they are low tech. Incadencent bulbs with color covers, screws terminals instead of plugs and hardwired lights.
 

Yeller

Contributor
Bronco Guru
Joined
Mar 27, 2012
Messages
6,523
Loc.
Rogers County Oklahoma
Agreed on gauges, I like the autometer volt gauges that read different +/- 3 volts over the course of a day....... so much for knowing if your alternator is really working correctly or not. Guess that's why I don't put too much stock in them, big ass red light for the important stuff like over temp and no oil pressure. If I really want to know what is going on I use a blue tooth OBDII adapter and use a free diagnostic ap. but they don't read piro....

Looking great, I really enjoy your builds. Great detail and not the "average" cookie cutter build with good engineering.
 
Top