- Joined
- Aug 23, 2007
- Messages
- 24,346
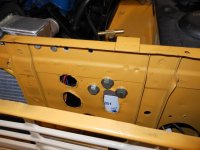
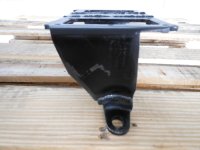
1/2 pipe i think.
I think you're right.


1/2 pipe i think.
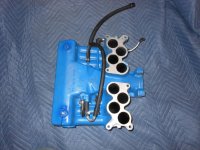
I once dropped a small socket in my intake and it lodged deep in the head. Pulling the intake pissed me off enough to ALWAYS make sure I tape it off when exposed.
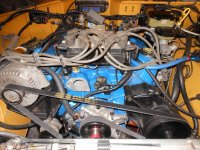
Jason looking great. When is the fire up date?
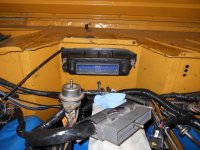
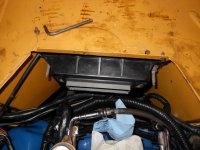
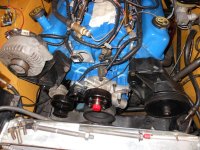
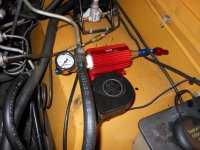
.Take the tubes out of the unused vac ports and tap them for a permanent plug. You don't want the hose breaking down and leaking after a few years.
Thanks Hank, Hopefully soon, all these little details take forever to work out, I am making slow steady progresss, just not as fast as I would like. ;D
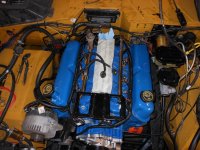
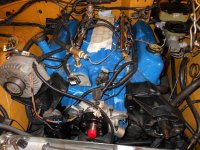
Heres my to do list
------------------------
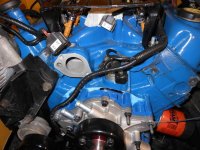
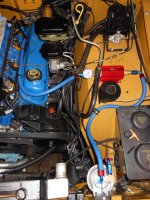
Its looking like I will need to cut down the coil pack bracket, it looks like it might hit the hood brace if i leave it at stock height.
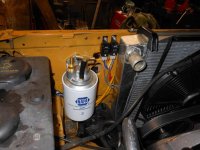
remove the fuel filler neck and hook up my return line to it.
Figure out gas petal/ throttle cable
Cut hood for clearance, normaly it may clear but mine will not
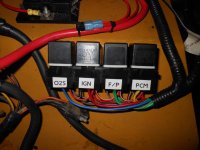
Finish hooking up my wires
get a Upper radiator hose
pick up some new spark plugs
Install upper/throttle body and figure out a air cleaner
Take the tubes out of the unused vac ports and tap them for a permanent plug. You don't want the hose breaking down and leaking after a few years.